DIY Garden Art Projects to Add Personal Charm to Your Yard
There’s something so special about stepping into a backyard that feels uniquely yours, isn’t there?! DIY garden art projects are one of my favorite ways to bring personal charm to our outdoor space, and trust me, they don’t have to be complicated!
As a mom of three boys, I’m all about finding fun, affordable ways to add a little personality to our garden while keeping the kids involved (and entertained).
This was part of the whole kids-in-nature garden we’ve slowly been building.
It doesn’t matter if you’re sprucing up a patio or creating a cozy corner in the yard, these ideas are simple, budget-friendly, and packed with character!
Let’s make those outdoor spaces shine!
Why DIY Garden Art Projects Are Perfect For Families
As a mom, I’m always looking for fun, meaningful ways to keep the kids busy while also sneaking in a little family bonding time. DIY garden art projects? They’ve been a total lifesaver in our house! Not only do they add charm and personality to our outdoor space, but they’re also the perfect excuse to get everyone away from screens and out in the fresh air. What’s better than that? Let me break down how these projects make for the ultimate family activity—you might already be grabbing your paint brushes by the end of this!
A Creative Outlet for Moms and Kids
I’ll admit it—some days, finding an activity that all my boys are excited about feels like a small miracle. But when it comes to DIY garden art projects, nobody’s complaining! Painting rocks, designing homemade birdhouses, or stringing together wind chimes instantly gets everyone’s creative juices flowing. It’s like hosting a mini art class right in your backyard.
What I love most is how these projects create opportunities for teamwork. One of my kids might pick out the colors, another might focus on the details, and I’ll handle the “Pinterest mom” finishing touches. By the end, we’ve created something that feels uniquely ours, and the kids are bursting with pride (seriously, they show our neighbors every time they visit). Whether it’s carving patterns into clay pots or making garden sculptures out of old cans, there’s something magical about putting your heart into something together.
And let’s not forget—you don’t have to be Picasso to enjoy this! Half the fun is watching everyone’s interpretations come to life. That mismatched paintwork and those “abstract” designs your toddler made? They add so much personality to your yard.
Affordable Ways to Beautify Your Outdoor Space
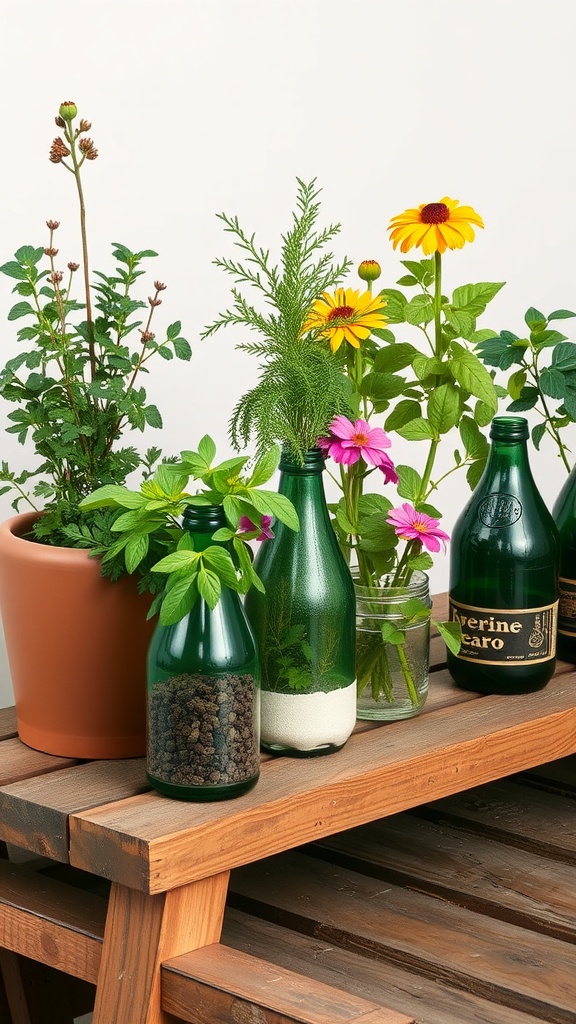
When it comes to decorating with kids and staying on a budget, DIY garden art projects are a dream come true. I’ve learned that the simplest materials can create the most beautiful decorations. Old mason jars, leftover paint, and even items you’d usually toss (like empty tin cans or wine corks) can be turned into something special.
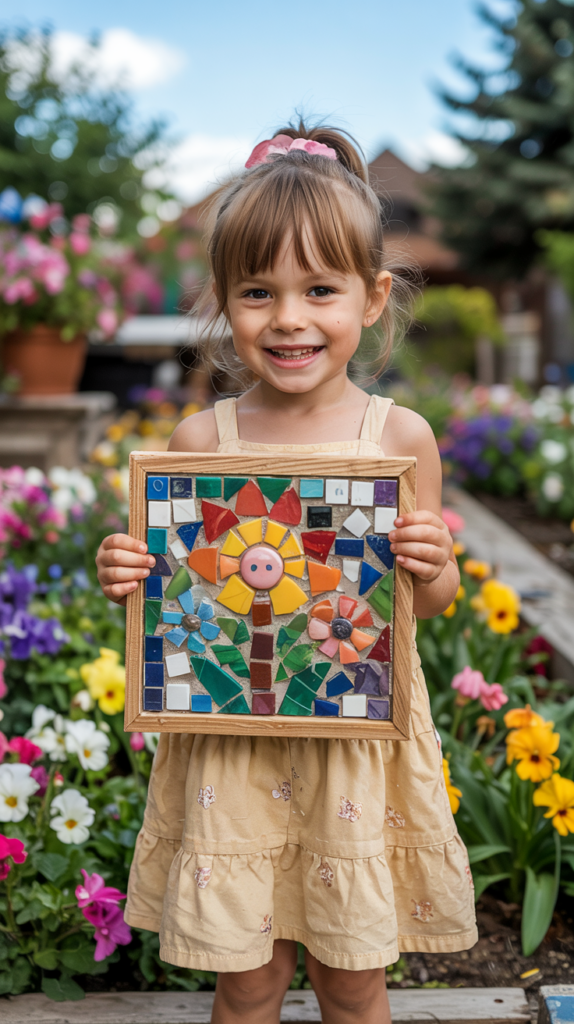
For example, we once made a garden sign using some scrap wood and a little paint, and it remains one of my favorite pieces to this day. Another time, we used flat river stones to create colorful stepping stones for the flower bed. Each of us painted one, and now it feels like a gallery of our little family’s creativity. The best part? None of this cost more than a few dollars.
This is also a fantastic way to save money while teaching kids the value of repurposing. Instead of buying expensive outdoor decor, why not make adorable lanterns or personalize your planters? I mean, you’re beautifying your space and staying within the family budget—what’s not to love?
Teaching Life Skills Through Crafting
I’ve always believed that hands-on activities are the best way to teach kids some pretty important life lessons. DIY garden art projects are no exception. Every time we start a new project, we talk about what we’re going to make, what we’ll need, and how we’ll get it done. It’s a mini “life skills” class disguised as fun—don’t tell my boys!
First of all, it’s a great introduction to planning. We walk through the steps of each project together, choosing designs and gathering materials. If something doesn’t go as planned (which it often doesn’t, let’s be real), it’s a chance to practice problem-solving and learn some flexibility. Plus, waiting for glue to dry or paint to set definitely tests their patience—a skill I know they’ll thank me for later in life.
Another thing I love about these projects is how they highlight the importance of recycling and reusing. When we take something that might have ended up in the trash and turn it into art, it sparks a conversation about caring for the planet. Just the other day, we made flower pots out of old yogurt containers, and my youngest proudly declared, “We’re helping the Earth!” Little moments like that? Total mom win.
DIY garden art projects aren’t just about making your yard look pretty. They’re about spending time together, creating memories, and teaching kids values they’ll carry with them forever. Trust me, you’ll treasure those colorful garden stones and painted pots long after the kids have grown up.
Easy DIY Garden Art Projects to Try With Kids
If you’re looking for creative ways to spend time with the kids while sprucing up your outdoor space, you’re going to love these DIY garden art projects! I’ve done all of these with my boys, and let me tell you, not only do they keep us busy for an afternoon, but the end results are absolute treasures. Each project is simple, kid-approved, and adds a unique touch of personality to your garden. Let’s dive into some favorites that are sure to get those little hands working and imaginations soaring!
Painted Rock Creatures

This is a huge hit in our household! Painted rocks are not only adorable but also one of the easiest DIYs to do with kids. Here’s how we do it:
- Collect the rocks. Take a mini scavenger hunt around your yard (or a park) to find smooth stones. The flatter, the better!
- Clean them up. Have the kids rinse the rocks under water and dry them off with a towel—this is a great “helper” task for little ones.
- Select your paints. Use acrylic paints or outdoor-safe paint for vibrant, weather-resistant creations.
- Get painting! Let the kids create animals, bugs, smiley faces, or even abstract designs. Google animal cartoons for inspiration—it’s always fun to copy those big, silly eyes!
- Seal your masterpiece. Once the paint is dry, brush on a clear, weatherproof sealant to keep their tiny works of art looking fresh.
After they’re done, the kids can scatter their painted rock creatures in a flowerbed, along the pathway, or around a tree trunk. You’ll love seeing their little works of art every time you step outside! Plus, if you ever do an “I Spy” game in the yard, these are perfect for that.
DIY Bird Feeders
Want to teach the kids about kindness to animals while upcycling household items? DIY bird feeders are the way to go! This is such a simple project, and the best part? The kids absolutely light up every time they see a bird stopping by for a snack.
Here are a few fun ideas we’ve tried:
- Plastic bottle feeder – Cut a small window toward the bottom of a clean 2-liter plastic bottle, leaving enough room for birds to perch. Poke two small holes on opposite sides, thread twine through the holes, and hang the feeder from a tree! Don’t forget to fill it with birdseed.
- Mason jar feeder – Wrap sturdy wire around the rim of a mason jar, leaving a loop for hanging. Secure a small saucer underneath the jar’s opening with glue, so the seed doesn’t spill out. Fill the jar and watch the birds swoop in.
- Toilet paper roll feeder – Okay, I know this sounds too easy, but it’s so fun! Let the kids smear peanut butter all over a toilet paper roll, then roll it in birdseed. Slide the finished roll onto a branch or garden hook. Your kids will feel like they just opened a restaurant for the birds!
Not only are these feeders great for the environment, but they also encourage your kids to feel connected to nature. They’ll probably spend half the day checking to see who’s snacking outside!
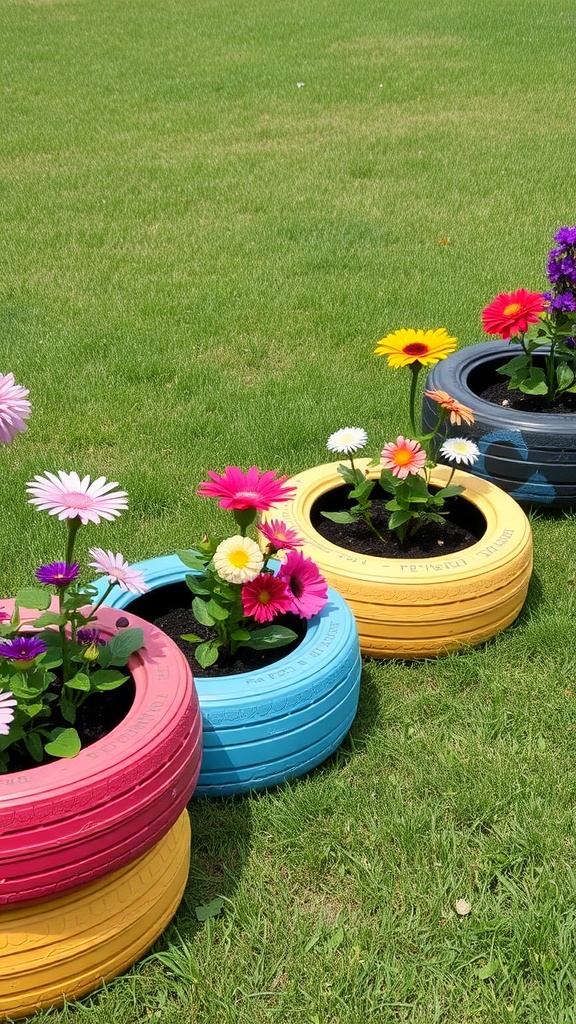
Colorful Tin Can Planters
If you’re anything like me, you probably have a stash of empty cans somewhere in your kitchen. Well, here’s a way to put them to good use: painted tin can planters! They’re a pretty, colorful way to add life and personality to your garden, and the kids adore customizing them.
- Clean and prep the cans. Wash out empty tin cans (soup or veggie cans work great!) and file down any sharp edges with sandpaper.
- Paint the cans. Hand over the paints and let the kids’ imaginations run wild! Solid colors, polka dots, stripes… anything goes.
- Drill drainage holes. Use a small drill bit (adults only for this part!) to make holes in the bottom of each can, so the plants don’t get water-logged.
- Plant your flowers or herbs. Once the paint is dry, help the kids plant small flowers, succulents, or even herbs in their creations. Basil and parsley work really well if you plan to use these in the kitchen!
I love how these planters brighten up a backyard fence or windowsill. Plus, the kids feel so proud every time they water their plants!
Wind Chimes from Everyday Items
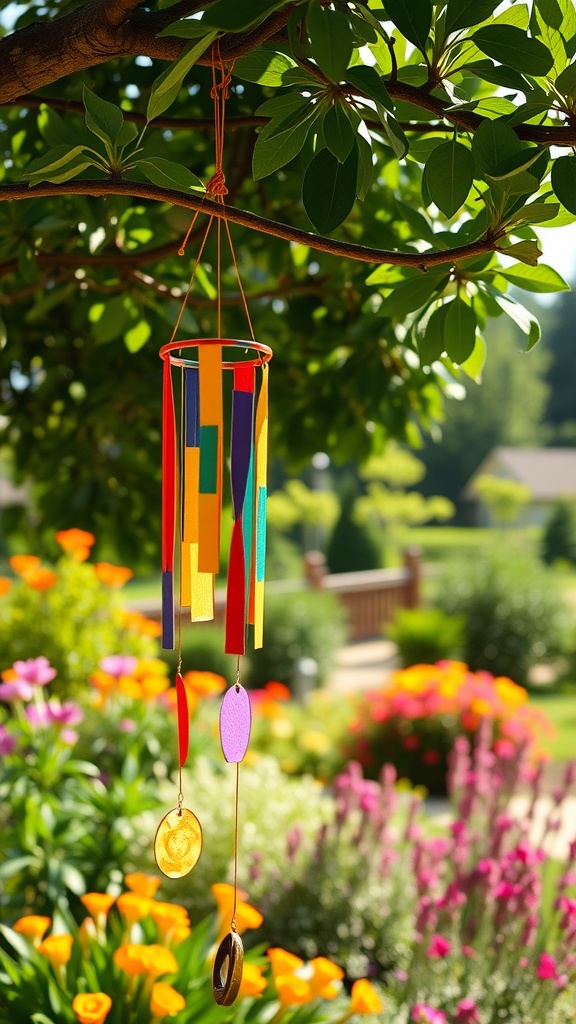
If you’ve got a knack for turning random junk into something truly beautiful, this one’s for you! One of our all-time favorite projects is making wind chimes out of things we already have lying around the house. Not only do they add a whimsical touch to the garden, but the gentle clinking sound on breezy days is so relaxing!
Some items we’ve used include:
- Old keys
- Colorful beads
- Silverware (especially forks or spoons!)
- Seashells or small pieces of driftwood
To make one, start with a sturdy base like a small tree branch, embroidery hoop, or even the rim of an old lampshade. Then, cut pieces of string to varying lengths and attach your items securely to it. Tie each string onto your chosen base, ensuring there’s space between them so they’ll clink together. Once everything’s in place, hang up your wind chime and let the breezes do their magic. Trust me, every time you hear it, you’ll smile knowing it was made by your little crew!
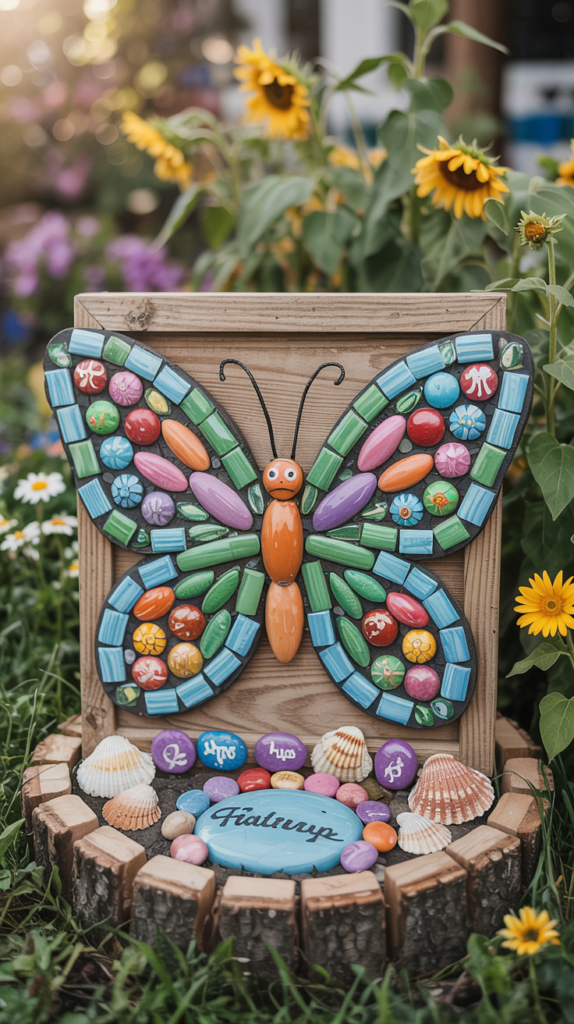
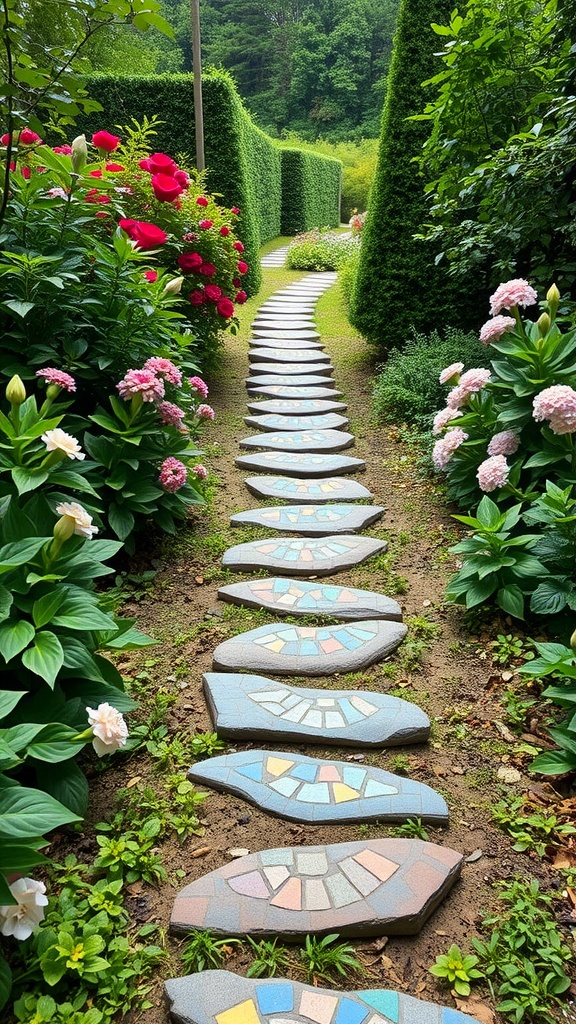
Stepping Stones With Personal Flair
If you want to create something extra special for your garden, stepping stones are the way to go. Each one can reflect your kids’ personalities, and they’ll love seeing their creations “set in stone” (literally)!
- Grab some molds. You can buy stepping stone molds at craft stores or just use aluminum pie tins—easy and kid-proof.
- Mix the concrete. Follow the instructions on your bag of quick-drying concrete mix. Let the kids stir (with supervision!), then pour the mixture into the molds.
- Get decorating! Before the concrete sets, let the kids press in decorations like glass beads, coins, or even small toys. You can also use cookie cutters to make imprints or let little ones press their handprints and write their names.
- Let it dry. Once the stones have cured (this usually takes about 24 hours), pop them out of the molds and voilà—your very own custom stepping stones.
We made one of these for each of our boys a couple of years ago, and I still get teary-eyed when I see their tiny handprints in the garden path. It’s such a sweet way to capture a moment in time while adding character to your outdoor space!
Whether you tackle one or all of these projects, they’re guaranteed to add charm and personality to your garden while creating lasting memories with your kids. There’s nothing better than stepping outside and seeing those handmade touches… every piece is a little reminder of the fun you had together!
Inspiration for Personalizing Your Outdoor Space
Personalizing your garden adds that special “you” touch to your outdoor space, turning it into a reflection of your family’s personality. Whether you’re into creating whimsical features or showcasing a more sentimental side, there are plenty of ways to infuse your style into your yard. I love making our garden feel like an extension of our home—it’s where laughter echoes, memories are made, and creativity blooms!
Using Your Family’s Interests as Themes
One of the easiest and most enjoyable ways to personalize your garden is by weaving in your family’s interests. Think about what makes your crew light up—your hobbies, favorite activities, or inside jokes—and let those guide your decorations. Trust me, it’s such a fun way to turn your outdoor space into something uniquely yours!
For instance, if your family is big into sports, why not create a mini sports-themed garden? Get the kids to help paint old soccer balls or baseball bats for quirky planters, or use jersey numbers as playful yard signs. Maybe hang a miniature basketball hoop on the fence and plant vines around it for a sporty-yet-green vibe. My boys are huge fans of baseball, so we even turned an old bat into a garden stake—I love how it quietly shows off their interests while blending into the space.
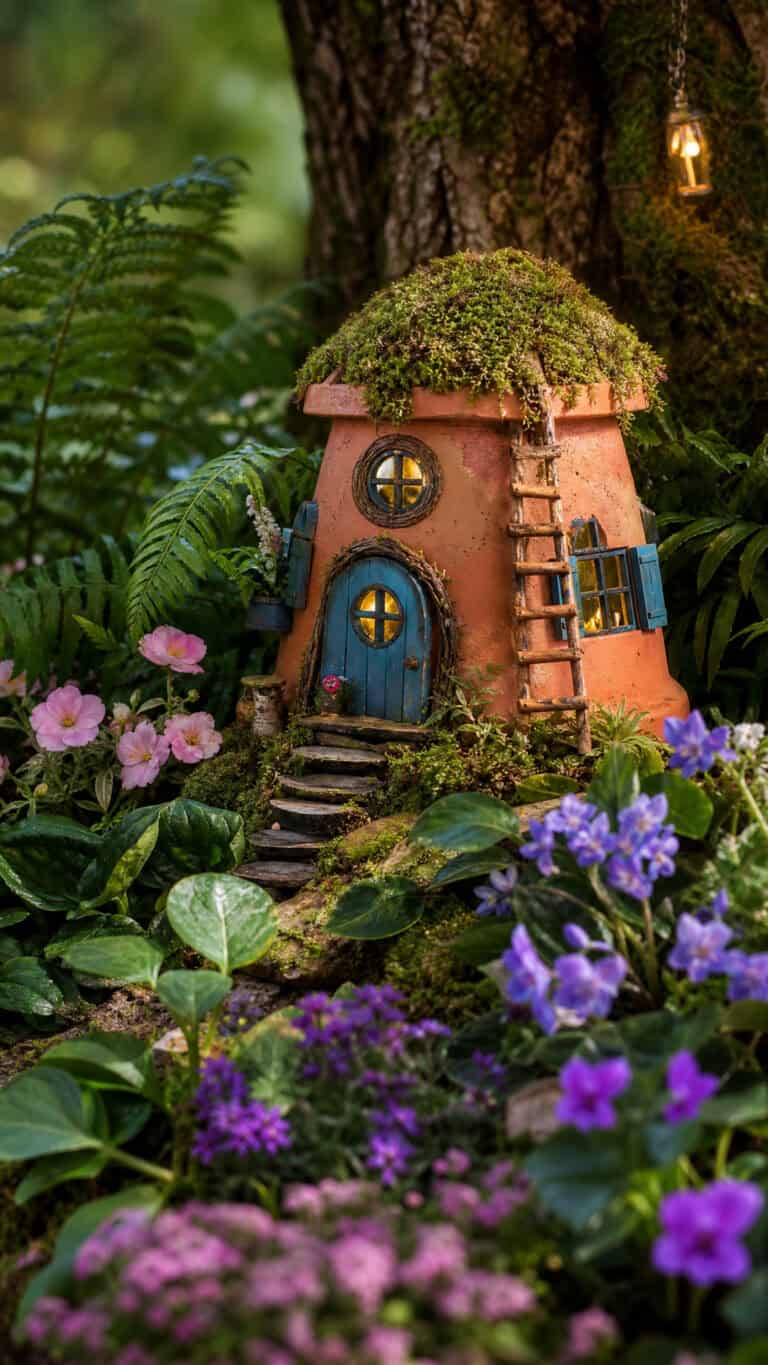
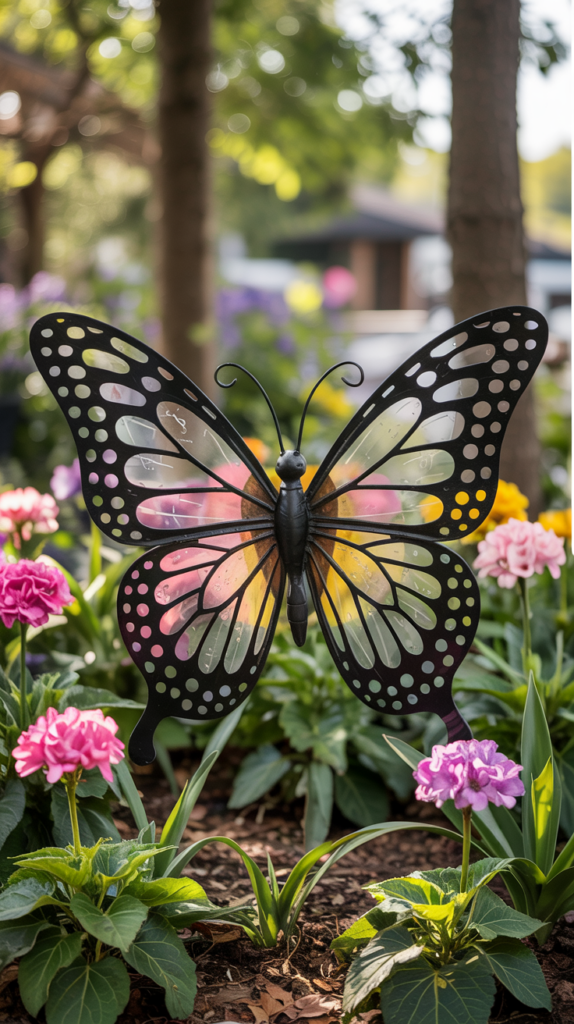
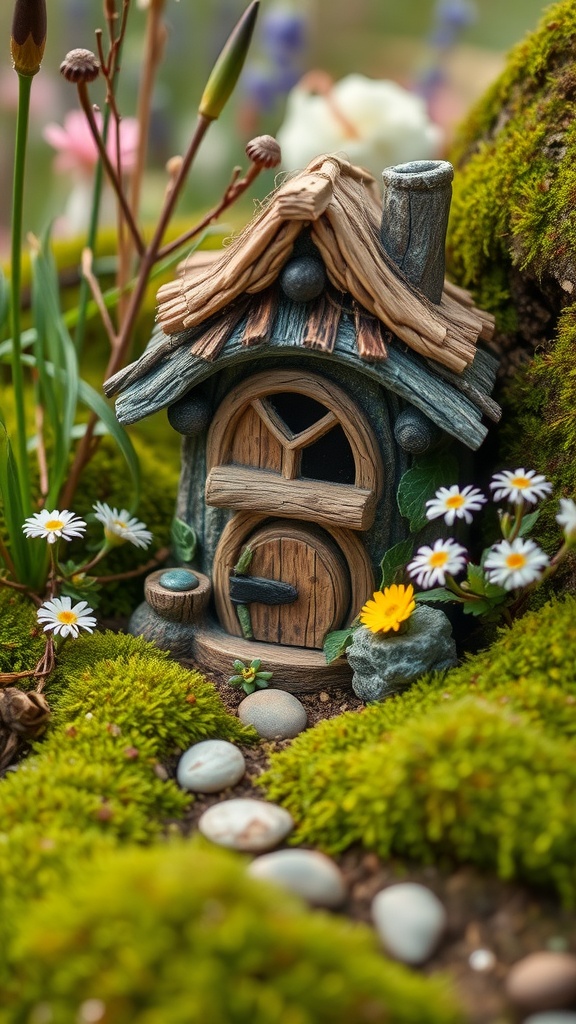
On the flip side, a whimsical fairy garden might be right up your alley if your kiddos are into stories and magic. Use upcycled materials to craft little houses for the fairies and scatter twinkle lights to make it glow at night. A tiny door at the base of a tree or miniature furniture tucked into the flowerbeds can turn your yard into a whole other world. It’s amazing how much wonder these little spaces spark—my youngest still talks about the “fairy footprints” he spotted last summer (okay, so maybe those were mine, but he doesn’t need to know that).
When you let your family’s personality shine through, your garden stops being just a yard and becomes a fun, creative retreat. So, start brainstorming—what gets your family excited? Whatever it is, roll with it!
Repurposing Sentimental Items
There’s something heartwarming about giving old items a second life in the garden, especially when those items are tied to cherished memories. I’m a sucker for finding a new purpose for things we don’t use anymore—it’s like sprinkling little pieces of our story throughout the yard.
For example, when my boys outgrew their toy trucks, I couldn’t bear to part with all of them. Instead, we turned a few into unique planters! We filled the truck beds with soil, planted bright flowers, and arranged them in a corner of our garden. Now, every time we see those trucks, I’m reminded of all the hours they spent playing with them in the backyard.
Old furniture can also make for some truly one-of-a-kind garden art. An old wooden chair, for instance, can live a second life with a coat of weatherproof paint and a flowerpot where the seat used to be. Or maybe you’ve got a chipped bowl or cracked teapot you can’t bring yourself to toss—those make fantastic planters for herbs or succulents. My favorite memory is transforming my grandma’s rusty watering can into a flower feature. Seeing it every day feels like a little nod to the past while adding charm to the present.
The great thing about repurposing sentimental items is that it makes your garden feel deeply personal. Every piece carries its own little story, and honestly, isn’t that what makes a space truly yours?
Incorporating Seasonal and Holiday Themes
Decorating your outdoor space to match each season or holiday is one of my favorite ways to keep things fresh and exciting throughout the year! Plus, it’s a creative project that gets everyone involved—my boys love it, and it’s become a little tradition around here.
In the fall, nothing says cozy like pumpkins and warm, earthy tones. We like to paint small pumpkins together, with everyone picking their designs—polka dots, silly faces, or whatever they can think up. Instead of carving pumpkins (which can get messy fast), we also use some of them as planters! Just scoop out the inside, pop in some fall blooms like mums, and voilà! Add a hay bale or two for texture, and your yard is instantly autumn-ready.
Come winter, it’s all about snowflakes and sparkle. We’ve made snowflake ornaments out of craft sticks and hung them on tree branches, like a little garden winter wonderland. If you’re feeling adventurous, you could even spray-paint twigs white and use them to create a frosty centerpiece for a porch planter. Adding a string of white lights (even fairy lights) makes the snowy theme last through those long winter evenings.
Spring and summer are when things come to life—literally. In spring, we make garden decorations out of colorful pinwheels and hang pastel egg garlands. My favorite summer project is designing sun catchers with the kids. We use glass beads or plastic lids, string them together, and hang them where they’ll catch the most light. Nothing says summer like those bursts of color dancing across the yard!
The beauty of changing things with the seasons is that it keeps your outdoor space dynamic and fun. It’s also a creative way to celebrate together as a family. And let’s face it—who doesn’t love an excuse to make more crafts?
Tips to Make DIY Garden Art Projects Successful
When it comes to DIY garden art projects, a little bit of planning and a few thoughtful choices can go a long way in making the experience both fun and rewarding! I’ve learned over the years that taking a few extra steps to set yourself up for success can mean the difference between a smooth, stress-free crafting day and… utter chaos (been there, done that!). Here are my tried-and-true tips to keep your projects enjoyable, creative, and meaningful.
Getting the Right Supplies Ahead of Time
Picture this: You’ve just gathered the kids around the table, excitement is bubbling, everyone’s ready to dive in… And then you realize you’re out of paintbrushes or glue. Ugh! This is why I always say it’s so important to stock up before starting any DIY project. A little preparation can save your sanity.
For most DIY garden art projects, you’ll want to have these basic tools and supplies on hand:
- Paints (acrylic paints or outdoor-safe options for weatherproofing)
- Paintbrushes in different sizes
- Hot glue gun and glue sticks
- Strong craft glue for the kids
- A reliable sealer (clear spray works wonders to protect painted items)
- Scissors and garden-friendly string or twine
- Recyclable materials like cans, jars, or cardboard
- An old sheet or tarp for messy projects
I like to group all the materials into a little DIY “kit” the night before. Trust me, this tiny step makes a world of difference when you’re working with kids! If you’re tackling something more specific, like wind chimes or stepping stones, jot down a checklist of materials specific to that project. It’s a simple way to avoid forgetting something important… and it reduces those last-minute trips to the store!
Plus, having everything ready gives the kids a sense of excitement—they see everything laid out and boom, they’re instantly in the mood to create. No waiting around while mom scrambles for forgotten supplies!
Letting Kids Take the Lead
Here’s one thing I’ve learned as a mom of three boys: the projects we do together are always more special when I let them take the creative reins. Sure, it’s tempting to “fix” their uneven paint strokes or suggest a different design (I’m guilty of this all the time)… but letting them express their ideas their way? That’s where the magic happens.
Even young kids can contribute in meaningful ways. My youngest often comes up with the funniest color combinations, and my older boys love turning whatever we’re working on into something totally unexpected—like turning an old tin can planter into a “robot.” Not Pinterest-perfect, but completely awesome.
Here’s how I make it work:
- Ask for their ideas first. Before jumping in with suggestions, let them brainstorm what they want to create. It’s incredible to see where their imaginations go!
- Give them choices. Set out a variety of materials and let them pick. Kids love being in charge, and it really makes them feel like it’s their project.
- Celebrate the imperfections. That wonky painted rock or slightly lopsided bird feeder? It’s not a mistake—it’s their unique touch. I always try to gush over what they’ve made, because their little faces light up.
And here’s a bonus: Letting kids lead not only boosts their confidence, but it makes the process way more enjoyable for everyone. You’ll end up with garden decorations that are full of character (and some hilarious backstories). Those “flaws” are what you’ll treasure the most years down the road.
Making It Eco-Friendly
One of the best parts of DIY garden art is how easy it is to make it eco-friendly. It’s such a great way to teach kids about reusing and recycling—without turning it into a boring lecture. Plus, using natural or recycled materials often adds a rustic, charming vibe to your creations. It’s a win-win!
Here are a few of my go-to tips:
- Raid your recycling bin. Empty jars, tin cans, bottle caps, and even cardboard can all be turned into something wonderful. For example, we once made “flower” sculptures from colorful bottle caps and glued them onto old wooden stakes. They’ve been in our garden for months, and they still look amazing!
- Get outdoors for natural materials. Head outside and gather sticks, smooth rocks, pinecones, or seashells. These can be used for everything from wind chimes to painted ornaments. Sticks, in particular, are a favorite in my house—they’re free, versatile, and kids love breaking off just the right size.
- Reuse what you already have. Old furniture, broken pots, chipped dishes—don’t throw them away! These “junk” items often make the best garden art. One year, we painted a cracked teapot and used it as a planter. It ended up being one of my favorite projects ever.
I also like to be mindful of using non-toxic paints or glues, especially since the finished projects will be outside where they can affect plants and critters. Outdoor-safe, water-based products are usually a safer choice, and they hold up well to the weather too!
Finally, make cleanup part of the fun. We turn it into a mini scavenger hunt to make sure there’s no trash left behind, reminding the kids that taking care of the earth is just as important as creating something beautiful. It’s little lessons like this that stick with them, you know?
With these simple tips, you’ll not only create beautiful, personalized garden art, but you’ll also make the process fun, memorable, and meaningful for your family. Every painted rock or handmade wind chime becomes a little piece of your story, shining brightly in your outdoor space!
Conclusion
DIY garden art projects are such a fun way to bring your family together while adding that personal charm to your outdoor space. Whether it’s painting rocks, crafting wind chimes, or turning old cans into colorful planters, these little creations aren’t just decorations—they’re memories you’ll treasure forever. Plus, they remind us that some of the best things in life come from simple moments spent with the people we love.
So, grab the kids, pull out those paints, and start transforming your yard today! You’ll not only create a space that feels uniquely “you” but also enjoy the laughter, creativity, and pride that come with it. What’s your first project going to be? I can’t wait to hear about it!
This post may contain affiliate links. Read the full disclosure here.