Creating a spectacular Halloween display doesn’t have to mean spending a fortune at the store or having advanced crafting skills! As a mom of three energetic boys who absolutely live for Halloween, I’ve learned that sometimes the most impressive decorations are the ones you make yourself. A DIY Halloween archway outdoor display is honestly one of the best projects you can tackle because it creates such a dramatic entrance to your home and makes trick-or-treating feel extra magical for the kiddos!
The best part about making your own archway is that you can customize it to match your family’s style and budget. Whether you want something spooky and scary or fun and whimsical, this project is totally doable even with little ones running around asking for snacks every five minutes! I’ve broken down everything you need to know into simple steps that you can tackle during naptime or after bedtime.
Gathering Your Materials and Planning Your Design
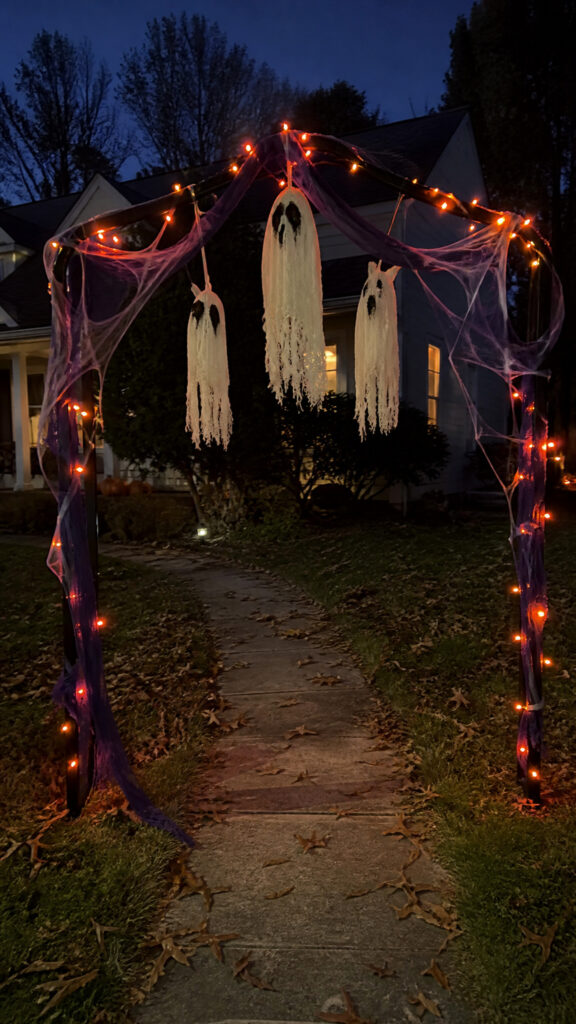
Before you start building, you’ll want to gather all your materials so you’re not making multiple trips to the store with kids in tow! Trust me, I learned this lesson the hard way. For a basic DIY Halloween archway outdoor structure, you’ll need PVC pipes (I recommend 1-inch diameter), PVC connectors, zip ties, and something to anchor your archway into the ground.
The beauty of using PVC pipes is that they’re lightweight, affordable, and super easy to work with! You can find everything at your local hardware store, and the staff there are usually really helpful if you need advice. I always bring my phone with a sketch of what I’m planning so I can show them exactly what I need.
Here’s a basic materials list to get you started:
- Four 10-foot PVC pipes (1-inch diameter)
- Four PVC elbow connectors
- Two PVC T-connectors
- Zip ties in black (you’ll need lots!)
- Rebar stakes or ground anchors
- Black spray paint (optional but makes everything look more professional)
- Decorative elements like faux spider webs, hanging ghosts, string lights, or fabric
When planning your design, measure the width of your walkway or the area where you want to place your archway. My front walkway is about 4 feet wide, so I made my archway about 5 feet wide to give it a nice presence without blocking the entire path. You want trick-or-treaters to feel like they’re entering a spooky portal, but you also don’t want to create a traffic jam!
Building the Basic Archway Frame
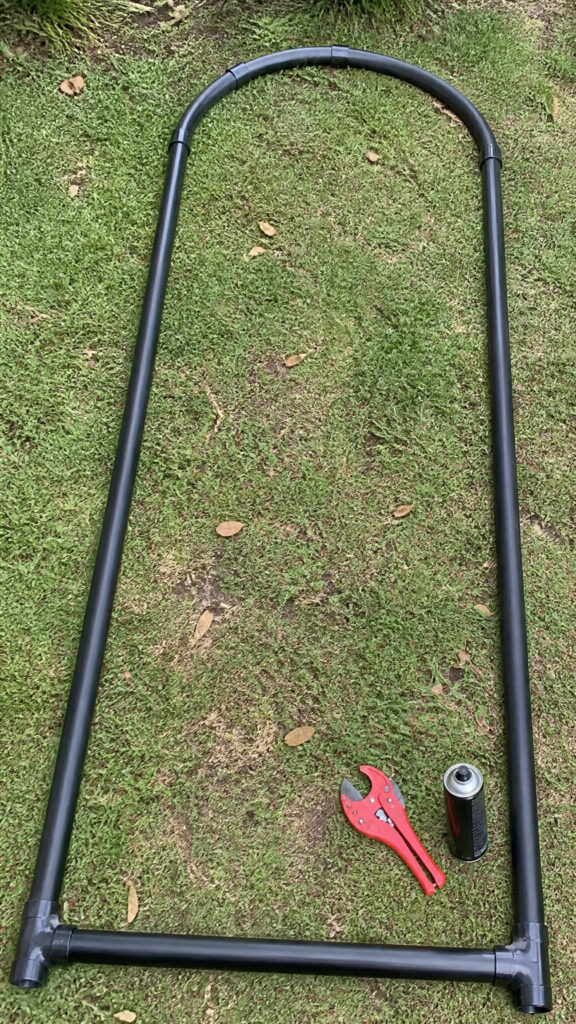
Now comes the fun part – actually building your structure! The great thing about this project is that you don’t need any special tools. Seriously, if I can do this while keeping an eye on three boys who think wrestling is an indoor sport, you can totally handle it!
Start by laying out all your PVC pipes and connectors on the ground to visualize your design. For a basic arch, you’ll create two vertical supports and connect them with curved or straight pieces across the top. I prefer a rounded arch because it looks more dramatic, but a squared-off archway is actually easier to build and just as effective!
To create the frame, follow these steps:
- Cut your PVC pipes to size using a PVC cutter or hacksaw (this is where having exact measurements really helps!)
- For the sides, you’ll want two pieces that are about 7-8 feet tall
- Connect the pieces using your elbow and T-connectors – the T-connectors will be where you attach your ground stakes
- For the top arch, you can either use one long curved piece or connect several shorter pieces with connectors to create the curve
- Don’t glue anything yet! Dry-fit everything first to make sure it all works together
Once you’ve got everything connected and you’re happy with how it looks, you can either leave it as-is or use PVC cement to make permanent connections. Honestly, I skip the cement because I like being able to take it apart for storage, and zip ties hold everything together surprisingly well once you add the decorations!
If you want your DIY Halloween archway outdoor display to look extra polished, spray paint all the PVC pieces black before assembling. This makes such a huge difference and helps the structure blend in with your spooky decorations! Just make sure to do this in a well-ventilated area (aka the garage with the door open) while the kids are occupied elsewhere.
Securing Your Archway to the Ground
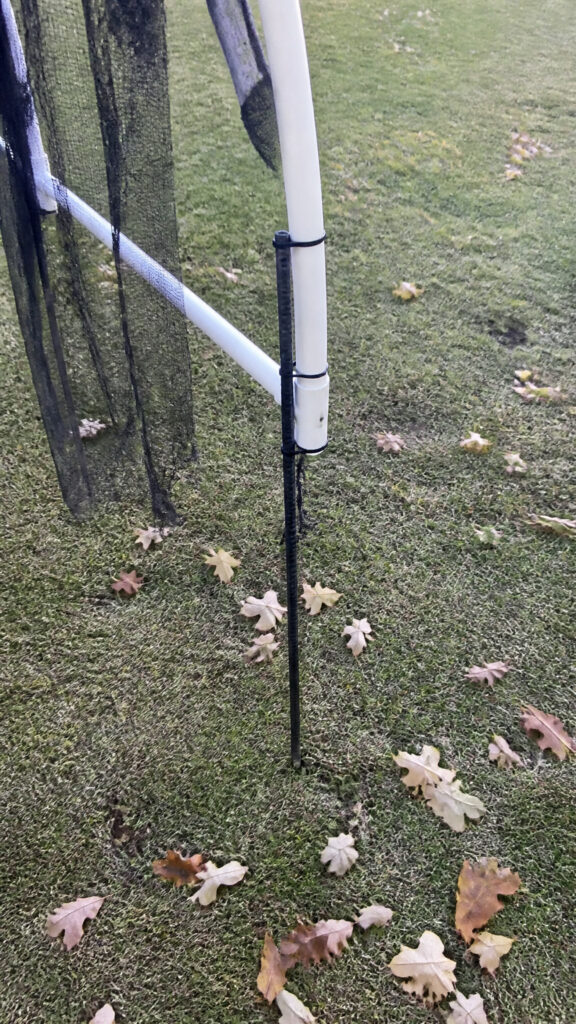
This step is super important, especially if you live in an area with wind! The last thing you want is your beautiful archway toppling over onto a group of trick-or-treaters. Safety first, spooky second, as I always tell my boys!
The easiest way to anchor your archway is using rebar stakes or ground anchors. You’ll push these into the ground at the base of each vertical support, and then attach your PVC pipes to them. If you’re setting up on concrete or a porch, you can use weighted bases instead – think large planters filled with sand or concrete blocks.
Here’s how to secure everything properly:
- Mark where each vertical support will stand and push rebar stakes about 12-18 inches into the ground
- Slide your PVC pipes over the rebar stakes (this is why those T-connectors at the base are so handy!)
- Use additional zip ties to secure the pipes to the stakes for extra stability
- Test the stability by giving it a gentle shake – it should feel solid and not wobble
- If it still feels unstable, add guy-lines (basically just strong cord) from the top of the arch to stakes in the ground at angles
I learned the hard way during my first year that you really need to overestimate how secure things need to be! A surprise windstorm the night before Halloween nearly took down my entire display, and I spent an hour in the dark with a flashlight re-securing everything while my husband wrangled the boys inside. Now I always add extra reinforcement, and I check the weather forecast obsessively starting a week before Halloween!
Adding Spooky Decorations and Lighting
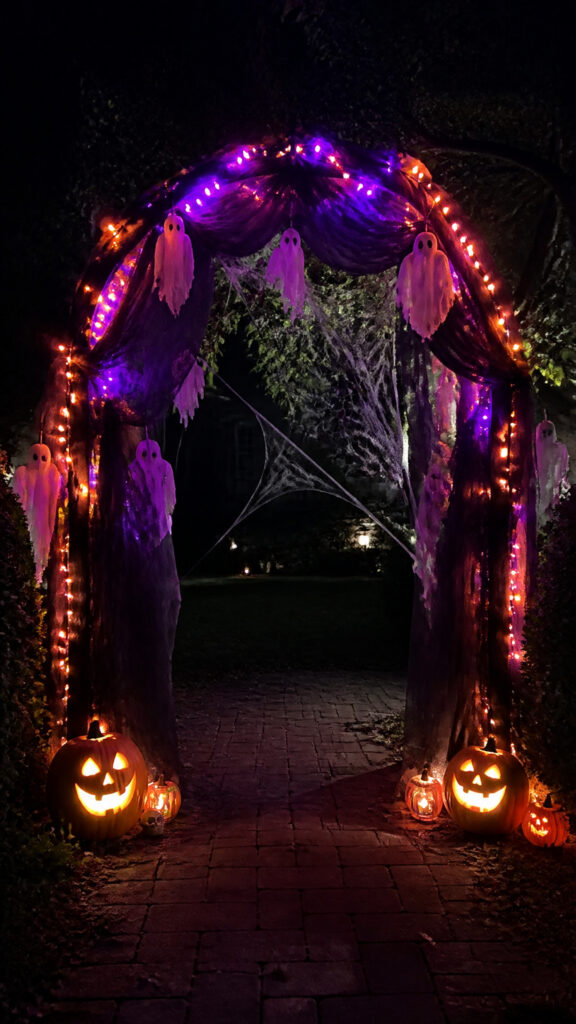
This is where your DIY Halloween archway outdoor display really comes to life! The decorating part is honestly my favorite because you can get the kids involved, and they absolutely love it. My three boys have very different ideas about what makes something spooky, so we usually end up with an eclectic mix that somehow works!
Start with a base layer of decoration – this could be black fabric, faux spider webs, or even twisted crepe paper streamers. I love using black tulle because it’s inexpensive, easy to work with, and creates a nice ethereal effect when it blows in the wind. Just drape it over the top of your arch and secure it with zip ties or twist ties.
Here are some decoration ideas that work beautifully:
- String lights – orange, purple, or even color-changing LED lights create amazing ambiance!
- Hanging ghosts or bats suspended from the top of the arch with fishing line
- Faux spider webs stretched across the structure with plastic spiders tucked into them
- Hanging lanterns or LED candles for a spooky glow
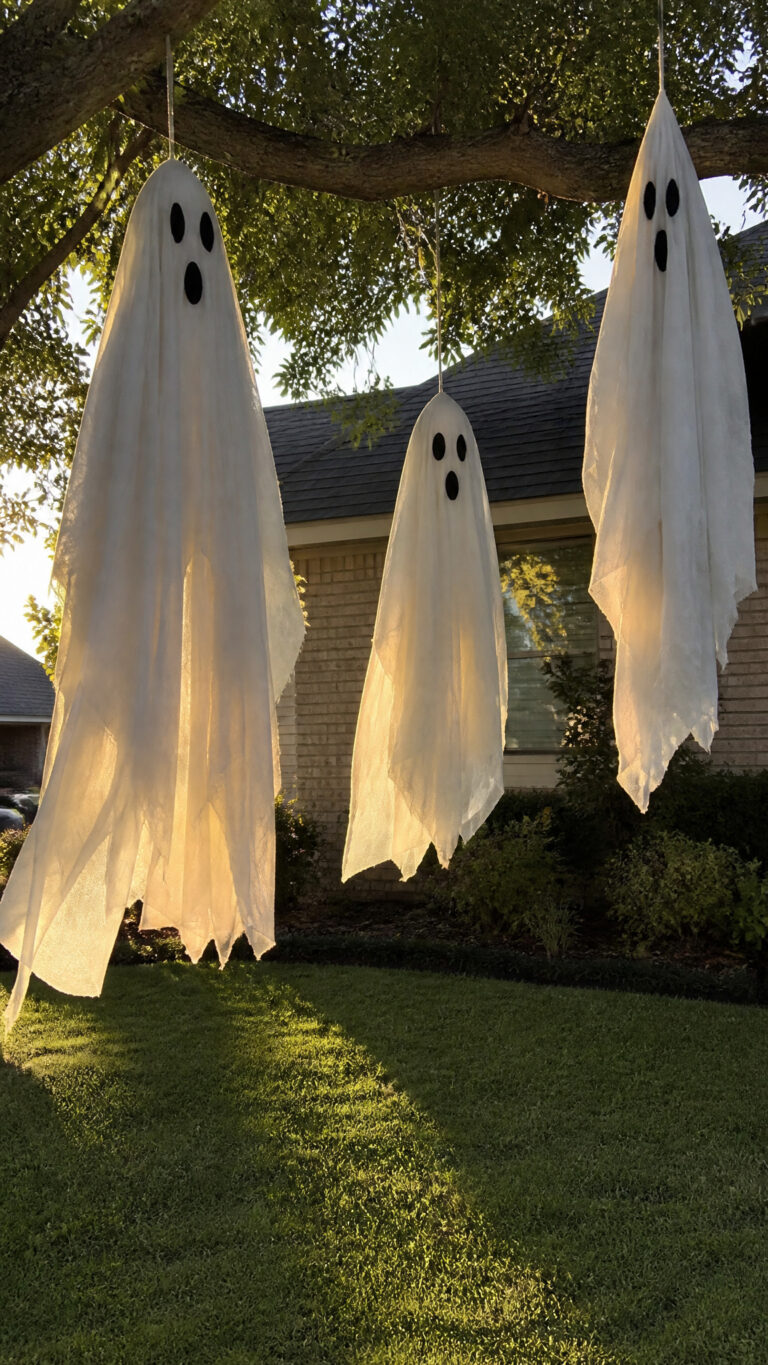
- Creepy cloth or cheesecloth draped and torn for a haunted look
- Foam tombstones or signs attached to the sides
- Inflatable decorations secured to the frame
- Dried corn stalks or branches zip-tied to the sides for a harvest feel
When adding lights, battery-operated LED string lights are your best friend! They’re safe, you don’t have to worry about extension cords creating tripping hazards, and they last for hours. I wrap them around the frame first, then add the fabric and other decorations on top. This creates depth and makes everything glow from within!
Don’t forget about the sides and base of your archway too! Adding some decorative elements at ground level helps tie everything together. I usually place some pumpkins, hay bales, or those solar-powered stake lights along the walkway leading up to the arch. It creates a whole spooky pathway experience that the kids go absolutely crazy for!
Creating Different Theme Variations
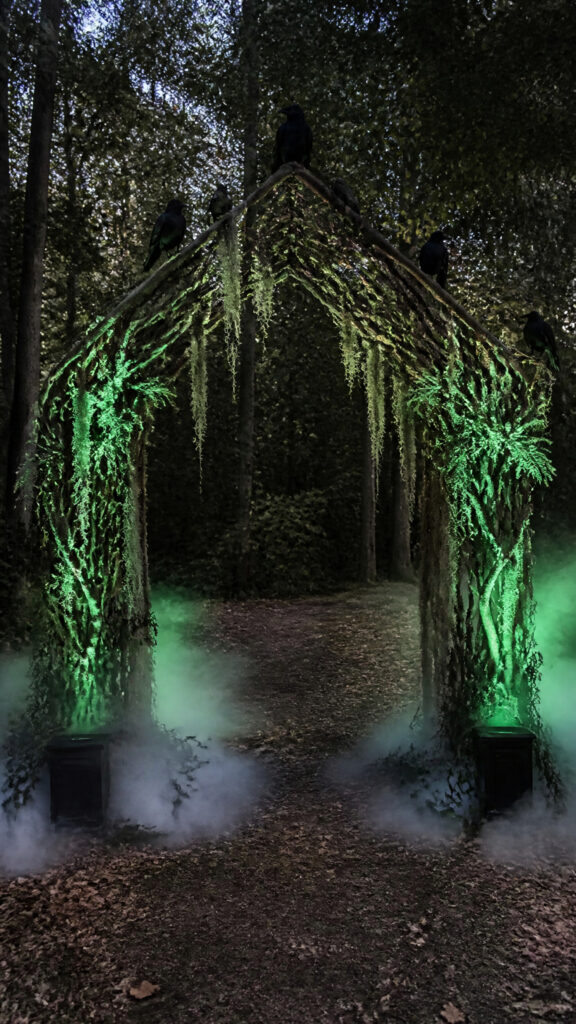
One of the coolest things about making your own DIY Halloween archway outdoor structure is that you can completely customize it to match whatever theme you’re going for! Over the years, I’ve created different versions, and each one has been a hit with the neighborhood kids.
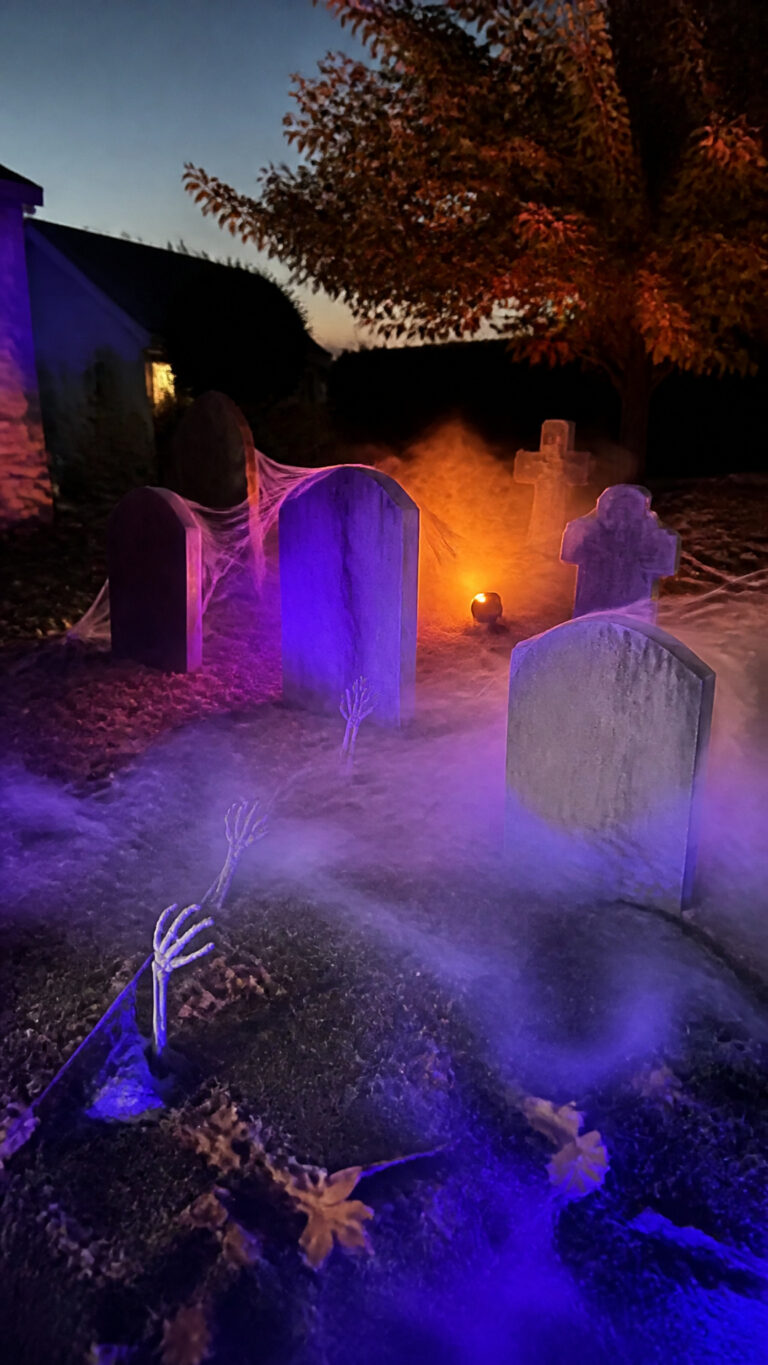
For a classic spooky cemetery theme, I draped black fabric over the arch and added hanging skeletons, tombstone cutouts, and lots of spider webs. We even added a fog machine at the base (which my middle son thought was the coolest thing ever), and it created this amazing effect where trick-or-treaters had to walk through the mist!
Here are some theme ideas you can try:
- Haunted Forest: Wrap the archway with artificial vines and branches, add hanging moss, attach fake ravens or crows, and use green uplighting for an eerie glow
- Witch’s Lair: Drape purple and black fabric, hang witch hats and broomsticks, add cauldron decorations, and string up some potion bottle props
- Candy Corn Lane: For a kid-friendly approach, use orange, yellow, and white decorations, add oversized candy props, and keep it bright and cheerful
- Spider’s Nest: Go crazy with spider webs, hang multiple sizes of spiders, add some egg sac props, and use white string lights to make the webs glow
- Pumpkin Patch Portal: Cover the arch with faux fall leaves, attach foam pumpkins all over, add some scarecrow elements, and use warm orange lighting
- Ghostly Gateway: Keep it simple with white fabric draped to look like flowing ghosts, add hanging ghost decorations, and use cool white lights
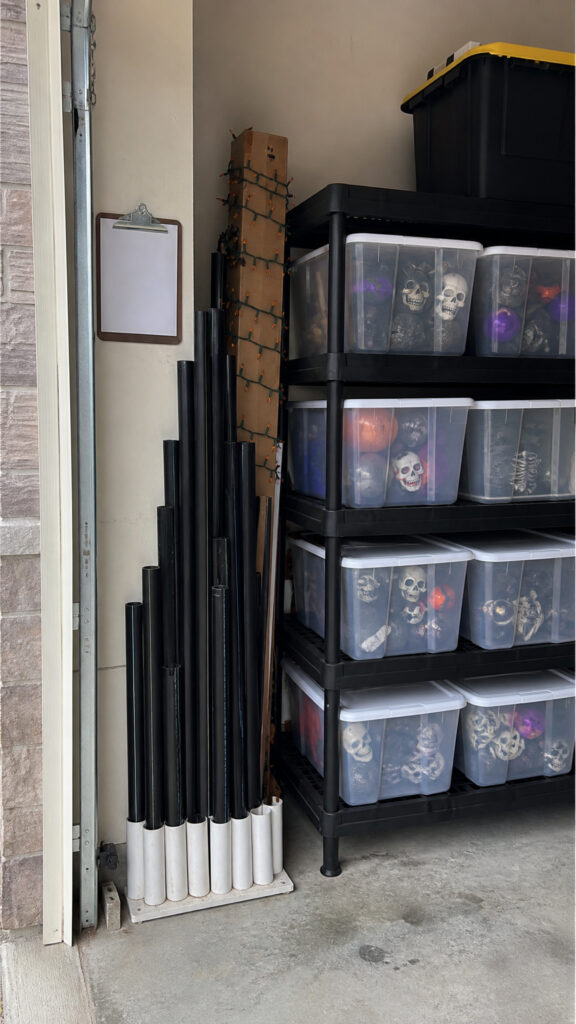
The best part about having a basic frame is that you can completely change the look from year to year just by swapping out the decorations! I store all my decorations in labeled bins in the garage, organized by theme. Yes, I’m that mom who has a whole organizational system for holiday decorations, and honestly, it makes setting up so much faster!
Safety Tips and Weather Considerations
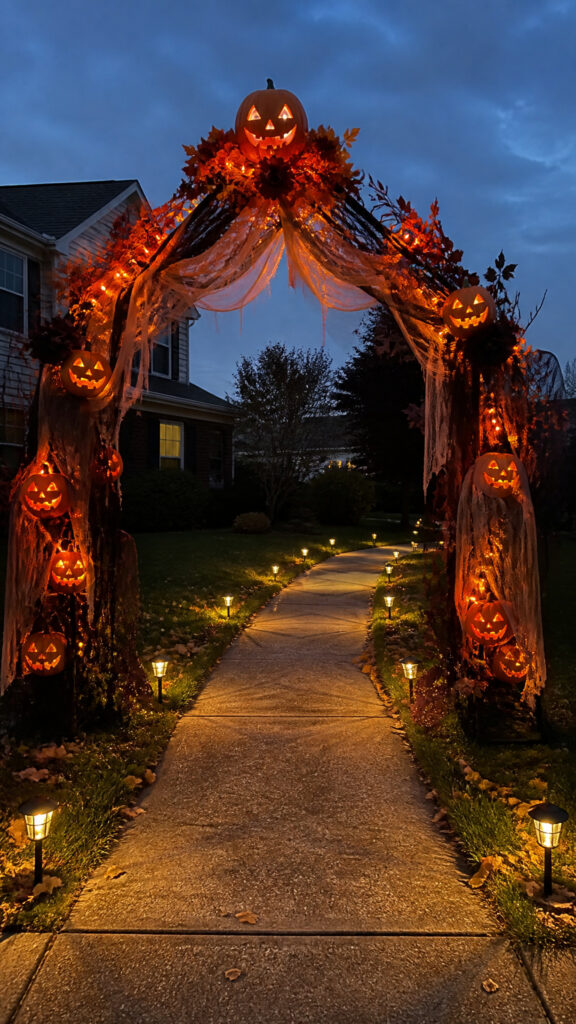
As much as we want our displays to look amazing, safety has to come first, especially when you have little ones running around! I’m always thinking about what could go wrong because, let’s be honest, if something can happen with three boys around, it probably will!
Make sure your archway is tall enough that even adults can walk through comfortably without ducking. I aim for at least 7 feet of clearance because some parents are tall, and you don’t want anyone bonking their head on your decorations! Also, keep the walkway underneath clear and well-lit so nobody trips. I use those solar pathway lights along the sides to make sure the path is visible.
Important safety considerations include:
- Secure all electrical cords with tape or cord covers to prevent tripping hazards
- Use only outdoor-rated lights and extension cords if you’re using plug-in decorations
- Make sure nothing is hanging low enough to hit someone in the face
- Avoid using real candles – stick with LED flameless candles instead
- Check that all decorations are securely attached and won’t fall on anyone
- Keep the archway away from any fire hazards or heat sources
- Make sure the structure is stable enough to withstand kids bumping into it (because they will!)
Weather is another big consideration! I always check the forecast before Halloween and have a backup plan. If high winds are predicted, I’ll sometimes take down the lighter decorations or add extra reinforcement. Rain isn’t usually a huge problem since most decorations can handle getting wet, but if you’ve used cardboard elements or paper decorations, you might want to bring those in.
I also recommend doing a test setup a few days before Halloween! This gives you time to make adjustments, add more zip ties where needed, and fix any issues before the big night. Plus, it builds excitement for the kids, and they love watching the transformation happen over several days!
Storage and Reusability Tips
After spending time and money creating your DIY Halloween archway outdoor display, you’ll definitely want to use it again next year! The good news is that with proper storage, your archway can last for many Halloweens to come. I’m still using the same basic frame I built four years ago!
When Halloween is over and you’re ready to take everything down (usually November 1st at my house because the boys want to start planning for next year immediately), disassemble your archway carefully. If you didn’t use PVC cement, everything should come apart easily. I label each piece with colored tape so I know what connects where – red tape for the left side, blue for the right side, and green for the top pieces. This makes reassembly so much faster next year!
Storage tips that actually work:
- Store PVC pipes in a long, flat area like under a bed, in the garage rafters, or along a basement wall
- Keep all connectors and small parts in a labeled plastic bag attached to the pipes
- Wrap string lights around cardboard pieces before storing to prevent tangling (this saves SO much frustration!)
- Store fabric decorations in plastic bins with mothballs or cedar blocks to prevent damage
- Take photos of your finished archway from multiple angles before taking it down – these are super helpful when you’re setting up next year and can’t remember exactly how you did it
- Make a quick inventory list of what decorations you used and tape it to your storage bin
- Store everything in a dry location to prevent mold and mildew
I also keep a small notebook where I jot down what worked well and what I want to change for next year. Maybe the spider webs didn’t stay put in the wind, or the lights weren’t bright enough, or I want to add more decorations to one side. These notes are goldmine when I’m planning next year’s display!
The reusability factor is honestly one of the biggest advantages of creating your own archway! While store-bought inflatables might last a season or two, a well-built PVC frame can last for years. You can keep the same frame and just change up the decorations to create completely different looks, which means you’re getting tons of value from your initial investment of time and materials!
Your Spooky Masterpiece Awaits!
Creating a DIY Halloween archway outdoor display is such a rewarding project that brings so much joy to your family and neighborhood! Every year, I love seeing the excitement on kids’ faces (including my own three boys!) when they walk through our spooky archway. It’s become a tradition that the neighborhood kids actually look forward to, and several other families have started making their own versions too!
The best part is that you can start simple and add more each year as your budget and time allow. Don’t stress about making it perfect the first time – just have fun with it! Get the kids involved in the decorating process, let them share their spooky ideas, and create some wonderful Halloween memories together. Trust me, the joy and excitement this brings is worth every minute of setup time, and you’ll be so proud when you see your creation lighting up your front yard!
This post may contain affiliate links. Read the full disclosure here.