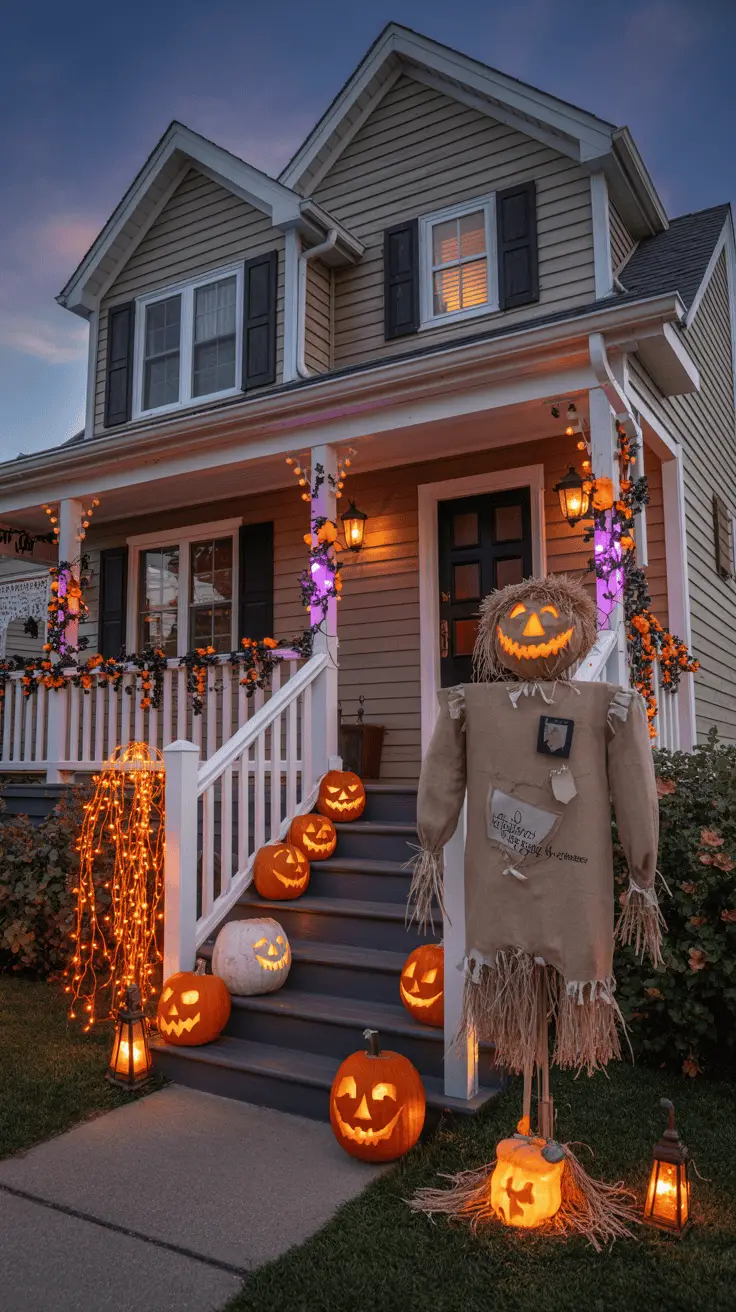
How To Do Halloween Decorations for the Yard That Go All Out
Halloween is one of my favorite times of year, especially with three energetic boys who love all things spooky and fun! Creating halloween decorations for the yard that go all out is our way of turning the neighborhood into a playful, eerie wonderland everyone remembers. It’s not just about the scares; it’s about the laughs, the “wow” moments, and those little faces lighting up as they take in every creepy detail!
This yard skeleton set makes your lawn look like a full haunted attraction.
I’ve found that going big on decorations makes the whole experience so much more exciting for the kids and the neighbors alike. Whether it’s glowing pumpkins, creepy crawlies, or unexpected surprises around every corner, a yard decorated with heart and a bit of spook really brings the Halloween spirit to life. Stick with me, and I’ll share ideas that are charming, playful, and perfect for making your yard the talk of the block!

Planning Your Halloween Yard Decoration Extravaganza


When it comes to creating halloween decorations for the yard that go all out, a little planning goes a long way. I’ve learned that deciding early on exactly what kind of spooky fun you want makes everything fall into place easier. From picking a theme everyone loves to managing the budget without losing flair, and keeping everything safe for little ones and pets, these steps get you set up for an unforgettable Halloween display!
Choosing a Theme That Thrills the Whole Family


Picking a theme that gets both the kids and adults excited can be as simple as thinking about what makes you all smile or jump in your seat. Here are a few popular ideas that tend to please everyone:
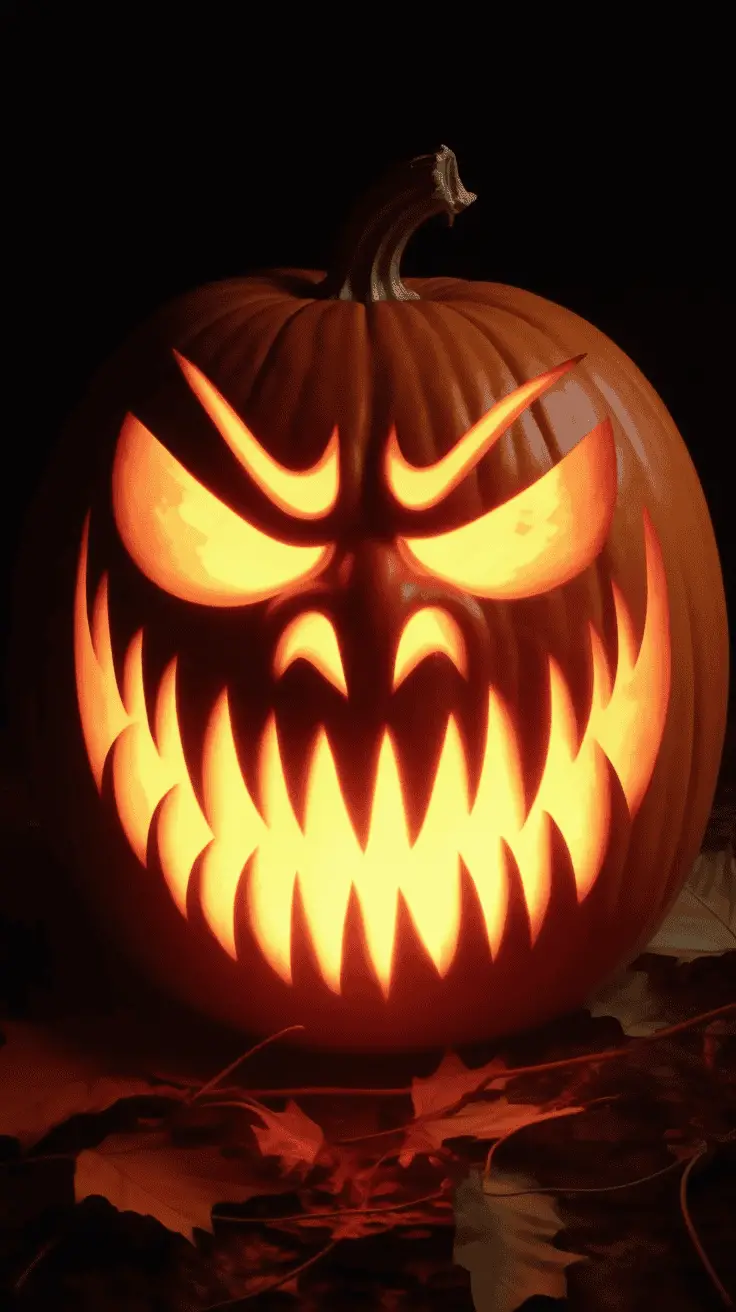
- Classic spooky: Think haunted houses, drifting fog, jack-o’-lanterns with wicked grins, and ghostly figures that flutter in the breeze. It’s timeless and perfect if you want a little spine-tingle without being too scary for the young ones.
- Whimsical and playful: Imagine friendly witches, goofy skeletons, or colorful monsters that look like they stepped out of a storybook. This style leans into fun and laughter over frights—perfect for little kids who love costumes and candy but aren’t quite ready for full-on haunt mode.
- Funny and lighthearted: From silly zombies chasing after candy to pumpkins wearing sunglasses, these decorations keep the mood cheerful. It’s a great way to get smiles from neighbors and make your yard feel welcoming.
I love involving my boys in this step because their excitement shapes what we build together. Sometimes we mix themes, like a spooky haunted graveyard with some goofy ghosts sprinkled in to keep things fresh and fun for everyone!
Budgeting Without Sacrificing Creativity


Halloween can get expensive fast, especially when you want your yard to stand out. But trust me, you don’t need to break the bank to make a statement. Here’s how I balance creativity with savings:
- Set a clear budget first: Decide how much you’re comfortable spending overall. This helps keep impulse buys in check.
- DIY where you can: Making your own decorations can be surprisingly easy and fun. For example, carved pumpkins, painted signs, or homemade spider webs made from cotton balls stretch your dollars and add a personal touch.
- Choose one or two statement pieces to splurge on: Maybe it’s a life-size animatronic witch or a fog machine. These big hits bring wow factor and can be reused year after year.
- Shop sales and thrift shops: I’ve found amazing decor pieces at clearance sales or secondhand stores that just need a little love.
- Repurpose household items: Old jars can become creepy lanterns, and cardboard boxes turn into tombstones quickly with some paint.
This mix of paying for quality pieces and crafting my own keeps Halloween fun and budget-friendly. Plus, involving the kids in making decorations is always a highlight!
Safety Tips for Outdoor Halloween Decorations

While creating a spooky scene is exciting, safety has to come first. I like to make sure that my decorations don’t become hazards for my kids, trick-or-treaters, or our family pets. Here are my top tips:
- Lighting: Use plenty of soft, steady lights to avoid dark spots where someone might trip, especially around stairs and uneven ground. Solar or battery-powered LED lights work well outdoors and don’t tangle up in cords.
- Placement: Keep walkways clear and decorations away from spots where kids run or might bump into stuff. I place heavier items close to the house or fence to prevent tipping.
- Materials: Opt for flame-resistant or nonflammable decorations, especially if you use candles or tiki torches. Battery-operated flameless candles or string lights are much safer.
- Pet-friendly: Avoid decorations with small, loose parts animals might swallow. Also, keep cords high or tucked away to protect curious kittens or puppies from chewing.
By paying attention to these details, you can enjoy a jaw-dropping yard setup that’s safe and fun for everyone. It’s a real relief knowing the display looks amazing but won’t cause worries when little feet come knocking or the dog gets curious!
Planning your Halloween yard decorations this way helps make the whole project joyful, manageable, and memorable for the whole family. It’s all about balancing thrill, fun, and safety to create that perfect spooky vibe in your yard.
Spooky and Spectacular Yard Decoration Ideas That Wow

When it comes to halloween decorations for the yard that truly wow, I’ve discovered that combining classic favorites with creative twists makes all the difference. It’s about stacking layers of fun that catch the eye and invite smiles, shrugs, or a little spook. From creepy crawlies that make you do a double-take to glowing pumpkins arranged in fresh ways, these ideas have helped turn my yard into a place where everyone stops, looks, and remembers. Here’s what worked best for us!
Creepy Crawlies and Classic Halloween Figures

Nothing beats those timeless creatures that set the Halloween mood right away. Giant spiders dangling from bushes, skeletons propped in funny or eerie poses, drifting ghosts caught in the trees, and witches stirring their cauldrons—these figures are the backbone of any spooky yard. I like to place them where they surprise you a bit, like a spider clinging to the porch post or a skeleton sitting on a bench with a cheeky grin.
Here’s how I make them stand out:
- Position them at eye level to catch attention fast.
- Use fishing line or thin wire to hang ghosts so they sway gently in the breeze.
- Dress witches with a bit of tattered fabric and hats that tilt at just the right angle.
- Combine a big spider with webs made from cotton batting stretched tight to cover corners without blocking paths.
Classic characters never go out of style because they’re instantly recognizable and bring that familiar Halloween charm that kids and adults love.
Eye Catching Lighting Effects for a Haunting Ambiance
Lighting changes everything when decorating the yard. The right glow turns a simple display into something magical or mysterious long after the sun sets. I use a mix of string lights, colored spotlights, and animated lights to create scenes that draw people in.
Here’s what I do:
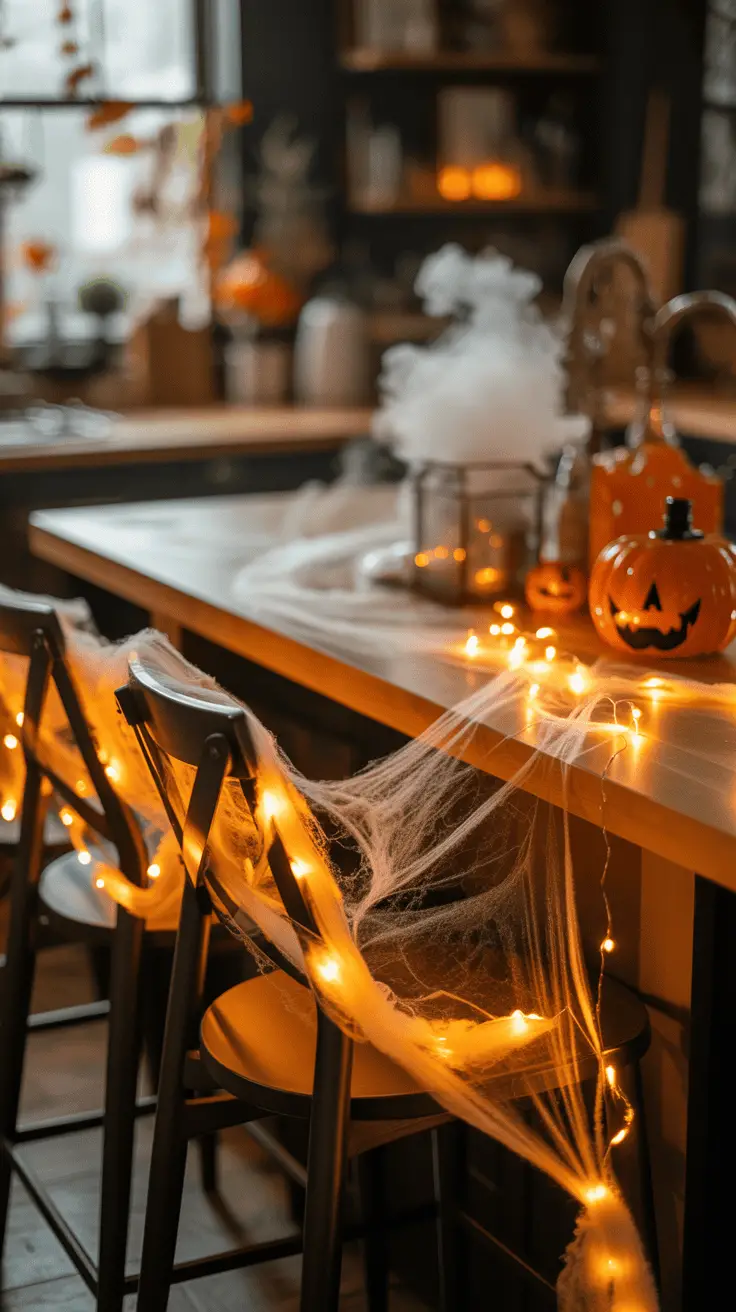
- Wrap purple or orange string lights around tree branches and railings to bathe the yard in spooky hues.
- Aim colored spotlights at key decorations like tombstones or pumpkins to highlight them dramatically.
- Use animatronic lights that flicker or pulse to mimic fire or eerie movement—it’s a subtle trick that grabs attention.
- Don’t forget soft pathway lights to help guests navigate safely while adding to the haunted feel.
Combining steady and moving lights sets the mood perfectly and keeps your yard the center of attention when twilight falls.
Creative Use of Tombstones and Haunted Graveyards

Creating your own graveyard is easier than you’d think, and it packs a big visual punch for Halloween. I like to scatter tombstones made from foam board or plywood, painted gray with funny or spooky epitaphs. It’s simple and fun to make these with the kids using stencils and chalk paint.
To get a real haunted graveyard feeling:
- Cluster tombstones close together but vary their heights and angles for a messy, weathered look.
- Add patches of fake moss or grass tufts to soften edges and make it feel “old.”
- Hide small speakers near the graves that play spooky sounds like distant howls, creaking wood, or ghostly whispers.
- Use garden stakes to stand skeleton hands or bones “breaking through” the dirt.
Turning the yard into a haunted graveyard adds that immersive element that gets everyone talking and coming back for more each year.
Pumpkin Displays Beyond the Jack-O’-Lantern

I love pumpkins, but I’m always looking for ways to show them off differently from the usual carved faces. This Halloween, I played around with stacking pumpkins into towers of different sizes, creating glowing clusters with battery tealights inside uncarved pumpkins, and painting them with fun patterns instead of carving.
Some tips you might want to try:
- Build a pumpkin tower by stacking large pumpkins at the bottom and smaller ones on top, secured lightly with wooden dowels or sticks.
- Paint pumpkins in metallic or neon colors for a modern, eye-catching look.
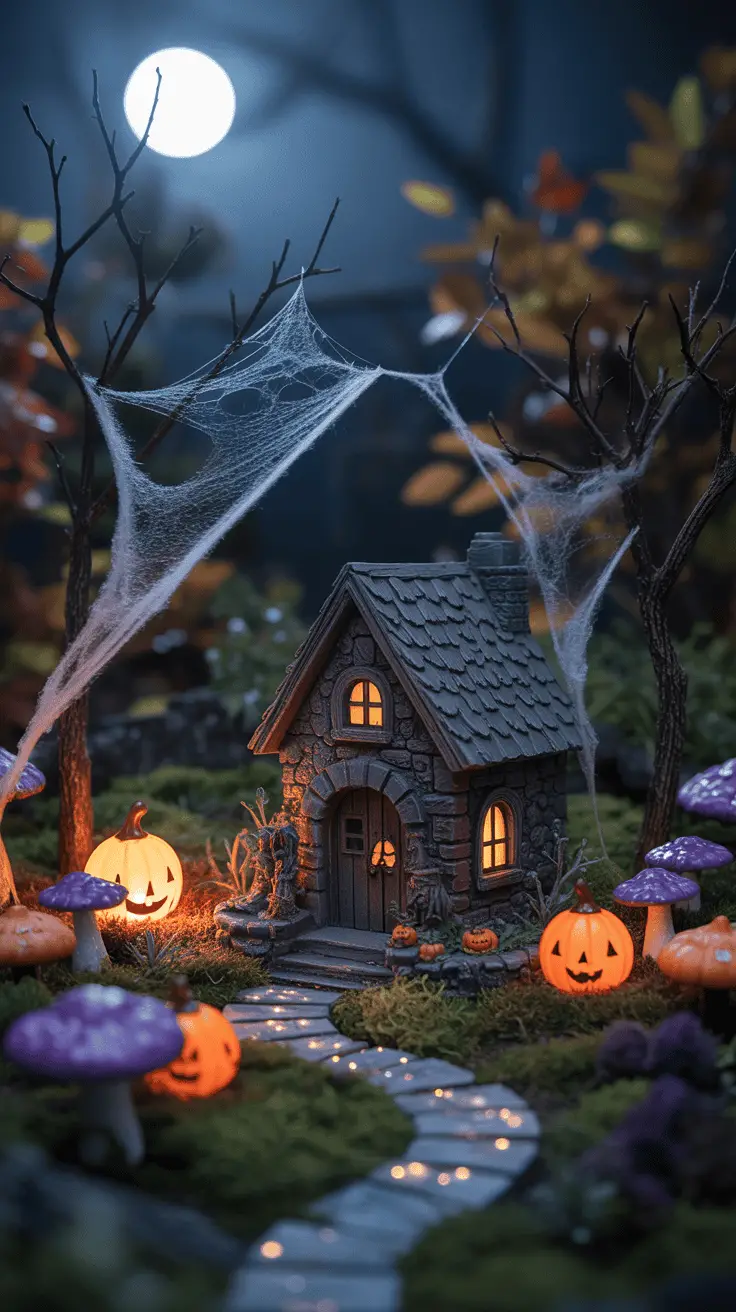
- Arrange glowing pumpkins in clusters near the walkway to guide guests in warmly.
- Mix traditional carved pumpkins with painted or decorated ones to give your display more depth.
Playing with pumpkin arrangements like this adds a fresh, whimsical vibe to your yard that’s sure to grab attention and inspire a few “how did you do that?” comments!
Putting together these yard decorations has made Halloween so much more exciting for our family. The mix of classics and new ideas brings plenty of charm and thrills all season long!
Interactive and Kid-Friendly Halloween Yard Decorations

When it comes to Halloween decorations for the yard that go all out, adding interactive and kid-friendly touches makes a big difference. My boys get so excited when they can actually move through the yard like it’s part of their trick-or-treat adventure. It turns the experience into something more than just looking at spooky stuff—it becomes a full-on Halloween event! I always try to include elements that are safe, engaging, and easy for little ones to enjoy without getting scared out of their wits. Here are some ideas I’ve used that really bring that playful spirit to life.
Candy Stations and Trick-Or-Treat Paths
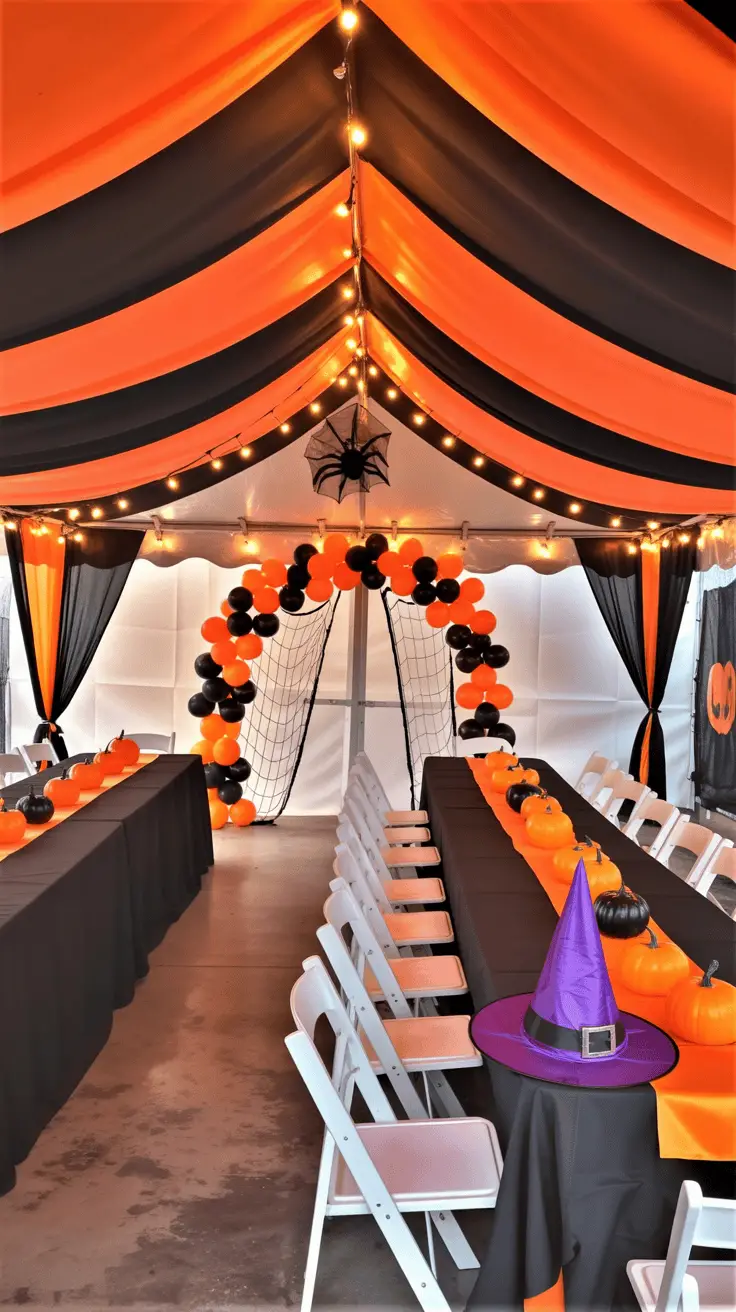
Creating dedicated candy stations is a fun way to help guide kids through your yard without any confusion or crowding. I like to think of it as setting a trail of mini celebrations, where each station feels like a small party spot before moving on to the next.
Here’s how I set them up:
- Bright, themed signs help kids know where to go next, like little markers with pumpkins, bats, or friendly ghosts. They make the path clear and add a decorative touch.
- Use string lights or small lanterns along the edges of your walkways to keep everything visible and cozy, especially since Halloween falls after dark.
- Place each candy station near a unique decoration or prop that matches the overall theme—think a witch’s cauldron, a spooky tree, or a smiling pumpkin patch.
- Keep the pathways smooth and free of obstacles. Safety is key when you’re expecting little feet running from house to house.
- I like to add some interactive elements at each spot, like a bowl where kids can pick a sticker or a little Halloween riddle to read aloud while they reach for candy.
This setup turns trick-or-treating into a thoughtful, festive stroll through your yard rather than just grabbing candy off a porch. It’s a win for kids and grown-ups alike.
Motion-Activated Props for Surprising Fun
Kids love surprises, but not all scares are created equal. For my younger boys, some spooky moves or sounds are thrilling without being too much—and the motion-activated props are perfect for that.
Here’s what I found works well:
- Friendly-looking monsters or witches that wave or say “Hello” when kids get close. The sudden motion always gets a giggle, not a shriek.
- Props that make funny noises, like cackles, “boos,” or silly music. These add excitement without the jump scare.
- Animated ghosts that float or bats that flap their wings attract attention but still feel lighthearted enough for younger kids.
- Motion-sensor props placed at a comfortable distance, so kids have time to react if they want to step back or approach.
- Avoid anything too loud or fast-moving for tiny trick-or-treaters—it’s better when the surprise is playful and not overwhelming.
These props add an extra element of fun, keeping kids curious about what might happen next. Plus, they make the yard feel alive and full of magic, which is just what Halloween is all about.
DIY Craft Projects to Decorate With Your Kids
Getting the kids involved in creating decorations gives the whole experience more meaning. It’s a great way to spend time together, and their creations make our yard feel truly unique. Plus, kids are so proud showing off something they made with their own hands!
Some simple DIY projects we’ve enjoyed include:
- Painted pumpkin pails: We use plain pumpkin buckets and little paint sets for fun designs. These look fantastic lined up along the driveway or porch steps.
- Paper plate ghosts: Cut and paint old paper plates into cute or silly ghosts, then hang them from tree branches or shepherd hooks.
- Handprint spiders: Using black paint and paper, kids press their handprints, then add googly eyes and pipe cleaner legs. These are super charming and easy to display on garden stakes.
- Personalized tombstones: We make faux gravestones from cardboard or foam board, decorated according to each child’s ideas. These add a custom touch to the yard story.
- Mason jar lanterns: Kids fill jars with glow sticks or battery-operated tealights, then decorate the jars with spooky faces or stickers.
Making these crafts is always a highlight of our Halloween preparations. The best part is seeing the kids spot their work glowing or hanging in the yard, proud smiles lighting up their faces just like the decorations! It’s a quick, creative way to add personality and keep the whole family involved.
Keeping Your Halloween Decorations in Top Shape for Maximum Wow
When you put the time and heart into your halloween decorations for the yard, you want them to shine bright and stress-free all season. Maintaining them well not only keeps your display looking sharp but also saves headaches on Halloween night. I’ve learned that a little prep and a bit of care go a long way in pulling off an eye-catching yard year after year. Here’s what I do to keep everything running smoothly, protect decorations from the weather and critters, and store them so they’re ready to use next fall without a fuss.
Setting Up Ahead of Time for Stress-Free Halloween Night
Getting your decorations ready days before Halloween is a lifesaver! I like to do a full setup early so I’m not rushing around last minute, stress piling up. Putting things in place ahead of time lets me see the big picture, tweak any spots that don’t feel quite right, and enjoy the process a bit more.
A couple of things I always check:
- Light and sound rehearsals: Plug in every string light, spotlight, and speaker well before the big night. I walk through the yard with my boys, testing motion-activated props and sound effects to see how everything works together. It’s a little practice run that helps avoid surprises.
- Batteries and plugs: Dead batteries or loose plugs can kill the vibe fast. I swap out all batteries and double-check connections so everything is reliable.
- Placement tweaks: Walking through the yard gives me a chance to move things just a bit if needed. Maybe a sign needs to be brighter or a spider moved away from a walkway — little changes make a big difference.
By setting up early and testing everything, you breathe easier on Halloween and get to enjoy those ah-ha moments when the full display comes alive!
Protecting Your Decorations from Weather and Animals
We all know how unpredictable fall weather can be! Wind, rain, even curious neighborhood critters can do a number on decorations, especially the lightweight or electrical ones that bring the yard to life.
Here’s how I keep my decorations safe outside:
- Secure lightweight items: Balloons, fabric ghosts, and foam tombstones are fun but find a way to anchor them down. I use stakes, heavy rocks hidden under bases, or tie decorations to sturdy yard objects like railings or tree limbs. It keeps everything from blowing away or toppling over.
- Shield electrical parts: Rain and electricity don’t mix well at all. I cover plugs and extension cords with waterproof electrical boxes or plastic tubs with holes for cables. For sound and light units, I use plastic weather-resistant covers or put equipment under eaves and awnings whenever possible.
- Animal-proofing: Curious squirrels or neighborhood pets love to investigate spooky props! I avoid decorations with tempting dangling parts or edible-looking bits. When needed, I use lightweight wire cages or mesh to keep hands and paws away without spoiling the look.
Taking these precautions helps my decorations last longer during Halloween week, without worrying about a sudden storm or a furry “visitor” ruining the fun.
Easy Storage Hacks for Reusing Decorations Year After Year
After Halloween, most of us don’t want to junk our decorations but storing them properly can feel like a chore. I’ve found a few easy storage hacks that help me keep everything neat, easy to find next year, and in great shape.
Here’s what works best for me:
- Clear plastic bins with labels: I assign bins for different categories like lights, props, and fabrics. Labeling bright and big means quick grab-and-go setups next time, and plastic protects from moisture and pests.
- Wrap delicate pieces: Fragile decorations like glass pumpkins or detailed props get wrapped in bubble wrap or old newspaper before packing. It’s a little extra effort that saves breakage.
- Use smaller containers or zip bags for tiny parts: Batteries, hooks, and screws all go in small zip bags or tackle boxes within the larger bins. This keeps everything organized and easy to find.
- Store in a dry, cool place: I keep my bins in the garage off the floor on shelves or pallets to avoid dampness. It keeps decorations crisp and clean for next season.
- Take photos of setups: Before I pack everything away, I snap a few photos of tricky arrangements or plugs. It saves me time figuring it all out next year!
With these tips, storing your Halloween decorations feels less like a hassle and more like a smart investment, so the fun starts fresh every October without the stress.
Keeping decorations ready and protected means your Halloween yard stands out and stays ready to wow every single year. Trust me, that peace of mind is worth it!

Conclusion
Going all out with halloween decorations for the yard brings so much joy and excitement to our family and neighborhood. It’s about creating moments that make kids giggle, neighbors stop and smile, and everyone feel the Halloween magic in the air. The best part is how easy it is to mix simple ideas with a few bold touches that truly transform your yard into something special.
I encourage you to let your creativity run wild and make this season unforgettable for your kids and community. Don’t worry about perfection—have fun, get the family involved, and watch your yard become the highlight of Halloween. Ready to start planning your spooky masterpiece? Grab your decorations, and let’s make this the best Halloween yet!
This post may contain affiliate links. Read the full disclosure here.