I’m a mom of three energetic boys, and I’m all about simple holiday fun that actually happens on a school night! I love mixing fall pumpkins with Christmas themes to bridge Thanksgiving into December, no carving needed, low mess, and so many smiles. Today I’m sharing my favorite christmas pumpkin painting ideas that turn plain pumpkins into cozy, festive decor the kids can help make!
Here’s what you’ll find inside, so you can get started fast. We’ll cover supplies and set up, easy kid projects that my boys always grab first, and a few wow designs for moms who want a pretty porch moment. I’ll walk through how to seal and style them so they last, plus a quick paint party plan that fits into an hour. Expect kid-safe paints, smart budget tips, and fast clean up with wipes and a table cover. Pick one idea to try tonight, then let the kids show it off at breakfast!

Before We Paint: Smart Setup, Supplies, and Safe Prep

Before I pull out brushes, I set us up for success. A good plan keeps the kids happy, the table clean, and the pumpkins cute. I keep this section short, practical, and ready to use with my favorite christmas pumpkin painting ideas in mind. Here is exactly how I prep our space so paint sticks, colors stay bright, and cleanup is easy.
My Budget-Friendly Supply List for Holiday Pumpkin Painting

I keep a simple bin stocked for a family of four. These quantities cover one painting session with extras for touch-ups.
- Acrylic craft paints, 2 oz bottles: primary set (red, blue, yellow) x 1 set
- Extra holiday colors: red x 1, green x 1, white x 2, black x 1, metallic gold or silver x 1
- Brushes: assorted set with small rounds and 1-inch flats x 2 sets
- Paint pens: fine tip in black, white, gold or silver x 1 pack
- Painter’s tape: 1-inch roll x 1
- Stencils: simple stars, snowflakes, stripes x 1 set
- Cotton swabs: 50 count
- Toothpicks: 20 count
- Paper towels: 1 roll
- Baby wipes: 1 soft pack
- Table cover: disposable plastic or kraft paper x 1
- Clear sealer: matte or satin spray x 1 can
Tip: Shop end-of-season clearance or dollar bins for paints, stencils, and tape. I grab extras and stash them for next year.
Real vs. Craft Pumpkins: Which Should I Pick?

- Real pumpkins look warm and cozy, great for porches and photos. Short lifespan once painted, usually one to two weeks inside, less outside.
- Craft pumpkins cost more upfront, but you can reuse them for years. Perfect for keepsakes and detailed designs.
- Real pumpkins handle cool weather fine, but rain and frost ruin paint fast. Craft pumpkins handle outdoor use better if you seal them well.
- Real pumpkins are heavy, which is nice for porch stability. Craft pumpkins are light, easy for kids to carry and paint all over.
- Real is cheaper if you buy one or two. Craft saves money over time if you plan to display them each year.
Quick chooser: pick real for a cozy porch or one-week displays, pick craft for keepsakes and detailed designs.
Prep Steps That Make Paint Stick and Colors Pop
A tiny bit of prep goes a long way. I follow this fast checklist every time.
- Clean: wipe the pumpkin with a damp cloth, remove dirt and waxy spots.
- Dry: let it air dry fully, no damp patches under paint.
- Prime: spray or brush on a light coat of craft primer, just enough to dull the shine.
- Sketch: add light pencil lines if you want guides for stripes or faces.
- Test: try one color on the underside or back to check coverage and shade.
Reminder: let primer dry fully before painting. If it feels tacky, give it more time.
Kid-Safe Paints, Sealers, and Low-Mess Tricks
I match the paint to the age and the project. Safe and simple wins every time.
- Washable tempera: best for toddlers. It wipes off skin and tables easily. Colors are softer, so plan simple designs.
- Acrylic craft paint: great for school-age kids and parents. Bright color, dries fast, lasts longer on both real and craft pumpkins.
- Paint pens: perfect for outlines, tiny snowflakes, and lettering. I use them after the base coat is dry.
Low-mess hacks I swear by:
- Painter’s tape borders for clean stripes and color blocks.
- Paint in small wells or cupcake liners to limit spills.
- Baby wipes for fast fixes on skin, tables, and fresh mistakes.
- Hair dryer on cool to speed dry between coats, 30 to 60 seconds per layer.
With the right setup and a few smart tricks, the kids get creative, I keep my sanity, and the pumpkins look adorable on the first try!
Holiday Pumpkin Painting Ideas Kids Can Make in One Afternoon

I love quick projects that look adorable on the porch and actually get done before dinner. These kid-tested ideas are fast, low mess, and perfect for a cozy afternoon. You will see my favorite christmas pumpkin painting ideas here, and every project uses simple tools you already have. I keep dry times short, steps easy, and results bright. Ready to set out a few pumpkins that blend fall charm with Christmas cheer?
Candy Cane Stripe Pumpkins With Tape Guides

Nothing beats crisp candy cane stripes. The tape does the hard work, which is so nice with little helpers.
- Base coat the pumpkin white. Let it dry until it feels smooth.
- Wrap painter’s tape in diagonal stripes around the pumpkin. Keep gaps even for a neat look.
- Paint the exposed areas red. Two thin coats beat one thick coat.
- Peel the tape while the red paint is still slightly tacky. You get clean, crisp lines.
- Optional detail: use a fine brush to add a thin silver line between red and white. It looks like a shiny candy cane!
Tip: Grab mini pumpkins for a 20-minute craft. My boys finish a whole trio before snacks.
Variation: Swap red for green and keep the white base. You get a peppermint twist that looks fresh and bright.
What works well:
- Use 1-inch tape for bold stripes, or narrow tape for a delicate pattern.
- Press tape edges down firmly with a clean finger for no bleed.
- Seal with a light coat of clear spray if it goes on the porch.
Snowflake Dot Pumpkins Using Cotton Swabs
This one is calm and pretty, and it is easy for small hands. Dots do not need perfect lines to look magical.
- Paint the pumpkin a deep blue or green base. Navy, teal, or forest all work.
- Dip a cotton swab in white paint and dot simple snowflakes and stars.
- Make a few big dots, then add small dots on the ends to form branches.
- Cluster extra dots near the top for a snowy cap effect.
Tip: Show kids 2 or 3 basic snowflake patterns first. A plus sign with X over the top, or a simple six-branch shape. Keep it simple and repeat.
Variation: Once the white dots are dry, add glitter glue accents to the tips and centers. It catches the tree lights at night and looks so sweet.
Pro tips I use:
- Practice a few dots on scrap paper to control pressure.
- Use a toothpick for tiny accents, like star points or mini snow dots.
- Mix big and small dots for depth. It looks more like real snow.
Ornament Pumpkins With Metallic Tops and Labels
These look like giant ornaments, and kids love picking their own color. I set them up as place cards for a holiday dinner, which is a big hit.
- Paint the pumpkin a solid jewel tone. Try red, teal, emerald, or gold.
- Paint the stem and a small cap area around it metallic gold or silver.
- Add a small painted rectangle under the stem to mimic the ornament cap.
- Tie a ribbon loop around the stem. Go with velvet, satin, or baker’s twine for a cozy touch.
- Optional: Hand-letter names or the year with a paint pen. Instant keepsake.
Great for place settings:
- Line them down the table and match ribbon to napkins.
- Write “Joy,” “Peace,” or each guest’s name. Kids can help with dots and stars.
Helpful details:
- If the stem is short, glue a little cardboard rectangle near the top before painting the cap shape.
- Use a paint pen to add tiny stars, dots, or stripes on the ornament body.
- Seal with satin spray for a soft glow.
Santa Belt Buckle Pumpkin With a Gold Square
This one always gets a giggle. It is bold and easy to recognize from across the room.
- Paint the pumpkin red. Let it dry fully for a smooth finish.
- Wrap a black belt band around the middle. I use painter’s tape to keep the top and bottom edges straight.
- Add a gold square buckle centered on the belt.
- Finish with two white dots above the belt for buttons.
Tip: Tape first, then paint the belt. You get a straight, tidy band without stress.
Variation: Make a Mrs. Claus version. Add a white ruffle line near the top. I use a small round brush and paint scallops, then dot the centers with gold.
Extra touches that help:
- Outline the buckle with a thin black line for definition.
- Add a tiny highlight on one corner of the buckle with white paint.
- Use a wide flat brush for the belt so it covers in one to two passes.
These four styles are quick wins, kid-friendly, and bright on a mantel or porch. Pick one, set a 30-minute timer, and let the magic happen. My boys love seeing their pumpkins join the tree and garlands, and I love how fast the cleanup is.
Showstopper Designs When You Want a Big Wow

When I want that porch moment that makes neighbors stop and smile, I go big, bold, and joyful. These are the projects I reach for when the boys want something extra special, and I want photos that I will print. If you are here for christmas pumpkin painting ideas, this is the section to bookmark. The steps are simple, the details are punchy, and each one mixes fall charm with holiday cheer in a way that feels fresh.
Grinch Green Pumpkin With Expressive Eyes

This one wins with kids every time. The color pops, and those eyes do all the talking.
- Base coat the pumpkin a bright, Grinchy green. Two thin coats for smooth coverage.
- Lightly sketch the face with pencil. Keep it simple, two slanted eyes and a small smirk.
- Fill the eyes yellow. Let them dry so the next lines stay crisp.
- Outline eyes and mouth with a black paint pen. Add a tiny white dot in each eye for shine.
- Optional: Paint a red Santa hat band around the top third. Add a white line under it for fluff.
Helpful tips:
- For little kids, use pre-cut eye stickers. Stick, outline, done.
- If lines wobble, touch up with green paint. Clean edges make a huge difference.
- Place this one front and center on the porch. It glows under string lights.
Simple extras I love:
- Add a tiny heart near the bottom to nod to the story.
- Dust the hat band with clear glitter glue for a cozy sparkle.
Buffalo Plaid or Tartan Check Pattern Made Easy

Plaid looks fancy, but it is friendly once you map the stripes. Tape does the heavy lifting.
- Base coat white for bright checks, or red for a classic look.
- Use painter’s tape to mark vertical stripes. Press edges tight for no bleed.
- Paint a medium tone over the exposed areas. Let it dry fully.
- Tape horizontal stripes. Paint a darker tone where lines overlap to create the check.
- Peel while paint is slightly tacky for sharper edges.
Quick wins:
- Keep a printout of the pattern nearby. It helps with spacing and tones.
- Go red and black for that farmhouse feel. It reads cozy and traditional.
Finishing touches:
- Outline a few squares with a thin black pen for definition.
- Add a tiny gold monogram on one check. It feels like a holiday quilt.
- Seal with satin spray if it is going outside.
Nativity Silhouette With a Starry Night Sky

This design is peaceful and beautiful, and it holds up on a mantel with candles.
- Blend a navy to black ombré for the sky. Work in quick, thin layers.
- Use a sponge or stiff brush to add tiny white stars. Cluster a few for depth.
- Stencil or hand paint a simple silhouette of the manger, Mary, Joseph, and baby.
- Add a bright star above the manger. A tiny white line trailing down looks heavenly.
Tips that simplify:
- Chalk sketch first, then paint over. Chalk wipes away after.
- Keep shapes minimal. Solid black silhouettes read clean and strong.
Lovely details:
- Dot a faint glow around the star with watered white paint.
- Ground the figures with a thin gray base line so they do not float.
- Pair with a small evergreen branch and tea lights for a quiet corner display.
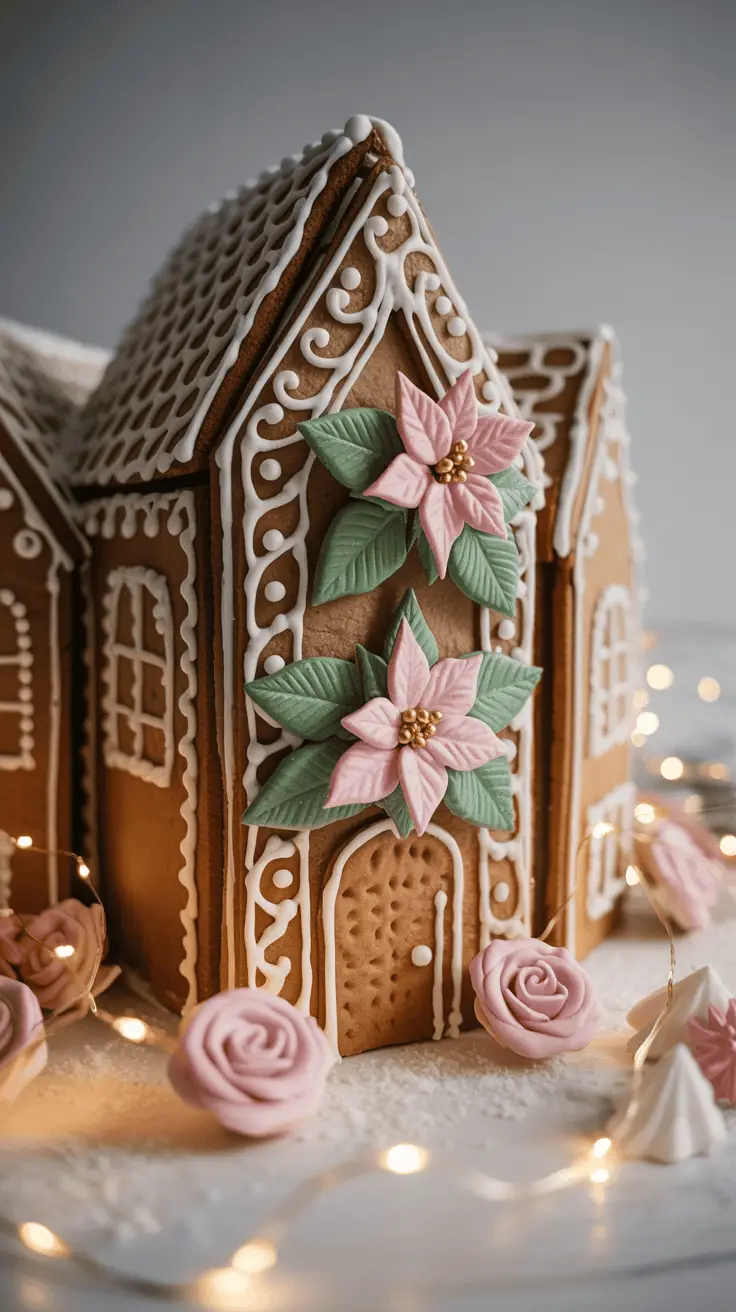
Gingerbread House Pumpkin With Icing Lines


This one is sugary sweet and perfect for kids who love details. It is like a cookie you can keep.
- Base coat a warm gingerbread brown. Let it dry smooth.
- Lightly draw windows, a door, and a roof line. Keep shapes chunky and cute.
- Use a thick white paint pen or puff paint for icing lines and scallops.
- Add gumdrop dots along the top in bright candy colors.
Smart tips:
- Tall pumpkins work best. You get better placement for doors and windows.
- Try a squeeze bottle for icing lines if you like that bakery look.
Fun extras:
- Add a peppermint circle above the door. Red and white stripes feel festive.
- Dot tiny sprinkles around windows with a toothpick.
- Finish with a mint green bow on the stem for a sweet shop vibe.
These big-impact designs are easy to spot from the street, and they make kids proud. Pick one, set out the paint pens, and enjoy the happy chaos. I promise, the photos will be worth it!
Make Them Last and Style Them Around the House
I want these pumpkins to shine from Thanksgiving to Christmas, and not fall apart before bedtime. My best trick is to seal smart, then style them where they will get attention. If you tried a few of my favorite christmas pumpkin painting ideas, here is how to protect them and stage them so they look cute all season!
Sealers That Protect, Indoor and Porch
I seal after the paint is fully dry to the touch, usually 1 to 2 hours. For most projects, I use a water-based clear sealer since it will not yellow and it dries fast.
- Coats: 2 light coats, not thick. Three if it is going outside.
- Finish: Matte for a modern, pottery look; gloss for a shiny ornament vibe.
- Dry time: 15 to 30 minutes between coats; 24 hours to cure before heavy handling.
Always seal outdoors or in a ventilated area. Avoid heavy spray use with kids nearby. I let each pumpkin sit on a scrap box so I can spray the sides without touching.
Where to Display: Mantel, Table, Porch, and Stairs
Think balance, height, and odd numbers. It keeps the eye moving and looks styled without trying.
- Mantel trio with fairy lights tucked behind, add one tall candle for height.
- A line of mini pumpkins down the table runner, mix in tea lights for sparkle.
- Pairs on porch steps with lanterns, vary sizes for a cozy welcome.
- One showstopper by the tree in December, match the ribbon to your ornaments.
- A grouped cluster on the entry table, raise one on a stack of books for height.
Aim for 3 or 5 in a group, and vary tall, medium, and small.
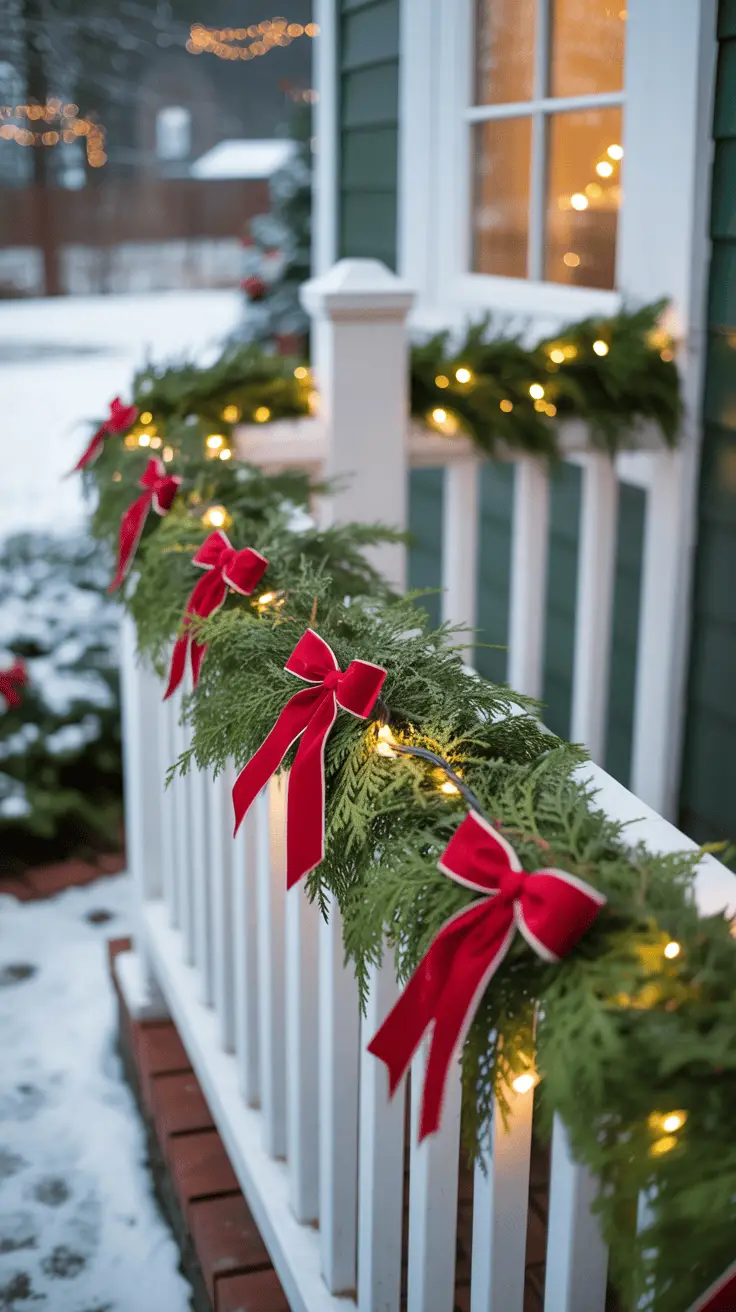
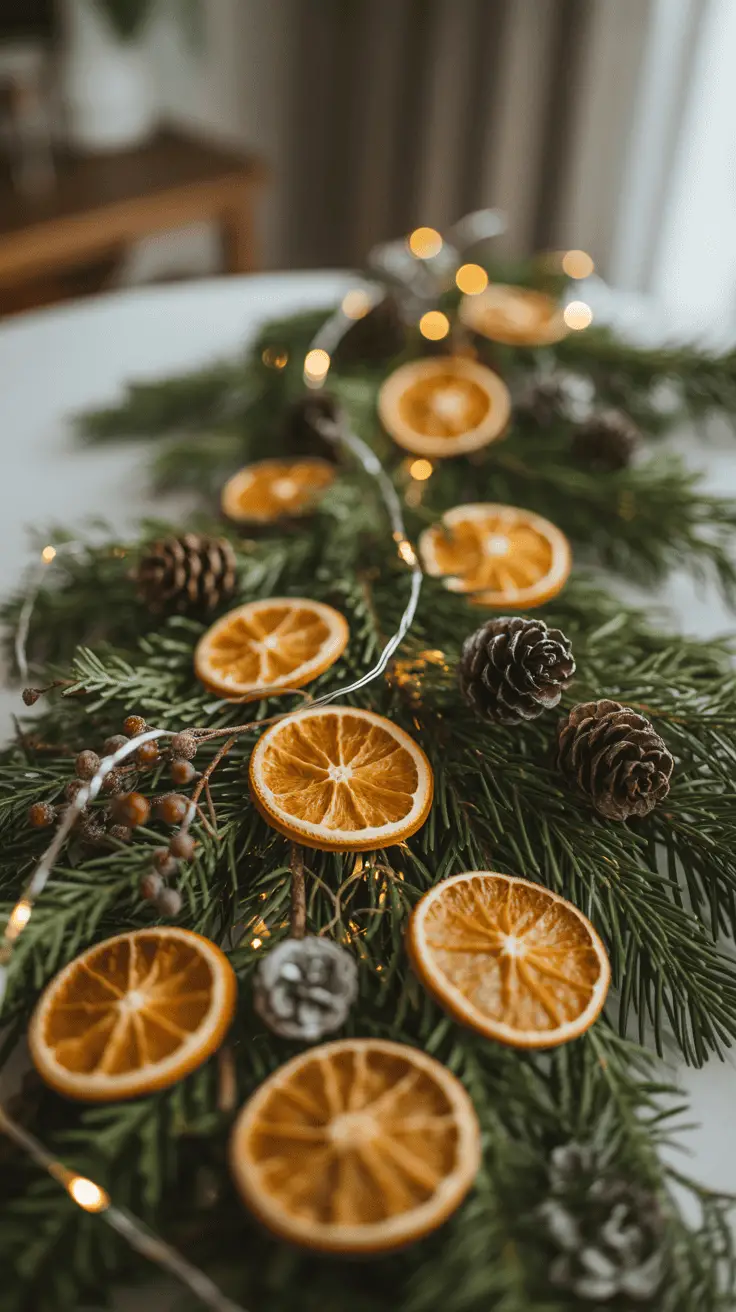
Cozy Mix-Ins: Garland, Fairy Lights, and Ribbon Bows
I keep a little bin of mix-ins so the boys can help style. Simple add-ons make everything look festive fast.
- Easy add-ons: faux snow, pine garland, cinnamon sticks, plaid ribbon, tiny ornaments, LED tea lights.
- Color guide:
- Red and white: candy shop cheerful, great with stripes and polka dots.
- Green and gold: classic and warm, perfect with plaid and stars.
- Blue and silver: crisp winter feel, lovely with snowflakes and dots.
Tie a few ribbon bows on stems, then tuck fairy lights through garland for that cozy glow.
Weather Tips and What to Do Later
For real pumpkins outdoors, keep them off wet ground with a mat or tray. Avoid direct afternoon sun, it breaks down paint and sealer. Reseal if rain or frost dulls the finish.
Indoors, set pumpkins on a tray or plate to protect wood. When the season ends, compost real pumpkins after cutting off paint-heavy sections. If the surface is heavily sealed, toss it in the trash.
Craft pumpkins store well. Wipe dust off, then pack in a cool, dry bin with tissue between pieces. Label the bin so next year’s setup is easy.
Paint Party With Kids: Timelines, Drying Hacks, and Fast Clean Up

When I paint with my three boys, I keep it fast, fun, and tidy. This quick guide helps us start strong, dry paints without smudges, and wrap up before bedtime. You can plug these ideas right into your favorite christmas pumpkin painting ideas and keep the mess low while the fun stays high!
30-Minute Projects for Busy Weeknights
On school nights, I keep it simple and speedy. Two projects always fit a 30-minute window, including setup and quick dry.
- Candy cane stripes on mini pumpkins
- Set out a plastic table cover, paints, tape, and wipes.
- Brush on a thin white base, then wrap diagonal tape stripes.
- Paint the exposed gaps red, peel tape while tacky for crisp lines.
- Minis dry fast, so kids can hold and show them off by the end.
- Snowflake dots
- Base coat a mini in blue or green with a thin layer.
- Use cotton swabs for easy white dots and simple six-branch snowflakes.
- Add a few tiny stars with a toothpick for sparkle.
- Looks sweet in a cluster on the mantel.
Keep momentum high with a timer and a short playlist. I set 25 minutes for paint time and 5 minutes for clean up, then put on three upbeat songs. The kids move faster when the music is on, which I love!
Quick helpers:
- Use cupcake liners as paint wells.
- Hand each child a paper towel square for quick wipes.
- Limit color choices to two per kid to reduce smudges.
60 to 90 Minute Weekend Paint Party Plan
A relaxed weekend session gives kids time to enjoy the process and still finish strong. Here is the simple plan I use.
| Time Block | What We Do |
|---|---|
| 10 minutes | Setup, cover table, pour paint, pick designs |
| 20 minutes | Base coat pumpkins in thin layers |
| 20 minutes | Snack break and dry time |
| 30 minutes | Details, stripes, dots, faces, glitter glue |
| 10 minutes | Sealing outside and photos inside |
I set up a hot cocoa bar and a cookie tray as a reward. Kids paint with more focus when they know cocoa is waiting. We take photos right after details, then move finished pumpkins to the porch while I spray the sealer outside.
Tips that keep it smooth:
- Assign stations, base coat at one end, details at the other.
- Use name labels on the bottoms so no one mixes up pumpkins.
- Keep the hair dryer nearby for cool air bursts between layers.
Quick Drying and Smudge Control
Dry paint makes happy kids and clean sleeves. These hacks save every time.
- Thin coats: two thin layers dry faster than one thick one.
- Hair dryer on cool: 30 to 60 seconds per layer, keep it moving.
- Paper towel ring stand: twist a ring into a donut shape and set the pumpkin on top. It keeps the base clean and reduces fingerprints.
- Rotate gently: hold the stem or the paper towel ring, not the painted surface.
- Work in sections: paint the front first, dry, then the sides and back.
- One color at a time: let each color set for a minute or two before the next.
- Sleeves rolled up: pull elastic sleeves above elbows or clip with clothespins.
What I say out loud to the kids:
- “Brush skinny, paint dries quick.”
- “Hands on the stem, not the stripes.”
- “We switch colors when the shine turns dull.”
Clean Up Checklist and Stain Saver Tricks
I keep cleanup fast and calm so we end on a high note. This checklist sits on the table for quick reference.
- Cap all paints tightly.
- Rinse brushes in lukewarm water, not hot, then lay flat on a towel.
- Wipe the table with baby wipes, switch to a fresh one as needed.
- Fold the tablecloth inward to trap drips, then bag it.
- Soak stained shirts in cold water with a drop of dish soap, then wash on cold.
- Pack a small caddy for next time, brushes, tape, cotton swabs, paint pens, wipes, and a mini trash bag.
Smart storage for next time:
- Keep paints upright in a shoebox with a rubber band bundle for brushes.
- Tuck a roll of paper towels and extra cupcake liners in the bin.
- Add one sticky note with your go-to plan, base, details, seal, photos. It keeps you on track when energy is high and sugar levels spike!

Conclusion
Blending pumpkins with twinkle lights and candy stripes makes the season feel extra cozy, and it keeps the fun rolling from Thanksgiving into December. These christmas pumpkin painting ideas save time and money, since we use the same supplies, skip carving, and stretch decor across two holidays. My boys stay busy, creative, and proud of their work, which is the real win for me.
Pick one idea, set a 30-minute timer, and start tonight! Keep it simple, keep it bright, and snap a quick photo for memories. Share it with friends, or text the grandparents for instant smiles. Little traditions like this pull everyone together.
If you want more, come back to the showstoppers when December hits. Save or pin this post so you can find it fast. Thanks for spending part of your day here, and happy painting!
This post may contain affiliate links. Read the full disclosure here.