How to Create Diy Christmas Decorations for Outside
As a mom of three lively boys, I know how much fun it is to get everyone involved in making DIY Christmas decorations for outside. It’s not just about adding a festive touch to our home… it’s about the laughter and mess we create together!
These easy, kid-friendly projects bring out the playful side of the season and make decorating a special family memory!
Plus, it’s simple and fun to make decorations that can brave the weather and still look charming throughout the holidays!

Gathering Materials and Preparing Your Workspace
Before jumping into making your own diy christmas decorations for outside, it’s important to start with the right materials and a well-organized space. Having everything ready not only makes the process smoother but also keeps the whole family, especially the kids, safe and happy. From picking weatherproof supplies to setting up a kid-friendly crafting area, let’s get you set up for success!
Choosing Weatherproof and Child-Friendly Materials

When working on outdoor decorations, durability matters. I always pick materials that stand up to rain, snow, and chilly winter winds, but are also safe for my boys to handle.
- Plastic: Lightweight and tough, plastic is great for shapes and figures. It won’t soak up water or rot, making it perfect for outdoor displays.
- Foam: Foam sheets or blocks are easy to cut and paint, plus they’re soft enough for little hands. Just make sure you pick the outdoor variety or seal them with waterproof paint or spray.
- Treated Wood: Using wood that’s been treated for outdoor use adds sturdiness. It holds up well through weather changes but still feels natural, which I love for rustic looks.
- Durable Paints: Water-based acrylic paints with outdoor formulas keep colors bright and resist fading. They dry fast and are safe around kids, so you can let the little ones paint without worry.
I always check labels for non-toxic and child-safe ratings to keep things as playful as possible without any hidden hazards.
Organizing Your Crafting Space for Efficiency and Safety

With three energetic boys, having a tidy and safe workspace is a must. I like to create clear zones where the messy stuff goes (think paint and glue) and keep tools in a spot that’s easy for me to reach but out of the kids’ way.
Here’s what works for me:
- Tool Storage: I keep sharp tools like scissors and utility knives in a high drawer or box with a lid. The kids know they need to ask before using anything sharp.
- Surface Protection: Using an old tablecloth or large parchment paper helps contain spills and makes cleanup faster.
- Cleanup Routine: I involve my boys in tidying up right after crafting. It’s a simple game—who can put away the most brushes or wipe down the table fastest? It teaches responsibility and keeps the mess manageable.
A well-organized space feels less chaotic and makes decorating time more relaxed and fun for everyone.
Basic Tools and Supplies Needed for Outdoor Decorations
To make diy christmas decorations for outside that last, having the right tools on hand is a lifesaver. Here’s my list of must-haves:
- Hot Glue Gun: Perfect for quick bonding on many materials but keep it away from very young kids since it gets hot.
- Waterproof Glue: For projects where glue needs to stay strong in wet weather, waterproof glue works great.
- Scissors: A pair for adults and safety scissors for kids keeps cutting safe and easy.
- String Lights: Outdoor-rated string lights add sparkle and are safe to use outside without worrying about moisture.
- Paintbrushes: Various sizes for painting large surfaces or tiny details.
- Weatherproof Tape: Clear packing or duct tape helps with quick fixes and securing decorations.
- Markers and Stencils: For adding designs and details quickly.
- Protective Gloves and Aprons: Keeps little hands clean and protects clothing during painting or gluing.
Starting with these basics makes the whole process smoother and more enjoyable for the family. You’ll have what you need to bring each fun idea to life while keeping everything safe and neat.
Gathering the right stuff and setting up your space can feel like half the project, but it’s the step that gives you a stress-free, joyful experience creating outdoor decorations with your kids!
Creative DIY Christmas Decoration Ideas for Outside

When it comes to diy Christmas decorations for outside, I love finding projects that are fun for the whole family and hold up to winter weather. Getting my boys involved is always a highlight because the ideas are simple, bright, and just the right mix of playful and charming. From glowing lanterns to natural garlands and cheerful wooden signs, these decorations add a festive mood while being easy enough to make together. Here are some favorites we’ve created that light up our yard and porch in the coziest way.
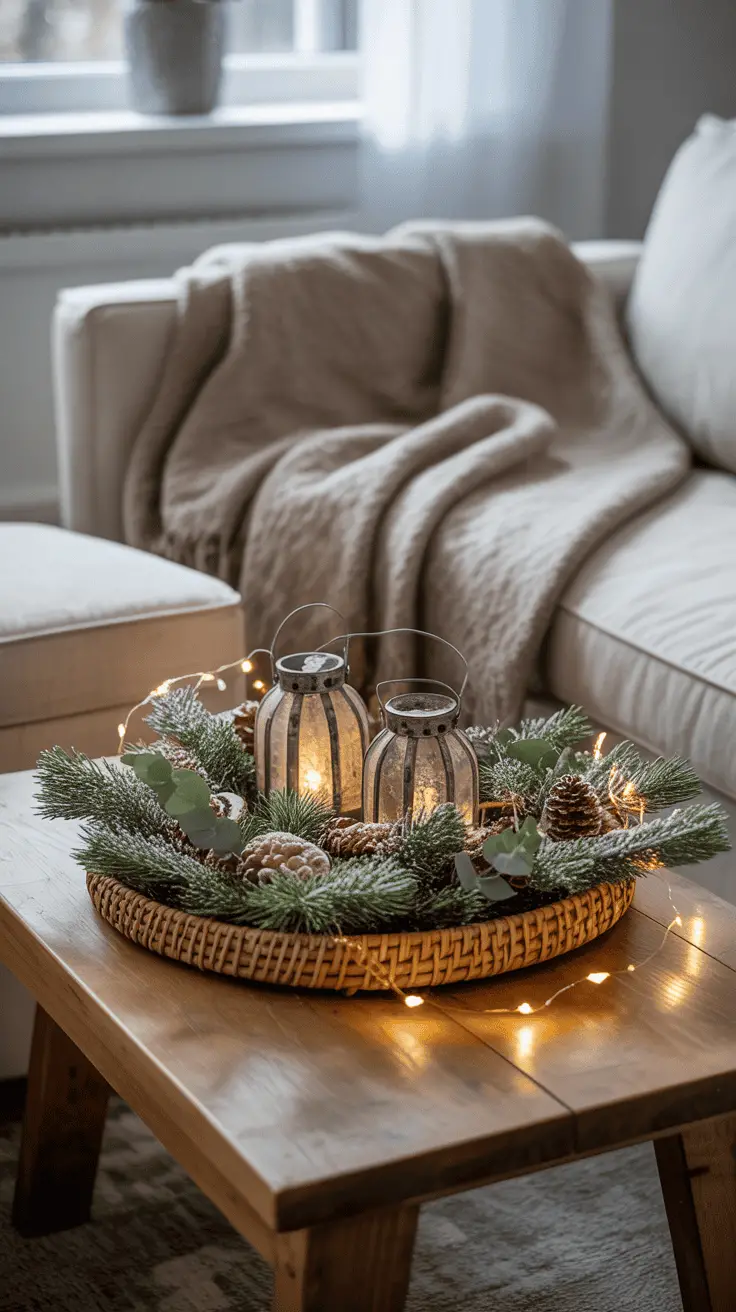
Festive Mason Jar Lanterns with LED Lights

Mason jar lanterns are a go-to for adding a warm glow along our walkways and porches. They’re simple, safe, and let even the little ones paint with washable paints to add their own festive flair.
Here’s how I make them:
- Clean your mason jars and let them dry.
- Use washable, water-based paints in Christmas colors to paint the outside of the jars. My boys love using stencils or even finger-painting to make patterns.
- Once dry, place battery-operated LED tealights inside. These are safe and last longer outside without risk.
- Hang the jars with sturdy twine or place them on steps or ledges.
The soft light bouncing through colorful jars creates a magical, inviting look and keeps everything safe to enjoy long after dark.
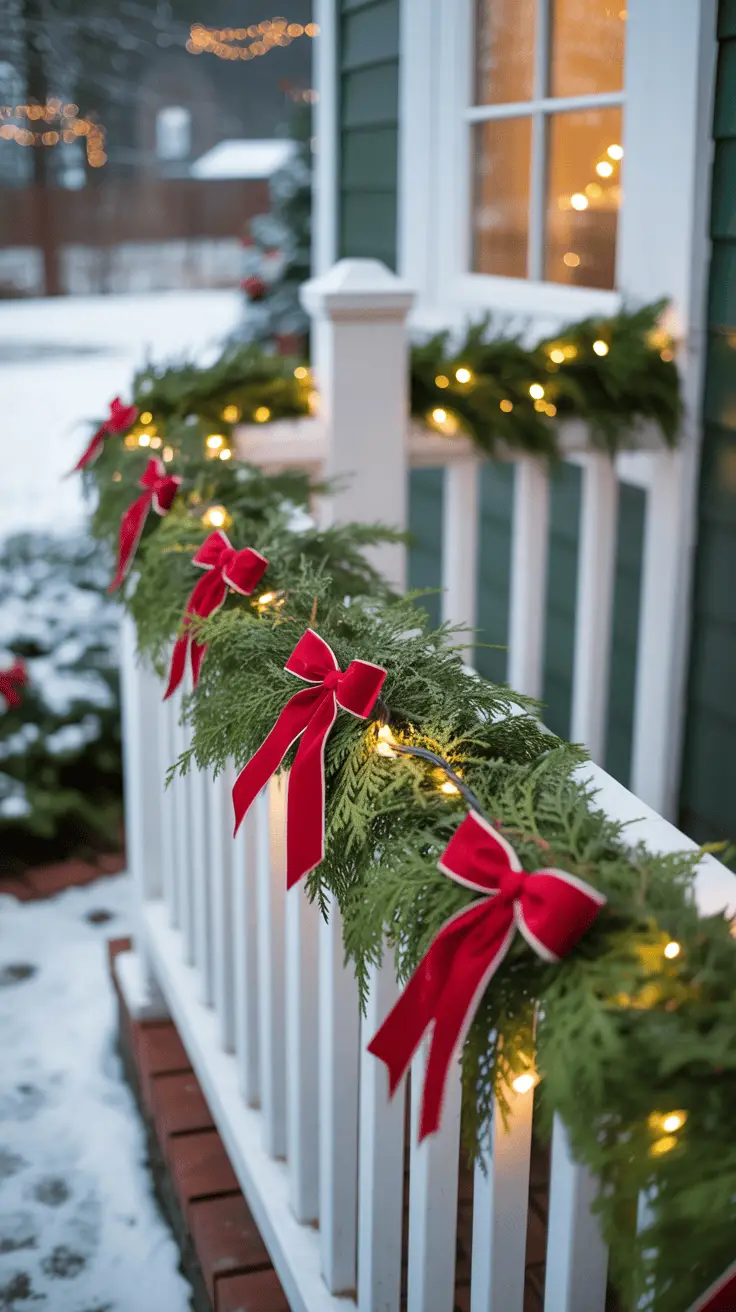
Pinecone and Cinnamon Stick Garland
Bringing natural elements into outdoor decorations makes everything feel fresh and cozy. This pinecone and cinnamon stick garland is a hit with my boys, especially because it smells amazing and they can help put it together.
Here’s our usual routine:
- Collect various-sized pinecones, cinnamon sticks, and fresh cranberries (you can also use red beads if fresh ones aren’t handy).
- Using twine or thin rope, tie or hot-glue the pinecones and cinnamon sticks along with clusters of cranberries at intervals.
- Leave some space between items so the garland drapes nicely across porch railings or wrapped around banisters.
- Hang it outside and enjoy the scent and natural look.
It’s a simple project that connects everyone to the outdoors and gives the house a friendly, piney aroma that always feels like Christmas.
Painted Wooden Reindeer and Holiday Signs
Painting wooden cutouts has become one of our favorite outdoor projects. Using leftover pallets or scrap wood, we cut shapes like reindeer or simple holiday signs and decorate them with bright, cheerful paint.
The steps I follow:
- Find thin, flat pieces of wood or old pallet boards.
- Sketch or trace shapes like reindeer, Christmas trees, or signs with messages like “Joy” or “Merry Christmas.”
- Cut out shapes with a saw (adults only), then sand smooth.
- Let the kids paint with outdoor acrylic paints in playful colors and add patterns like dots, stripes, or snowflakes.
- Seal with a weatherproof spray coat and place them around your yard or lean against walls.
This project gives a rustic charm but still feels lively and personal. I love how my boys proudly show off their painted signs every year.
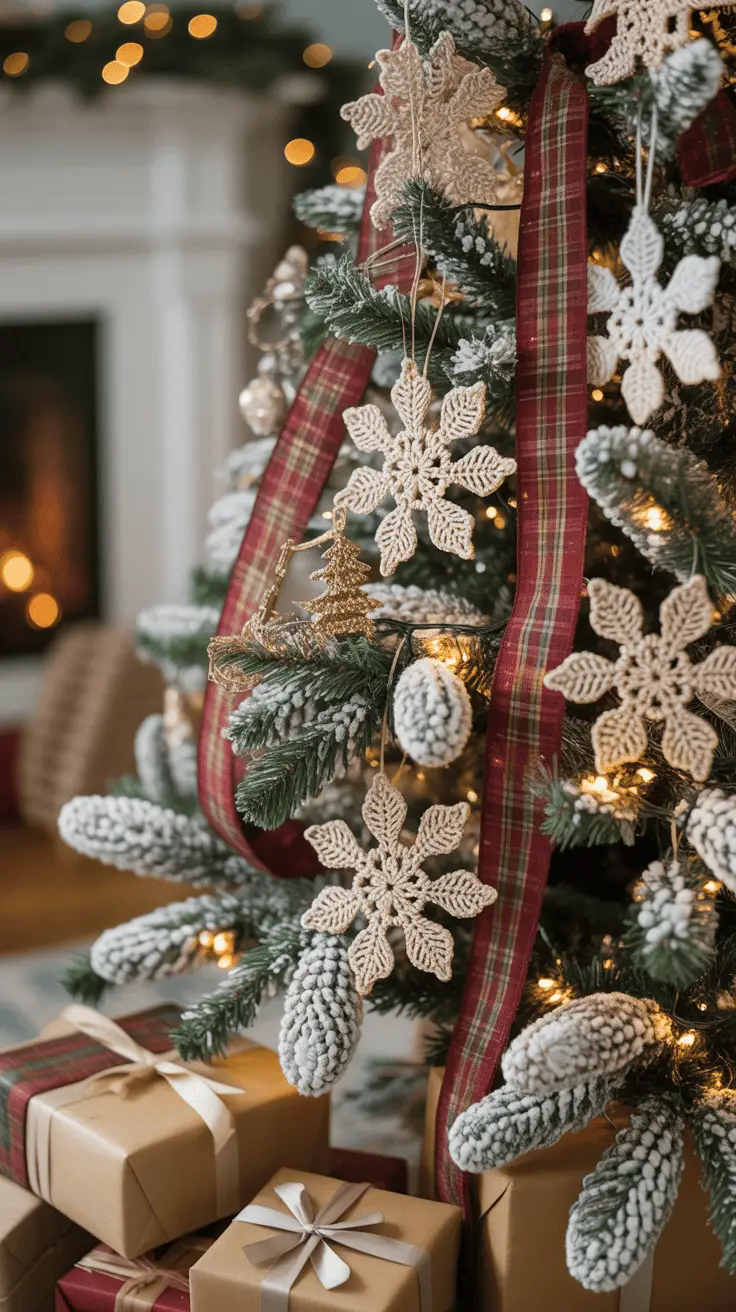
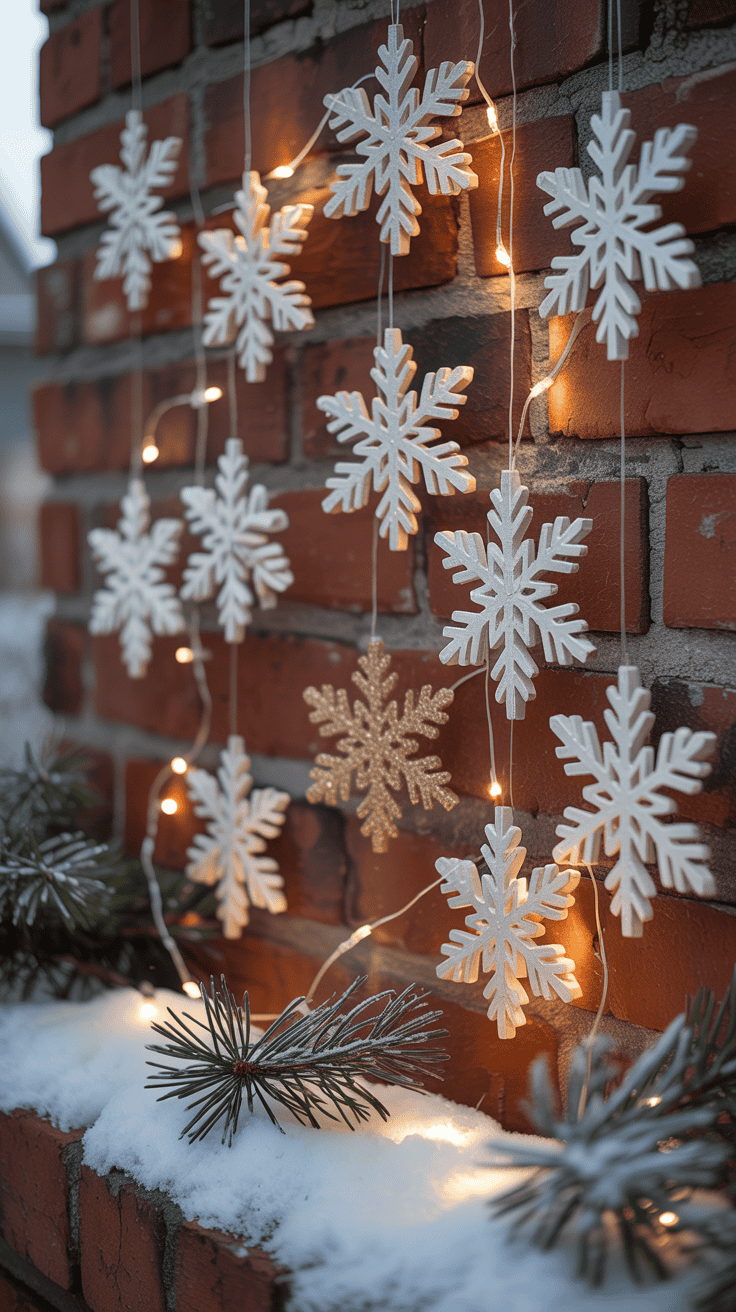
DIY Snowflake Window Clings Using Puffy Paint
If you want a reusable decoration that’s perfect for windows or glass doors, snowflake window clings are fantastic. Puffy paint on plastic sheets makes the perfect base and the clings peel off easily, ready for next year.
Here’s my simple process:
- Use clear plastic sheets (old report covers or food wrap sheets work well).
- Draw snowflake designs on the plastic with white puffy paint. You can find easy snowflake patterns online or make your own.
- Let the paint dry completely (this can take a day or two).
- Peel the clings gently off the plastic and stick them directly on windows or glass doors.
They add a snowy, whimsical touch that’s kid-friendly and budget-friendly. Plus, they’re easy to store and reuse for next season.
Each of these diy Christmas decorations for outside lets you bring a bit of holiday spirit outdoors with minimal fuss and maximum family fun. Whether you paint, tie, or assemble, these ideas keep things light, bright, and full of joy for everyone.
Safety Tips and Weatherproofing Your Decorations

When making diy christmas decorations for outside with my boys, safety and durability are always top priorities. It’s easy to get caught up in the fun of making colorful and playful decorations, but I’ve learned that choosing the right materials and protecting them against the elements makes all the difference. Plus, keeping little hands safe during crafting sessions is a must. Here are some key tips I rely on every year to keep things safe and weatherproof for all our outdoor holiday fun.
Using Non-Toxic and Child-Safe Materials
Since my three boys are always involved, everything has to be safe to touch and breathe around. That means I look for non-toxic paints, glues, and materials that won’t cause skin irritation or harmful fumes. Kids tend to put their hands in their mouths or rub their eyes without thinking, so I avoid anything with harsh chemicals.
I usually choose:
- Water-based acrylic paints labeled non-toxic for bright, safe coloring.
- Child-safe glues made for craft use that don’t emit strong odors.
- Materials clearly marked “safe for children” or “non-toxic” on the packaging.
This keeps the crafting as worry-free as possible. It’s comforting to know that my kids can get messy and creative without risk or discomfort.
Techniques for Weatherproofing DIY Decorations
Our decorations need to survive wind, rain, and sometimes snow—so sealing and protecting them is key! Here’s what works best in my experience:
- Waterproof sprays: After painting, I spray decorations with a clear waterproof sealant, which locks out moisture and protects the colors from bleeding or fading.
- Outdoor-rated string lights: Normal indoor lights aren’t built for wet weather. Buying lights designed for outdoors means we avoid shorts or burnout from damp conditions.
- Securing decorations: Wind can easily send lightweight pieces flying. I always use sturdy twine, zip ties, or can anchor heavier items with garden stakes or weighted bases to keep everything firmly in place.
Taking these steps means the diy christmas decorations for outside stay looking fresh all season long, no matter what the weather throws at them.
Supervising Kids During Crafting Sessions
Crafting with energetic kids is joyful but calls for careful watching to prevent accidents. When we use hot glue guns or scissors, I set clear rules and stick close by. Here’s how I keep things safe and fun:
- Use child-safe scissors for little hands, while I handle sharper blades.
- Limit hot glue gun use to adults only or help older kids by applying glue for them.
- Keep the workspace organized so tools aren’t scattered on tables or floors where someone could get hurt.
- Turn clean-up time into a game, so everyone helps put away materials safely.
Keeping kids focused and safe doesn’t mean less fun. It means everyone walks away smiling and proud of what we made without any scraped fingers or surprises.
If you’re making diy christmas decorations for outside, these safety and weatherproofing steps make all the difference. They protect your family and give your decorations the staying power to spread cheer all winter long!
Displaying and Maintaining Your DIY Outdoor Christmas Decorations

Bringing your DIY Christmas decorations for outside to life doesn’t stop at making them. Knowing how to arrange, care for, and store your handiwork keeps your yard festive all season and ready to shine next year. I’ve learned some helpful ways to display our decorations so they catch everyone’s eye, how to keep them looking fresh through chilly weeks, and simple tricks to tuck them away safely until next year’s fun begins. Here’s what works for me and my boys!
Creative Arrangement Ideas to Brighten Your Yard
A big part of the holiday magic is how you arrange your decorations. Instead of spreading pieces randomly, grouping them in thoughtful ways creates a cozy, joyful vibe. I love to mix lanterns, garlands, and wooden decorations close together to pull the eye and build a festive scene.
Try these ideas:
- Create clusters: Group a few painted wooden signs with lanterns and a length of pinecone garland along porch steps or near the front door. It feels inviting and layered.
- Use height variation: Place some lanterns on the ground and hang others from shepherd’s hooks or tree branches. This adds dimension and draws attention upward.
- Frame entryways: Drape garlands with berries or cinnamon sticks around door frames and tie lanterns on both sides for a warm welcome.
- Make focal points: Use a larger wooden reindeer or a bright painted sign as a centerpiece, surrounded by smaller accents like pinecone clusters or LED mason jar lanterns.
The key is to keep it balanced but playful. I try not to cram everything in one spot, but instead, set up little vignettes that invite exploration and smiles. Plus, when you group items, it’s easier to spot if anything needs fixing.
Routine Checks and Touch-Ups to Keep Decorations Fresh
Winter weather takes its toll, so I schedule quick check-ins every week or two to keep everything looking its best. It doesn’t take long and saves the headache of decorations falling apart right before the big day.
Here’s the simple routine I follow:
- Walk the yard: Look for anything loose, broken, or wet that might need tightening or drying.
- Fix what you can: Use a little waterproof tape to patch small tears on garlands or reprime any paint chips with leftover outdoor paint.
- Replace batteries: For lanterns with LED lights, I swap out batteries if they’re dim or flickering.
- Secure decorations: After a windy day, I check all ties, hooks, and stakes to make sure each piece stays put.
- Brush off dirt or snow: Sometimes a gentle wipe or shake does wonders to refresh colors and remove grime.
If touching up sounds like a chore, think of it this way: just a few minutes keep your festive mood vibrant and your kids proud to show off their work. It’s worth it!
Storage Tips for Reusing Decorations Year After Year
After the season ends, I’m always eager to put decorations away without losing pieces or finding them damaged next year. Proper storage means your DIY decorations last longer and are easy to unpack next December.
Here’s how I do it:
- Label everything: I use clear plastic bins with labels like “wooden reindeer” or “lanterns” so I’m not digging through boxes next year.
- Wrap fragile items: Cloth or old t-shirts work great to protect painted wood or jar lanterns from scratches.
- Keep garlands loose: Instead of folding natural or fabric garlands tightly, I coil them loosely. This stops them from getting crushed and creased.
- Dry completely: Before storing, I make sure everything is dry to prevent mold or mildew during storage.
- Store in a dry spot: I avoid basements or damp garages if possible, opting for higher shelves or closets in the house to keep decorations safe.
A little care now means you’ll spend less time replacing worn-out decorations and more time enjoying the holiday spirit each year. Plus, the kids love unboxing their creations and seeing last year’s memories come to life again!
Keeping your DIY Christmas decorations for outside looking their best is easier than you think. With a bit of thoughtful arranging, a quick checkup routine, and smart storage, you’ll have a yard full of holiday cheer that your whole family can enjoy year after year!

Conclusion
Making diy Christmas decorations for outside with my boys has always been a joyful way to bring our family together. It’s more than just decorating; it’s about creating memories filled with laughter, creativity, and that special holiday spirit. When you choose kid-friendly, weatherproof materials and take time to enjoy the process, the results light up your home and your hearts.
I hope you feel inspired to start your own family tradition this season. Grab some simple supplies, get the kids involved, and watch how these projects bring warmth and cheer to your porch and yard. Thanks for spending time with me—I’d love to hear about your favorite outdoor decoration ideas and the memories you make along the way!
This post may contain affiliate links. Read the full disclosure here.