Keeping a front yard looking nice when you’ve got three busy boys running around feels impossible sometimes. I quickly realized that spending hours watering and weeding just wasn’t going to work for our family. That’s when low maintenance front yard landscaping ideas with rocks and mulch saved the day for us!
Everything tied back to our rock garden layout which created less stress and more beauty!
Using simple materials like rocks and mulch has made our yard easier to care for without giving up on charm or curb appeal. I’m excited to share what worked for us so you can spend less time on yard work and more time with your family!
Why Choose Rocks and Mulch for Low Maintenance Front Yard Landscaping Ideas with Rocks and Mulch?
When I started looking for low maintenance front yard landscaping ideas with rocks and mulch, I found out these materials are more than just pretty fillers. They bring serious benefits that made a huge difference for our busy household. Between chasing my three boys and juggling daily chores, I needed something tough, simple, and smart. Rocks and mulch turned out to be exactly that. Here’s why they worked so well for us.
Durability and Long-Lasting Beauty
Kids and dirt don’t mix well with delicate lawns or fragile plants. Using rocks and mulch means I don’t have to worry about wear and tear nearly as much. Rocks are solid and hold up no matter how many soccer balls fly through or how often little feet stomp through the yard. Mulch, on the other hand, brings a natural charm that lasts. It doesn’t wash away quickly or turn patchy like grass can.
What I love most is that rocks don’t fade or get muddy, which keeps the front yard looking neat no matter what. Mulch breaks down slowly, adding nutrients back to the soil while keeping everything tidy. In a home with active kids, this kind of durability feels like a big win. It’s like having a yard that’s beautiful but tough enough to handle playtime chaos.
Water Conservation and Eco-Friendly Benefits
Watering the lawn daily was one chore I happily gave up. Rocks and mulch help with water conservation, which is a real plus, especially during hot months. Mulch acts like a blanket over the soil, locking in moisture so plants and trees need less watering. That means fewer trips outside with the hose and a friendlier way to save water.
Rocks naturally don’t require any watering. When you cover bare spots with them, you stop soil from drying out and reduce dust — which I never thought about before, but it really keeps the yard cleaner. Using these materials also means less need for chemical fertilizers or pesticides, giving your outdoor space a healthier vibe. Choosing rocks and mulch felt like a small way for me to help the environment, even with a busy family life.
Weed Control and Reduced Yard Work
Weeds used to pop up so quickly in our old yard, and keeping up with them was exhausting. Switching to rocks and mulch changed that. A thick layer of mulch blocks sunlight, stopping weed seeds from sprouting. Rocks act the same way by covering soil and making it hard for weeds to find a place to grow.
With fewer weeds, I save loads of time and won’t break a sweat pulling unwanted plants. Our front yard stays neat without constant attention — a total time saver. Plus, both materials are easy to refresh or add onto when needed, which keeps everything looking fresh without much hassle. Trust me, cutting back on yard work freed up so many weekends that I finally got to enjoy outside time instead of fighting weeds.
Choosing rocks and mulch for low maintenance front yard landscaping ideas with rocks and mulch made our home easier to care for, helped us save water, and kept the yard looking great even with three energetic kids running wild!
Planning and Designing a Low Maintenance Front Yard with Rocks and Mulch
When I first started thinking about low maintenance front yard landscaping ideas with rocks and mulch, I realized how much easier life gets when you choose the right materials and design. The trick isn’t just piling rocks or scattering mulch—it’s about planning a space that looks good, feels cozy, and stays simple to care for no matter how busy life gets.
That meant picking the right rocks for our yard’s soil and climate, choosing mulch that matches our home’s color, and thinking about safe play spaces for the boys. Here’s what I learned along the way and what worked for us.
Choosing the Right Rocks for Your Front Yard
Not all rocks are created equal, especially when you want a front yard that stays neat and hassle-free. I found that the type of rock you choose can change the whole look and how well it holds up in your weather.
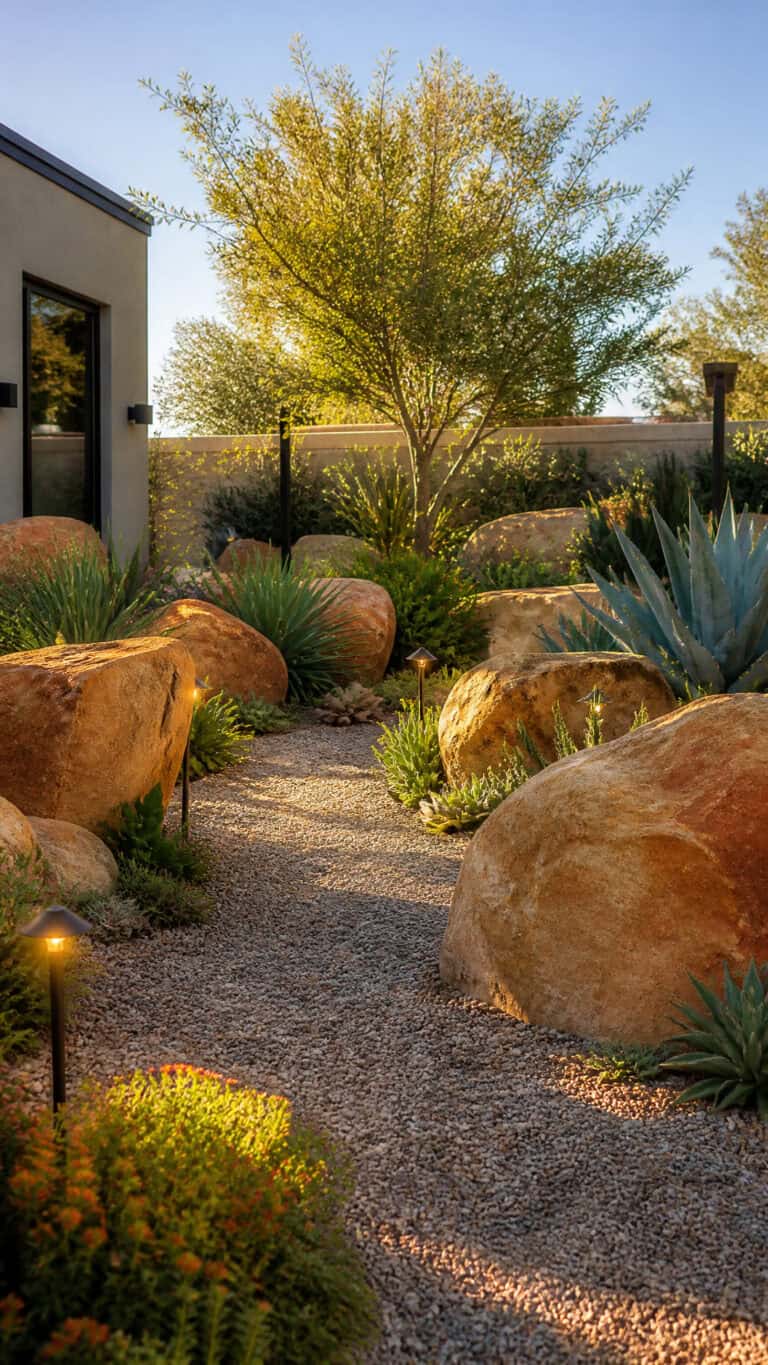
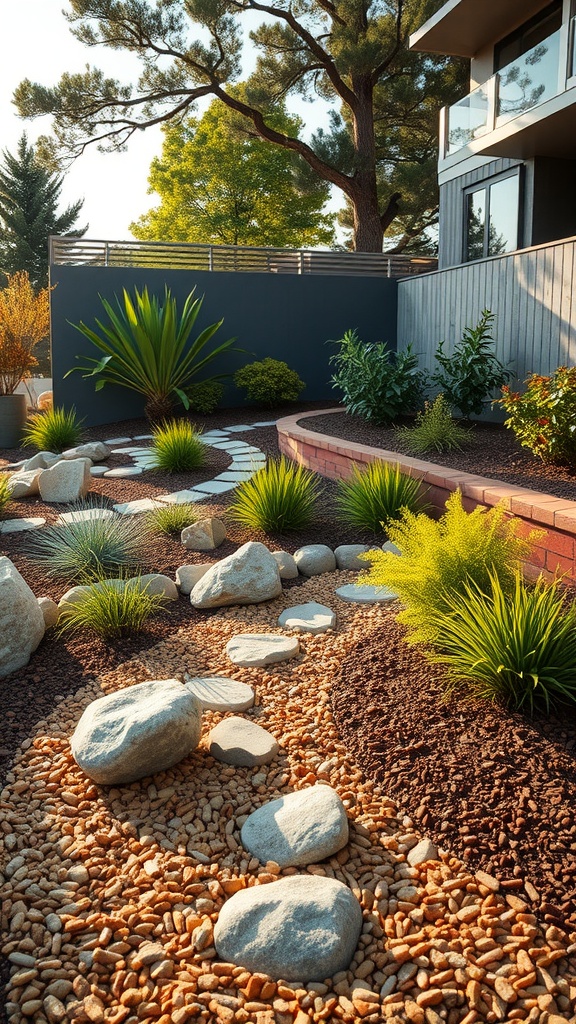
- River Rocks are smooth and rounded with a natural look. We used them around plants and flower beds because they allow water to drain well, which helped our plants. They work best in warmer climates but can shift a little with heavy rain, so anchoring them with landscape fabric helped.
- Pea Gravel is smaller and lighter. It’s great if you want a casual and playful feel because it’s comfy for little feet and easy to rake smooth again after the boys play. Pea gravel is good in dry areas since it doesn’t trap moisture but can scatter easily without a border.
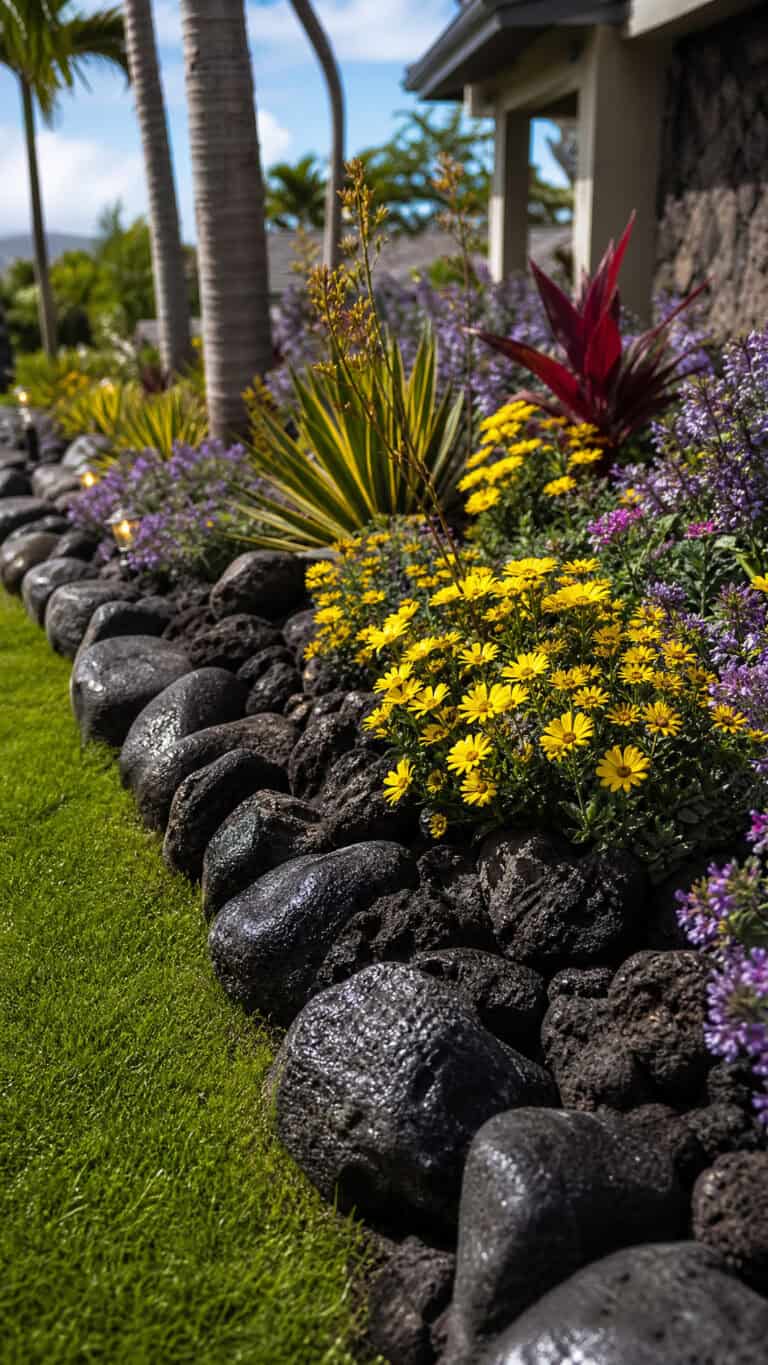
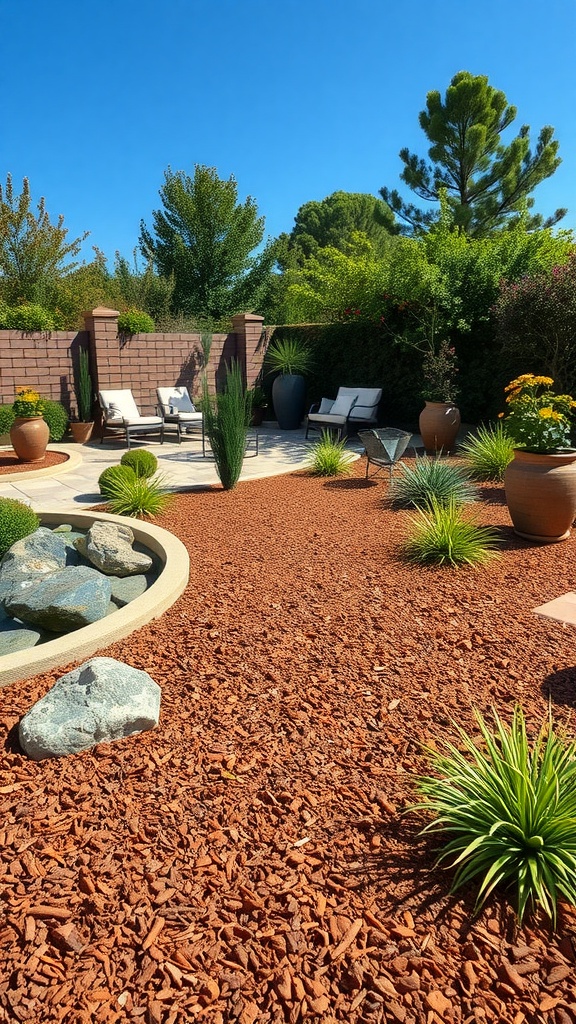
- Lava Rocks caught my eye because they are lightweight and don’t fade in the sun. Their darker color gives a bold contrast, which improved our yard’s curb appeal instantly. Lava rocks work well in hot, dry climates since they don’t trap heat.
Picking rocks also depends on your soil type. Sandy soils drain fast, so rounder rocks like river rocks help slow water runoff. Clay soils stay wetter longer, so lava rocks or pea gravel work better to prevent puddles. For us, mixing a few kinds created an inviting, varied texture, and I recommend trying samples if you’re unsure—it’s fun to see what fits your yard’s personality.
Selecting the Best Mulch Types for Your Landscaping
Mulch adds that charming finishing touch and keeps your garden beds neat without demanding much work. When I started using mulch, I learned the difference between organic and inorganic mulch really matters.
- Organic Mulch comes from natural materials like wood chips, bark, or shredded leaves. It looks warm and inviting and breaks down over time, feeding the soil below. I love this because it slowly nourishes plants and helps retain moisture. The only catch is it needs occasional topping up once a year or so.
- Inorganic Mulch includes things like rubber, stones, or landscape fabric. These last longer and don’t break down, which means less frequent replacement. In our front yard, using a thin layer of decorative inorganic mulch around rocks helped hold everything in place and cut down on weeds.
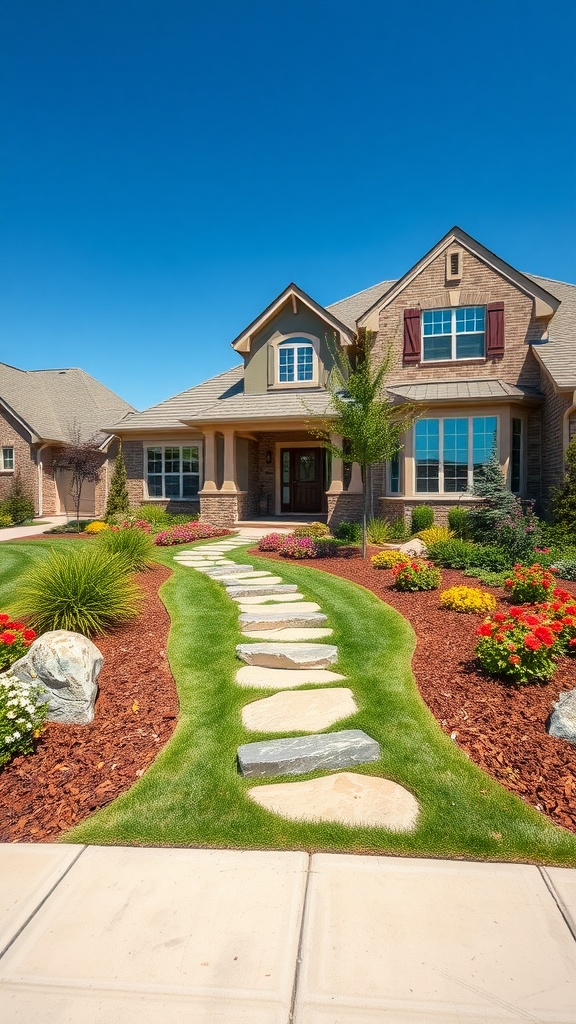
Color can really change the mood of your front yard, too. I matched our mulch color to the tones in our home’s exterior—rich reddish-brown mulch complemented our brickwork beautifully, while lighter tan mulch can brighten shady corners. If your home has cool-toned siding, gray or black mulch might be the way to go for a sleek look. There’s no one-size-fits-all here, so think about what feels welcoming to you and ties the whole picture together.
Incorporating Safe Paths and Play Areas for Kids
With three boys that love to be outside, creating safe zones was non-negotiable. Paths and play areas had to be easy on their feet and safe for running and jumping, but also easy for me to care for.
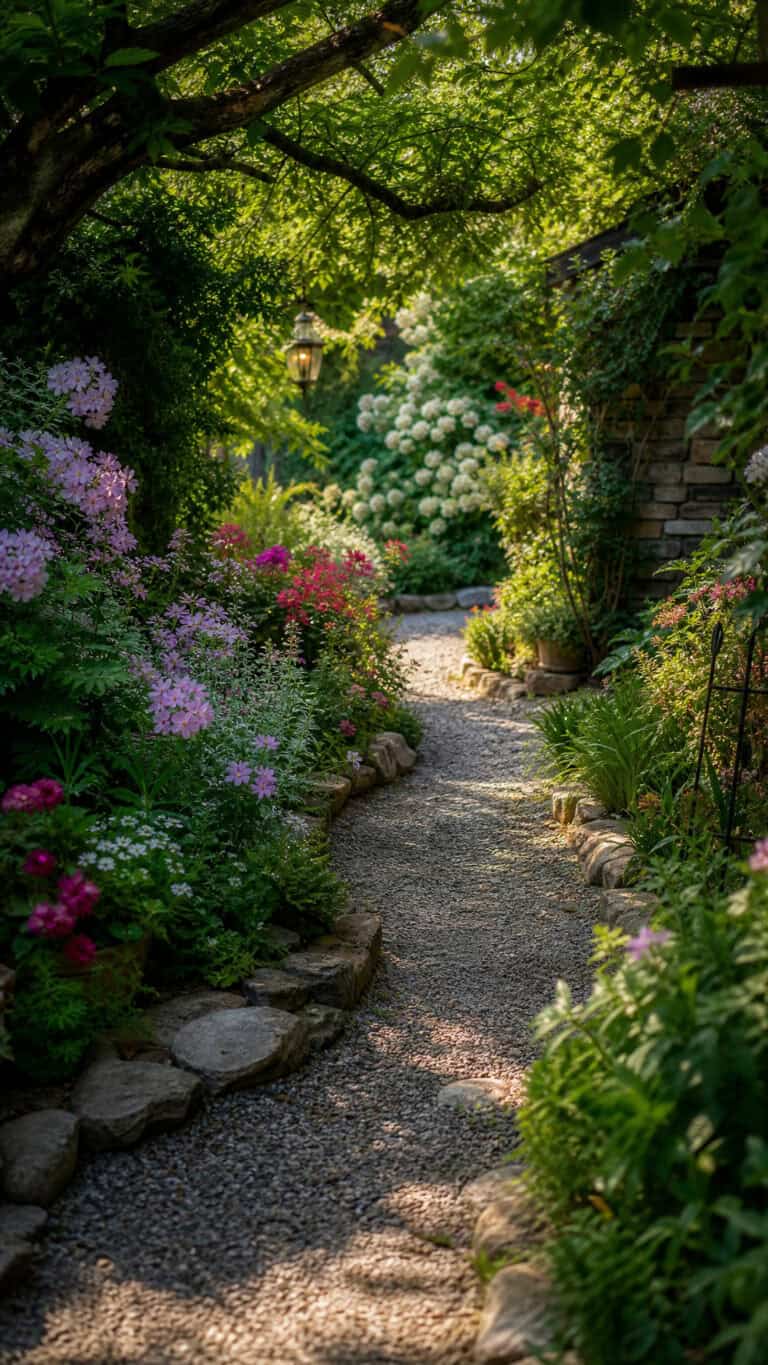
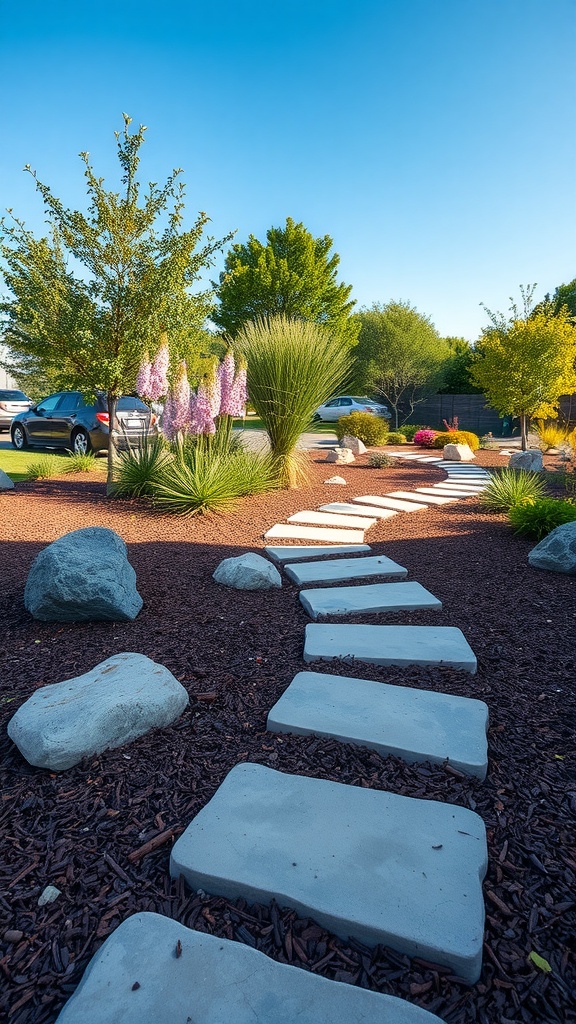
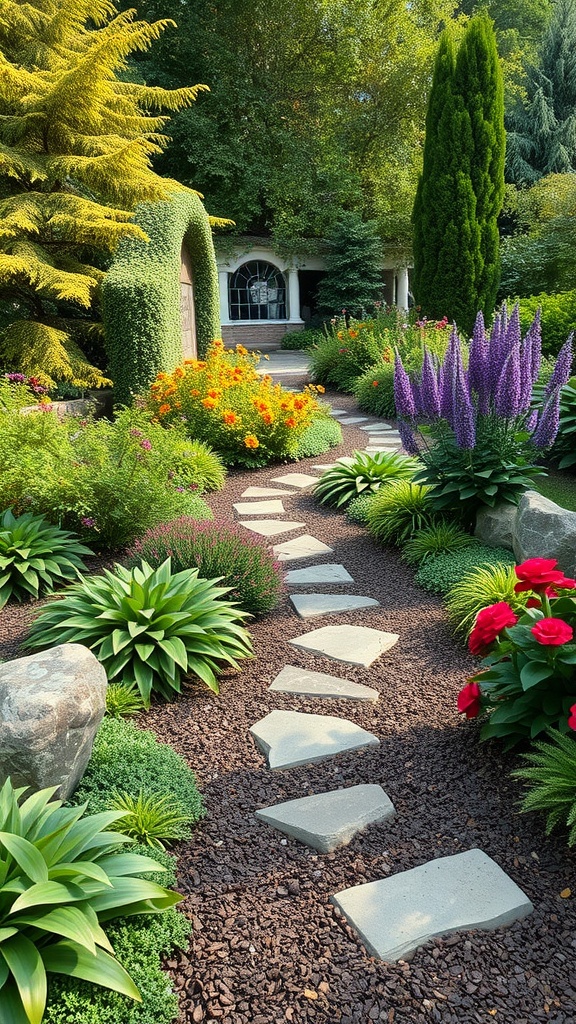
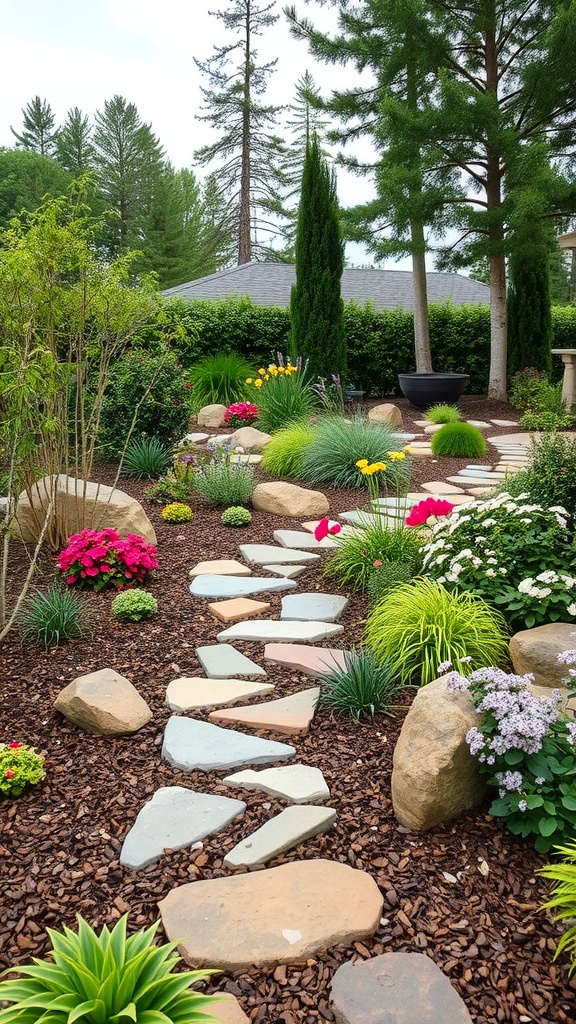
For walkways, I used flat stepping stones layered with pea gravel between them. This combo looks kid-friendly and stops muddy messes when it rains. The gravel cushions little falls and keeps shoes cleaner. It’s a simple way to add clear paths that hold up well and feel natural, not too formal.
Our play areas got a layer of soft mulch—organic shredded bark specifically. It’s gentle, helps cushion tumbles, and keeps weeds down without making a dirt patch. The mulch also drains well after rain, so the boys can get back to playing faster.
To keep everything tidy, I edged these zones with simple metal or plastic borders. This keeps rocks and mulch in place and stops grass from sneaking in. It took a little effort to install upfront, but I’m so glad I did. It’s a hands-off way to keep the yard looking fresh, even with the chaos of kids zooming around.
Planning these spaces carefully made the yard safer and kept the maintenance low, which means more time for my boys to explore—and for me to relax!
Step-by-Step Guide to Installing Rocks and Mulch in Your Front Yard
When it came time to make our front yard look good without spending hours on upkeep, I knew that the key was in the way I installed rocks and mulch. Getting these basics right meant less hassle later and a front yard that stood up to my busy family life. Here’s a simple, step-by-step guide that worked really well for us when putting in our low maintenance front yard landscaping ideas with rocks and mulch.
Preparing the Yard: Clearing and Leveling
First things first, you’ve got to start with a clean slate. I cleared the entire area where I wanted the rocks and mulch, pulling out weeds, grass patches, and any debris. This step might sound boring, but it’s so important because it stops new weeds from popping up under your new setup.
Next, I evened out the soil by raking and filling in any holes or bumps. A level surface makes spreading rocks and mulch way easier and helps everything look clean and tidy. If you spot big roots or rocks, dig those out or remove them—you don’t want lumps messing up your yard’s finish. I also loosened the soil a bit with a garden fork, which helped with drainage and made it easier for mulch to settle.
If you want to get fancy and prevent erosion, it’s good to gently slope the yard away from your house. It keeps water from pooling near the foundation and keeps the yard looking its best, no matter the weather.
Installing Landscape Fabric for Weed Prevention
This step was a total game saver for keeping weeds down. After clearing and leveling, I rolled out landscape fabric over the soil. It’s basically a strong, breathable cloth that blocks sunlight but lets water and air pass through. That means your plants stay happy, but weeds don’t get their daily dose of sunshine to grow.
When laying the fabric, I made sure to overlap the sheets by at least 6 inches so no weeds sneak through the cracks. I also pinned the edges down with garden staples to keep it tight against the ground. It might seem like extra work, but trust me, this fabric cuts down on those endless battles with weeds.
If you have plants or shrubs in your landscaping, just cut a small X or hole around them, then tuck the fabric edges down so the weeds still stay controlled all around your plants. The fabric gets almost invisible once you cover it up with rocks or mulch, and it makes future maintenance easier because weeds don’t burrow underneath.
Laying Rocks and Mulch Correctly
Here comes the fun part! After the fabric is in place, you want to spread your rocks and mulch in a way that looks natural but still keeps your yard neat.
I started with rocks, using them mainly around the edges and flower beds where I wanted a more defined look. Spread them evenly in a thick layer, around 2 to 3 inches deep. Too thin won’t cover the fabric well and might let weeds peek through; too thick makes it look clumpy and heavy. Raking the rocks smooth every so often helped me keep the surface even.
Next, I layered mulch in places where I wanted softer texture and warmth—like around trees and in play-friendly areas. I used shredded bark mulch and laid it about 2 to 4 inches thick. Mulch compresses a bit over time, so starting thick helps keep the coverage longer. When spreading mulch, I also left a small gap of at least 2 inches around tree trunks and plant stems to avoid moisture buildup that might cause rot.
To finish, I edged the areas with plastic or metal borders to keep rocks and mulch from mixing or spilling into the lawn. This step helped make edges look sharp and clean, making a big difference in curb appeal.
Doing it right means your rocks stay where you put them and mulch keeps on working to protect soil. The best part is it keeps your yard looking fresh for a long time and saves you loads of work tackling weeds or bare patches.
Installing rocks and mulch doesn’t have to be complicated or take forever. With a bit of prep and attention to detail, you can create a low maintenance front yard that looks great and handles the everyday chaos of family life without draining your time or energy.
Keeping Your Low Maintenance Front Yard Landscaping Ideas with Rocks and Mulch Looking Fresh
Working with rocks and mulch for low maintenance front yard landscaping ideas with rocks and mulch is a great way to save time. But even with simple materials, a little regular care keeps everything looking sharp and welcoming. I found that setting up some easy routines for cleaning, refreshing, and handling small problems makes a huge difference. Here’s how I keep our yard neat without turning it into a full-time job!
Seasonal Cleaning and Rock Maintenance
Rocks are fantastic because they don’t need watering or mowing, but over time, they can gather dust, leaves, and little bits of debris. I like to give them a good once-over every few months, especially after heavy winds or the fall season.
Here’s what I do to keep them looking their best:
- Rake or use a leaf blower to clear away loose leaves and twigs. It’s quick and stops stuff from piling up.
- For really dusty rocks, I spray them lightly with a garden hose. The water washes off dirt, making the colors pop again.
- If rocks look dull or thin in spots, I add a fresh layer on top to even things out. Just tossing on a half inch of new rocks brightens the whole area instantly!
- Keep an eye on the landscape fabric underneath. If rocks are shifting or sinking, it might be time to straighten it out or add extra staples to keep everything in place.
Taking 10-15 minutes a couple of times a year keeps the rock beds from looking neglected. It’s a small effort that pays off big for curb appeal!
Mulch Refreshing and Replacement Tips
Mulch does a lot of work for your yard—it helps retain moisture, controls weeds, and makes beds look smooth and colorful. But mulch breaks down slowly and needs a bit of topping up to keep that fresh look.
Here’s how I keep our mulch soft and vibrant without fuss:
- Add new mulch once a year, usually in early spring or fall. That way, it looks great just as the seasons change.
- When refreshing, first rake the old mulch to loosen it up and remove any debris or weeds that snuck in.
- Spread new mulch about 2 to 3 inches thick. If you put down too little, soil gets exposed and weeds find a way in. Too thick, and the mulch might hold too much moisture, which can harm roots.
- I always leave a few inches of open space around plant stems and tree trunks to avoid mold or rot.
- If you have chipped wood mulch, try to stir it a bit while adding fresh layers. This helps keep it fluffy and prevents compaction.
Refreshing mulch is one of those simple tasks that transforms a yard. It makes everything look cared for and welcoming, which feels great after busy weeks!
Dealing with Unexpected Issues like Weeds or Pests
Even the easiest yards have to battle the occasional weed or bug. The good news is, you don’t need hours outdoors or pricey treatments to keep things in check.
For weeds, here’s how I handle them fast and painlessly:
- Pull young weeds by hand as soon as you spot them. This is easier and stops them from taking over.
- Spray a mix of vinegar and water on stubborn weeds. It’s a gentle, cheap killer that won’t harm most rocks or mulch.
- If weeds keep coming back in spots, check for tears or gaps in your landscape fabric. Repairing that is the best long-term fix.
When pests show up, like ants or bugs that bother plants, I use these quick tricks:
- Sprinkle a little diatomaceous earth around plant bases. It’s safe for kids and pets but dries out crawling bugs.
- Plant herbs like mint or basil near problem areas. They naturally repel some insects, and bonus—they smell great!
- Encourage birds by putting up feeders or houses nearby. Birds love snacking on bugs and help with pest control naturally.
These quick fixes save time and energy without turning yard care into a chore. With rocks and mulch already cutting down on weeds and pests, a little routine check keeps things in balance with very little fuss.
Taking care of your front yard’s rocks and mulch is really about small habits that fit busy lives. A few minutes here and there make the yard look inviting and easy on the eyes, so you can get back to what matters most—family time and enjoying your home’s outdoor space!
Personal Experience: How Our Low Maintenance Front Yard with Rocks and Mulch Transformed Our Home
Switching to low maintenance front yard landscaping ideas with rocks and mulch wasn’t just a project; it was a real change in our family’s everyday life. I want to share what we faced at the start and how this simple choice gave us more time together and a front yard that feels safe and welcoming.
Initial Challenges and How We Overcame Them
Changing our front yard wasn’t without its headaches. At first, I wasn’t sure if rocks and mulch would mix well or if it would all look messy instead of neat. The biggest challenge was planning the layout so it felt balanced and kid-friendly. Since my three boys are full of energy, I knew sharp-edged rocks or uneven surfaces could cause trouble.
During installation, things got messy quickly. Moving heavy bags of rocks and mulch while keeping an eye on the kids felt like a juggling act. We also had to get the landscape fabric right, which took more patience than I expected. To tackle these problems, I broke the work into small steps and worked when the boys were in school or napping.
Another obstacle was finding the right combination of materials. We didn’t want too many rocks that would get kicked around or mulch that would blow away in the wind. After testing a few smaller batches in different areas, I found a mix that stayed put and looked good year-round. A little trial and error went a long way!
Taking time to build borders with metal edging helped keep everything contained. That simple step saved me hours of chasing gravel or mulch that ended up scattered on the driveway or sidewalks.
Enjoying More Family Time and a Beautiful Yard
The best part about our choice? We got back so much more time. Before, weekends were spent pulling weeds, mowing, and watering. Now, those chores are down to a quick check every couple of weeks. The yard looks great without constant effort, and that feels like a huge weight off my shoulders.
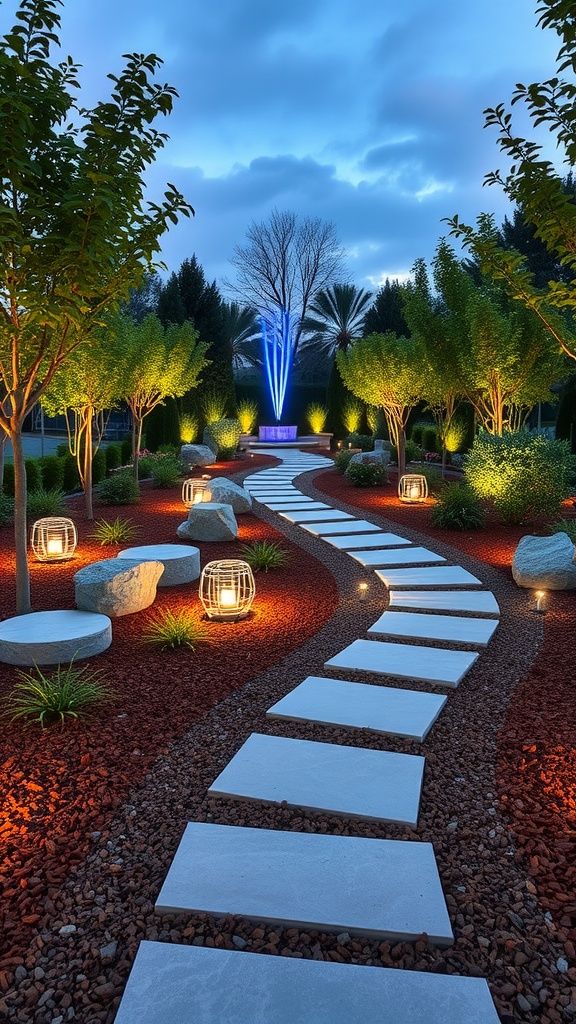
With the low maintenance setup, my boys have safe, clean spots to play without me worrying about muddy shoes or tripping hazards. They love running over the soft mulch areas and hopping between the smooth pea gravel paths—it’s like an obstacle course made just for them!
I also notice how much more relaxed I am outside. Instead of rushing to finish yard work, I can join my kids for a quick game or just sit and watch them explore. Our front yard became a happy space where family memories happen easily.
Simple changes like this gave me back moments with my family and made our home feel more inviting. If you want a yard that works well for kids and busy parents, this approach really makes a difference!
Conclusion
Choosing low maintenance front yard landscaping ideas with rocks and mulch gave me a beautiful yard without spending every free minute working outside. These simple materials handle the rough and tumble of three busy boys, save water, and keep weeds and chores to a minimum.
I love how much more time I get to enjoy my family and less time worrying about the yard looking messy. If you’re juggling kids and housework like me, trying rocks and mulch could make your outdoor space a peaceful, low-stress place.
Give it a go, and see how easy it is to have a front yard that stays charming and simple to care for. What small change could your yard use to free up a little time and bring more joy? Thanks for reading and happy landscaping!
This post may contain affiliate links. Read the full disclosure here.