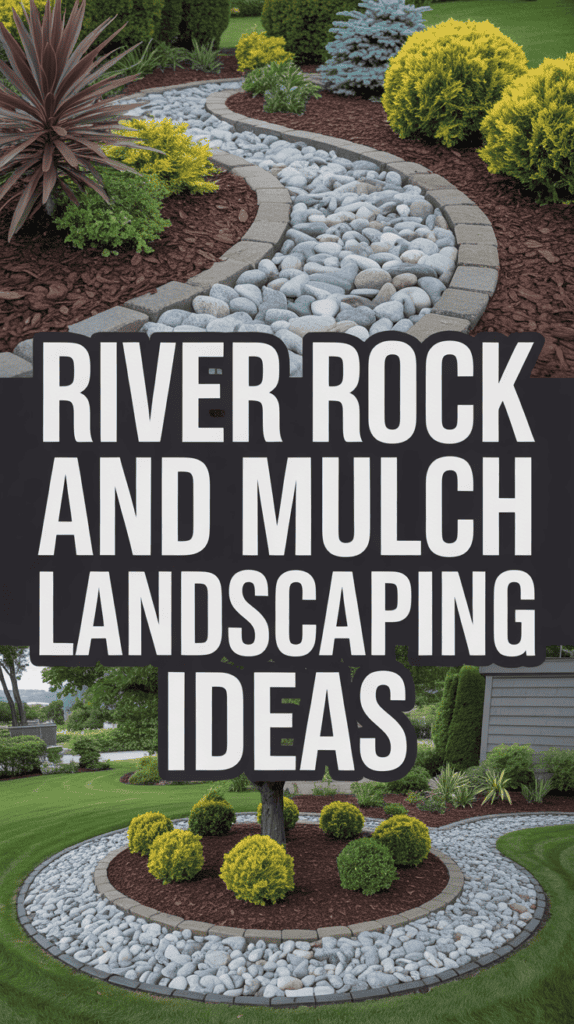
River Rock And Mulch Landscaping Ideas That Feel Balanced
If you’re anything like me, you want a yard that looks absolutely gorgeous but doesn’t require every spare minute of your time (because let’s be real, with three boys running around, spare minutes are basically mythical creatures!). That’s exactly why I fell in love with combining river rock and mulch in my landscaping!
The magic happens when you blend these two materials together in thoughtful ways. River rock brings that clean, modern look and lasts forever, while mulch adds softness, helps your plants thrive, and brings natural warmth to your space. Together, they create a balanced landscape that’s both beautiful and practical – exactly what us busy moms need!
Why River Rock and Mulch Make the Perfect Landscaping Duo

When I first started researching river rock and mulch landscaping, I wondered if mixing these two materials would look too busy or mismatched. Boy, was I wrong! These two actually complement each other beautifully, and here’s why they work so well together.
River rock provides incredible durability and structure to your landscape design. It doesn’t decompose, won’t blow away in the wind (which is huge when you have kids constantly running through the yard!), and it comes in gorgeous colors ranging from white and gray to warm browns and even reddish tones. Plus, it’s fantastic for drainage areas and pathways where you need something that can handle heavy traffic.
Mulch, on the other hand, is a plant’s best friend! It retains moisture in the soil, regulates temperature, prevents weeds, and slowly breaks down to add nutrients back into your garden beds. Wood mulch especially brings this lovely organic texture that softens the harder edges of stone and makes your landscape feel more natural and inviting.
The key to making them work together is understanding that they serve different purposes in your yard. Use them intentionally, and you’ll create a landscape that’s not only stunning but also incredibly functional. Trust me, once you see how they balance each other out, you’ll wonder why everyone doesn’t landscape this way!
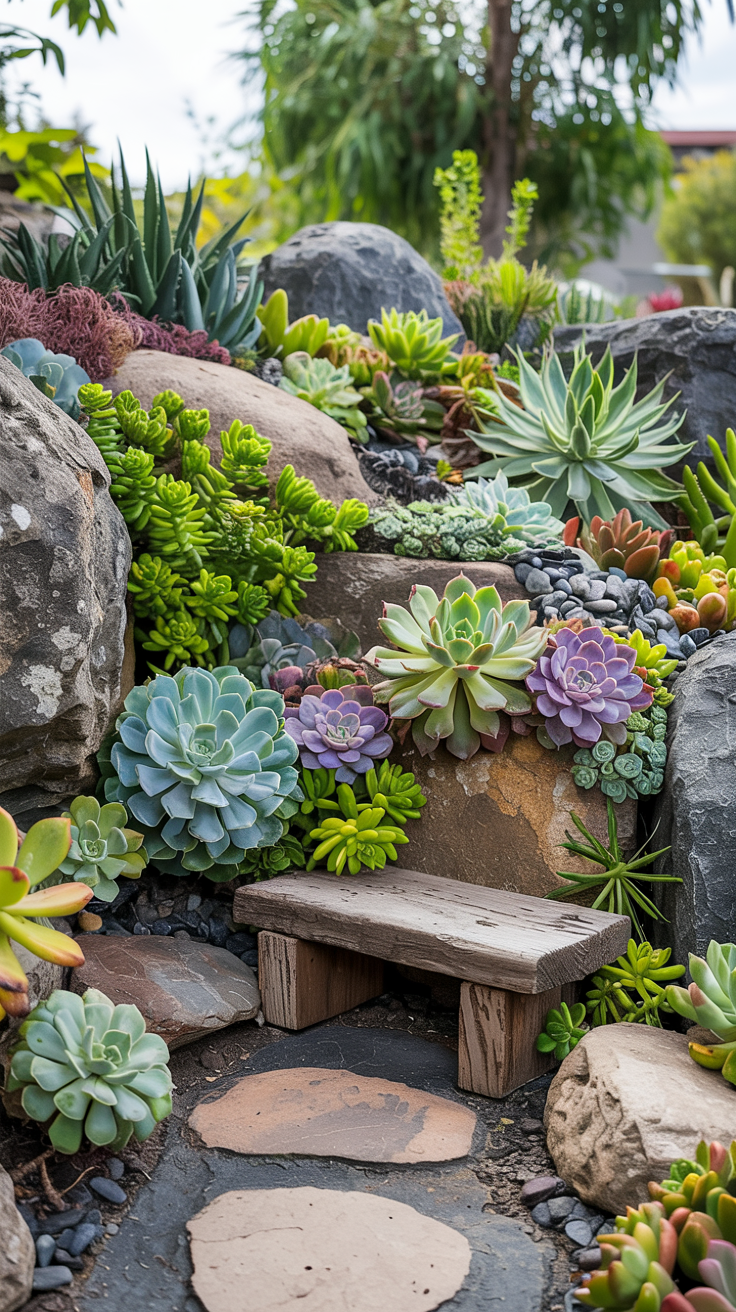
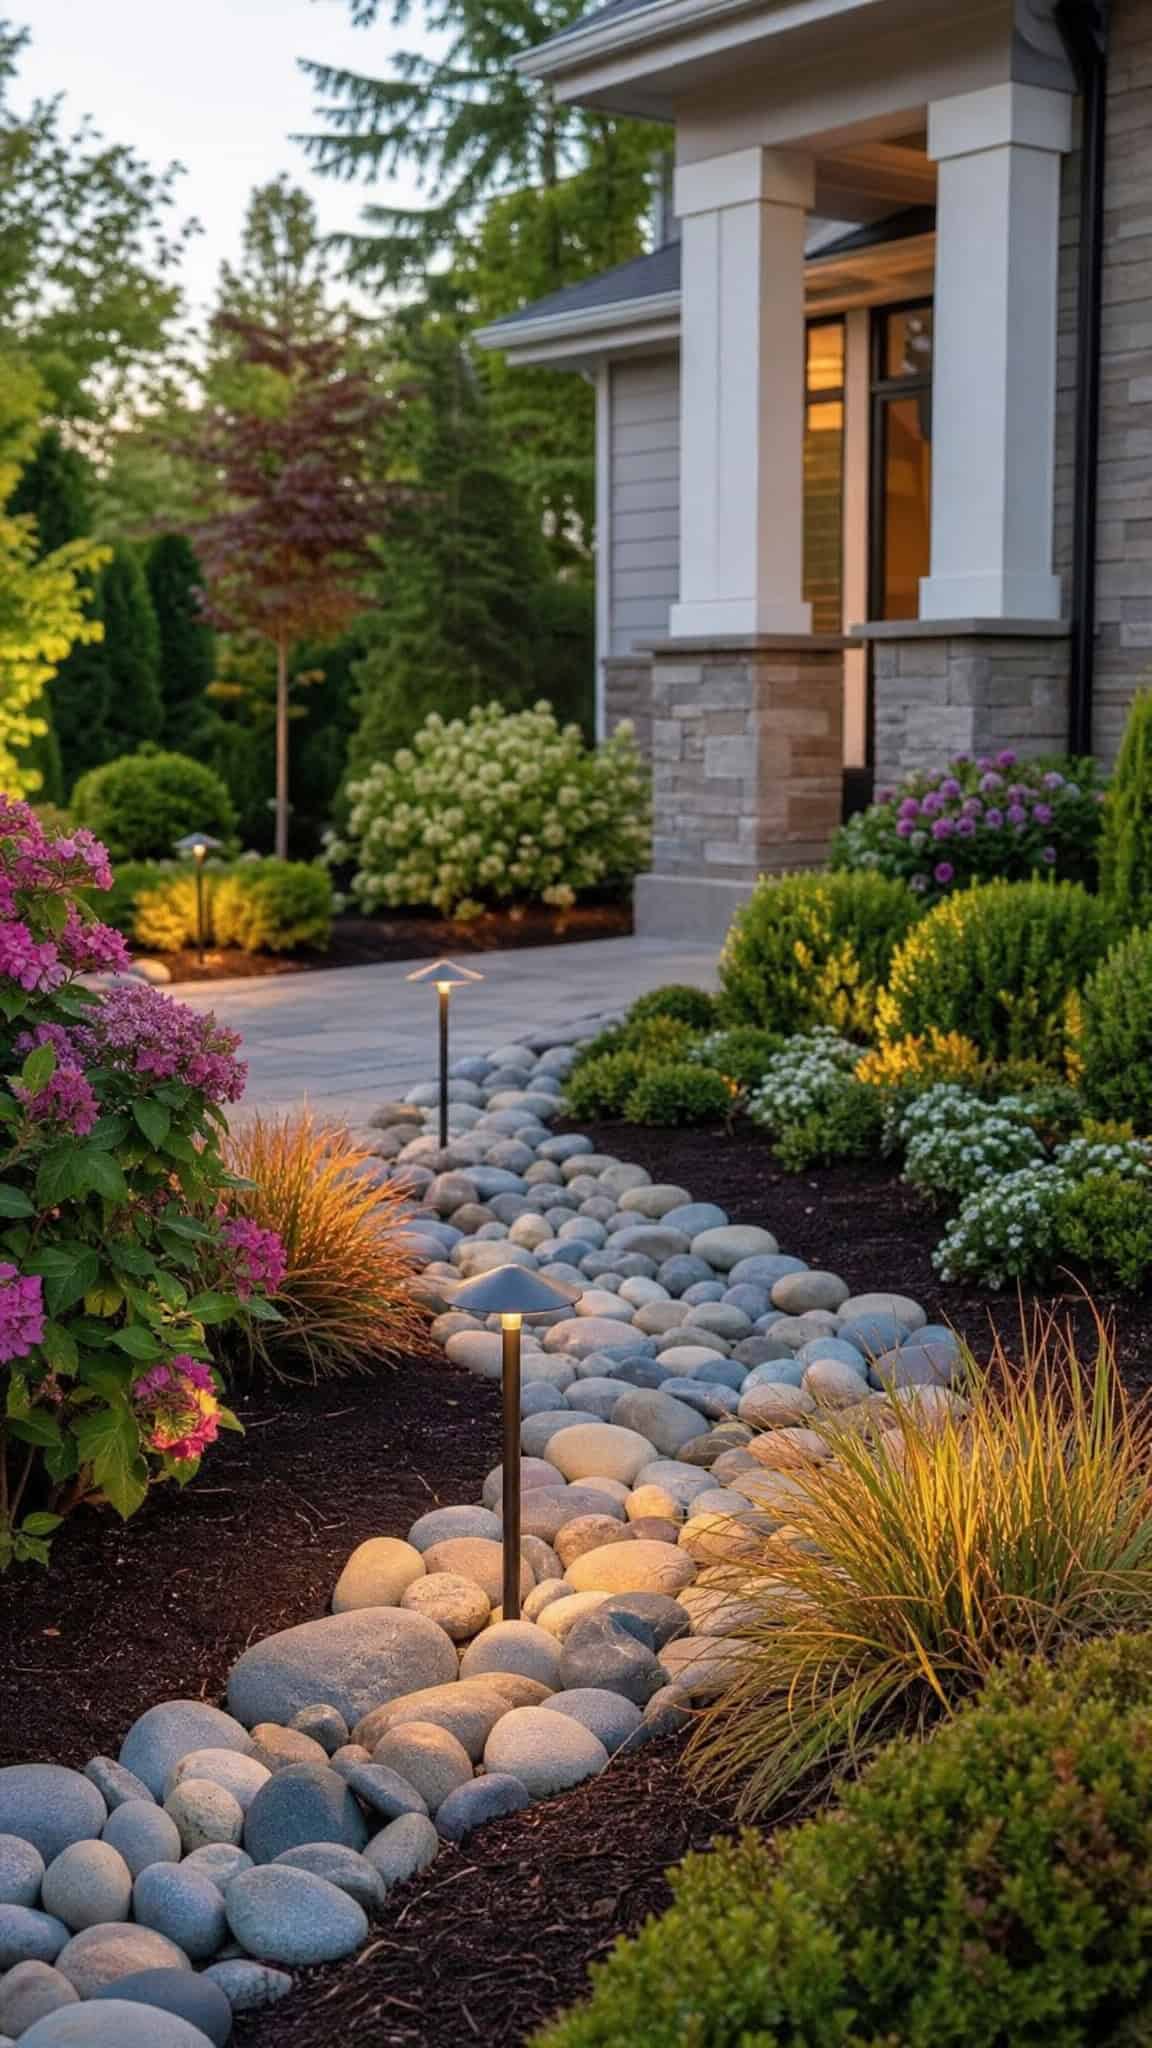
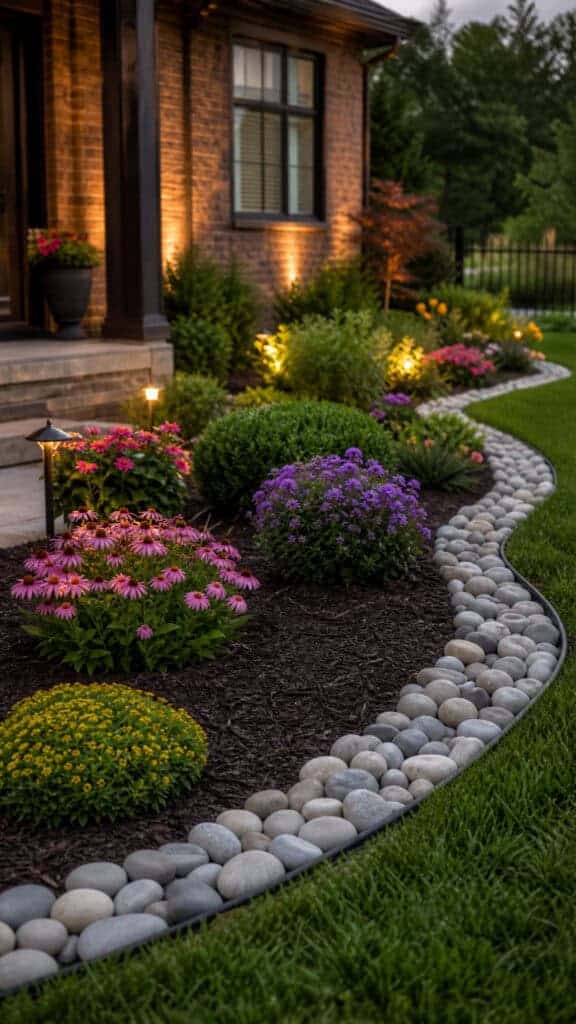
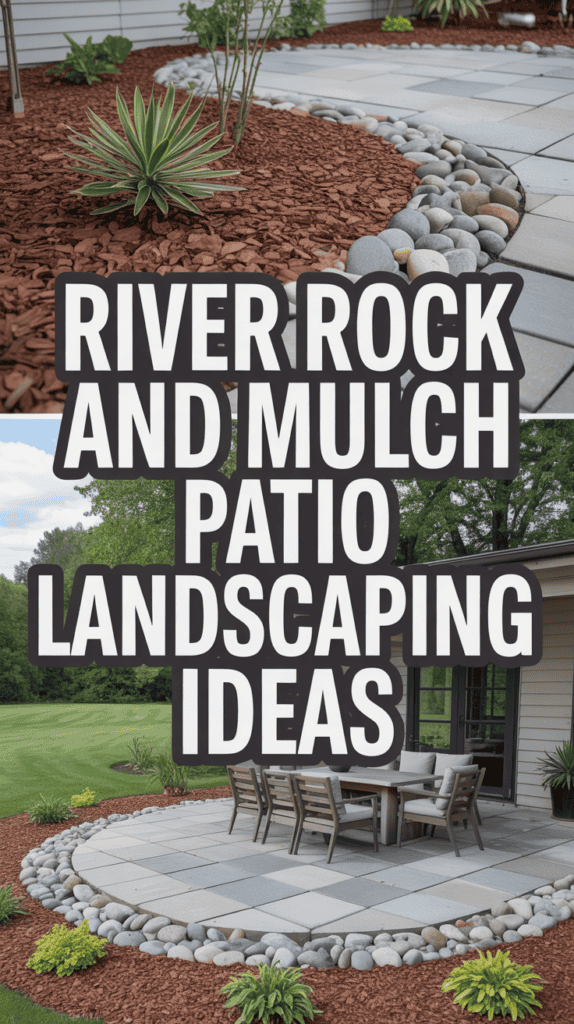
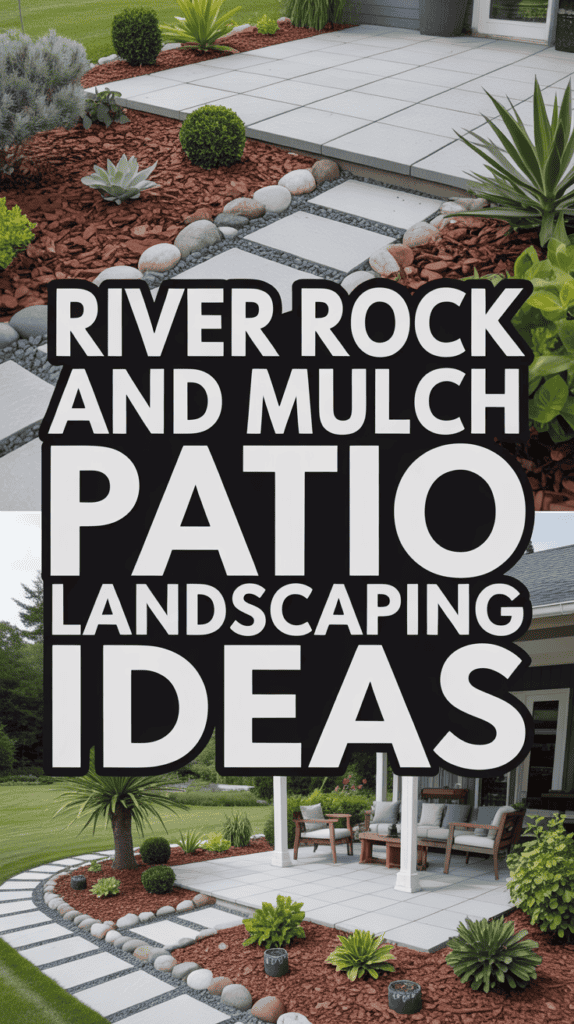
Creating Defined Garden Bed Borders with River Rock
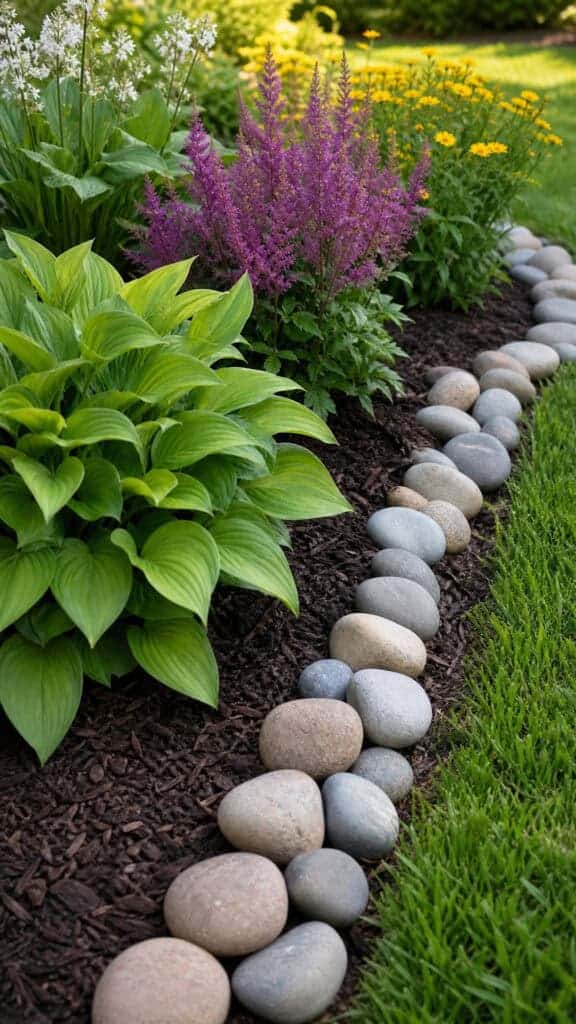
One of my absolute favorite ways to use river rock and mulch landscaping is creating crisp, clean borders around garden beds. This technique instantly makes your yard look more polished and intentional – like you actually know what you’re doing (even if you’re figuring it out as you go, like I was!).
Here’s how I approach it: I use river rock to create a border that’s typically 4-6 inches wide around the perimeter of my mulched garden beds. This serves multiple purposes that make my life so much easier! First, it acts as a barrier that keeps the mulch contained, so I’m not constantly sweeping it off the lawn. Second, it creates a mowing strip so my husband can mow right along the edge without getting too close to the plants. And third, it just looks incredibly neat and finished!
For the best results, I recommend digging a shallow trench about 2-3 inches deep along your bed edge before adding the river rock. This helps the stones sit at ground level or slightly below, which prevents them from spilling out onto your lawn. I learned this the hard way after my middle son decided to kick rocks across the yard like soccer balls!
You can choose river rock sizes ranging from small pebbles (about 1-2 inches) to larger stones (3-4 inches). I personally love using 2-3 inch stones because they’re substantial enough to stay put but not so large that they look overwhelming. Fill your garden beds with a quality hardwood mulch in a contrasting color, and boom – you’ve got yourself a professional-looking landscape!
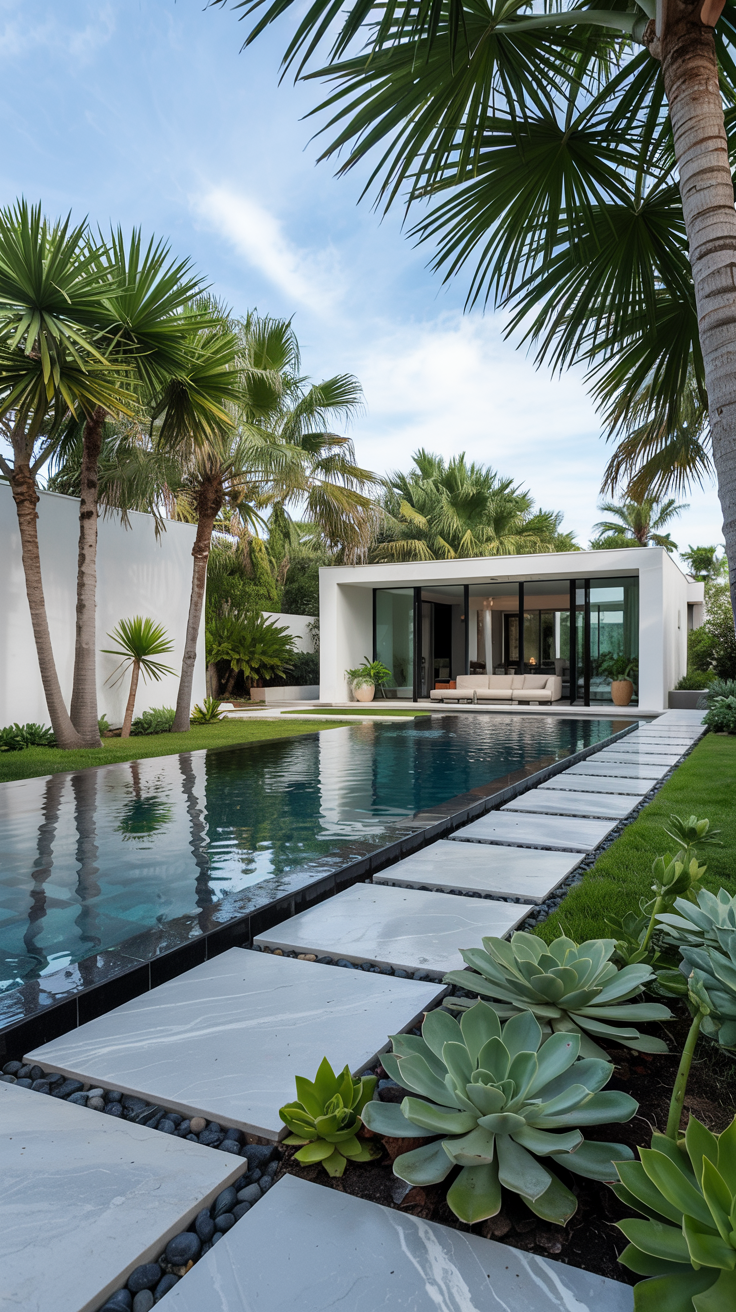
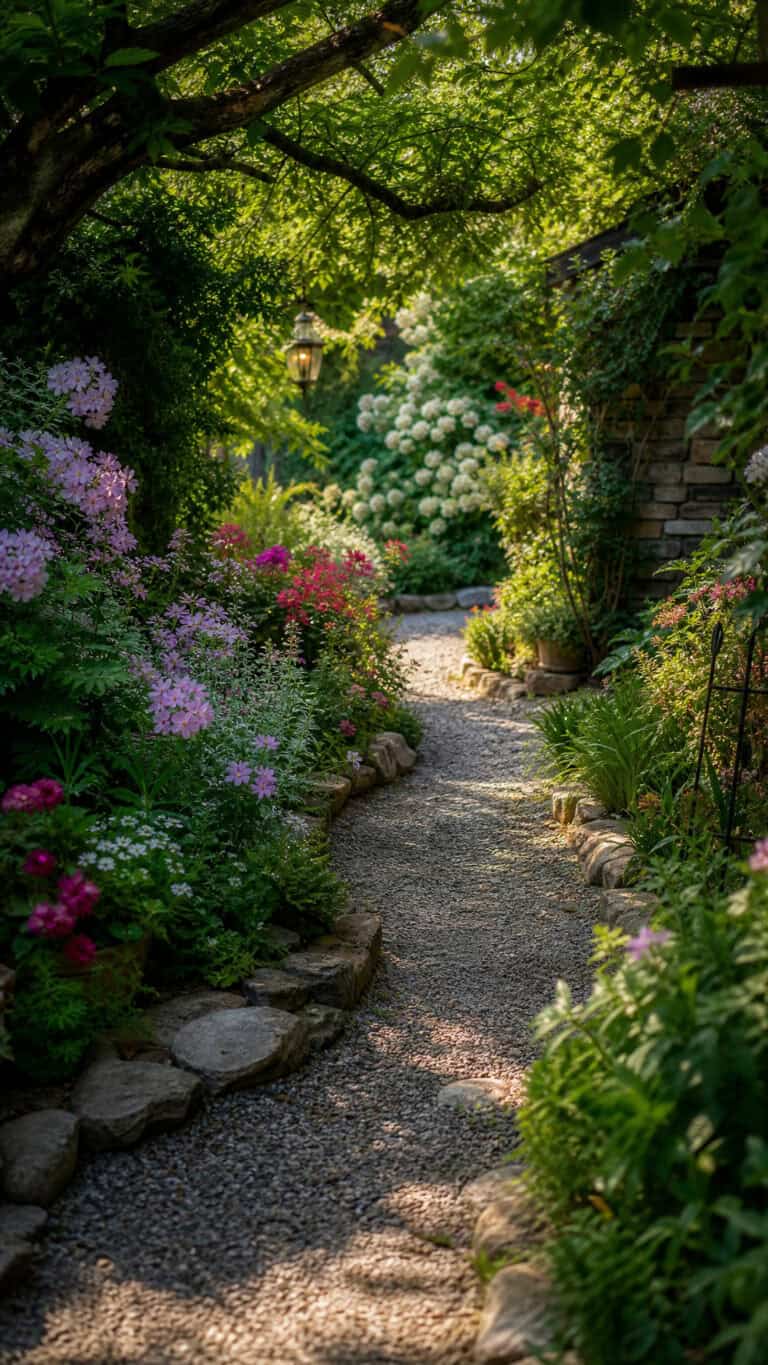
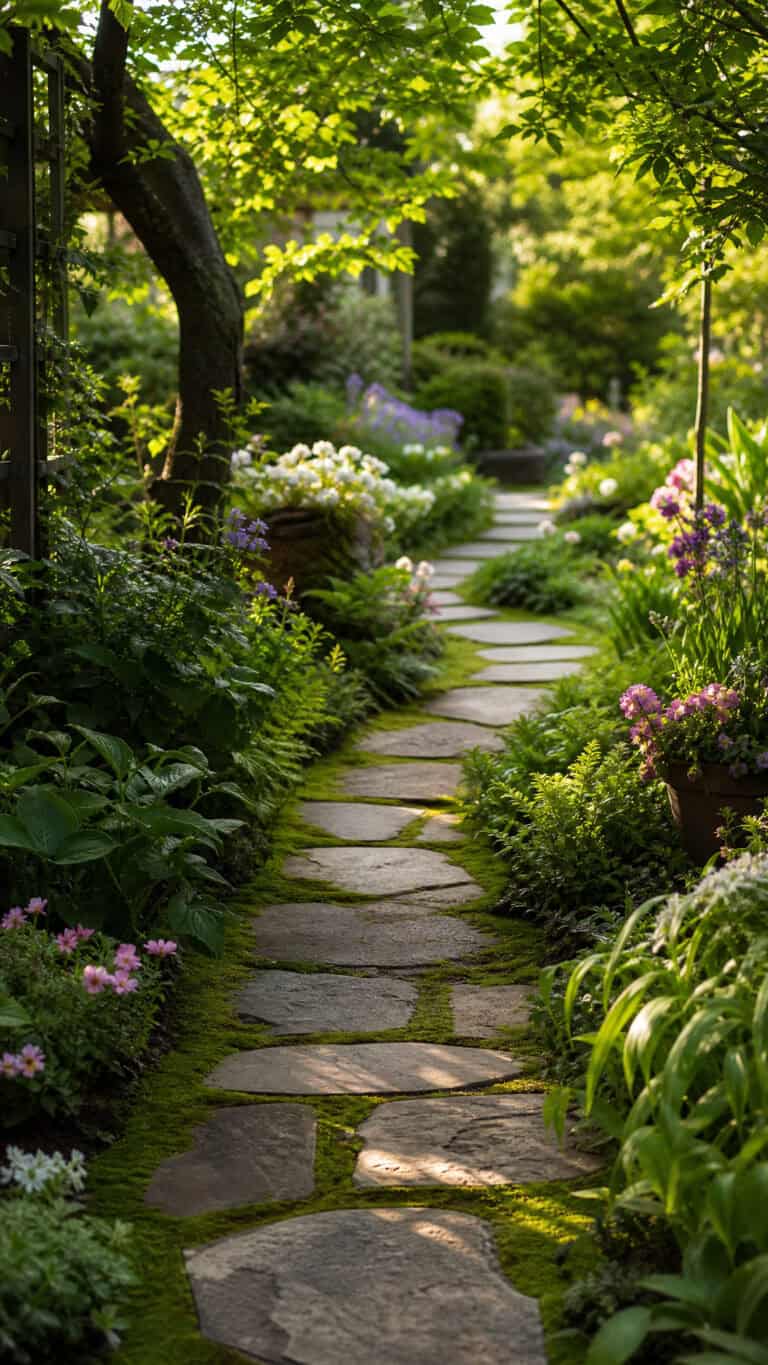
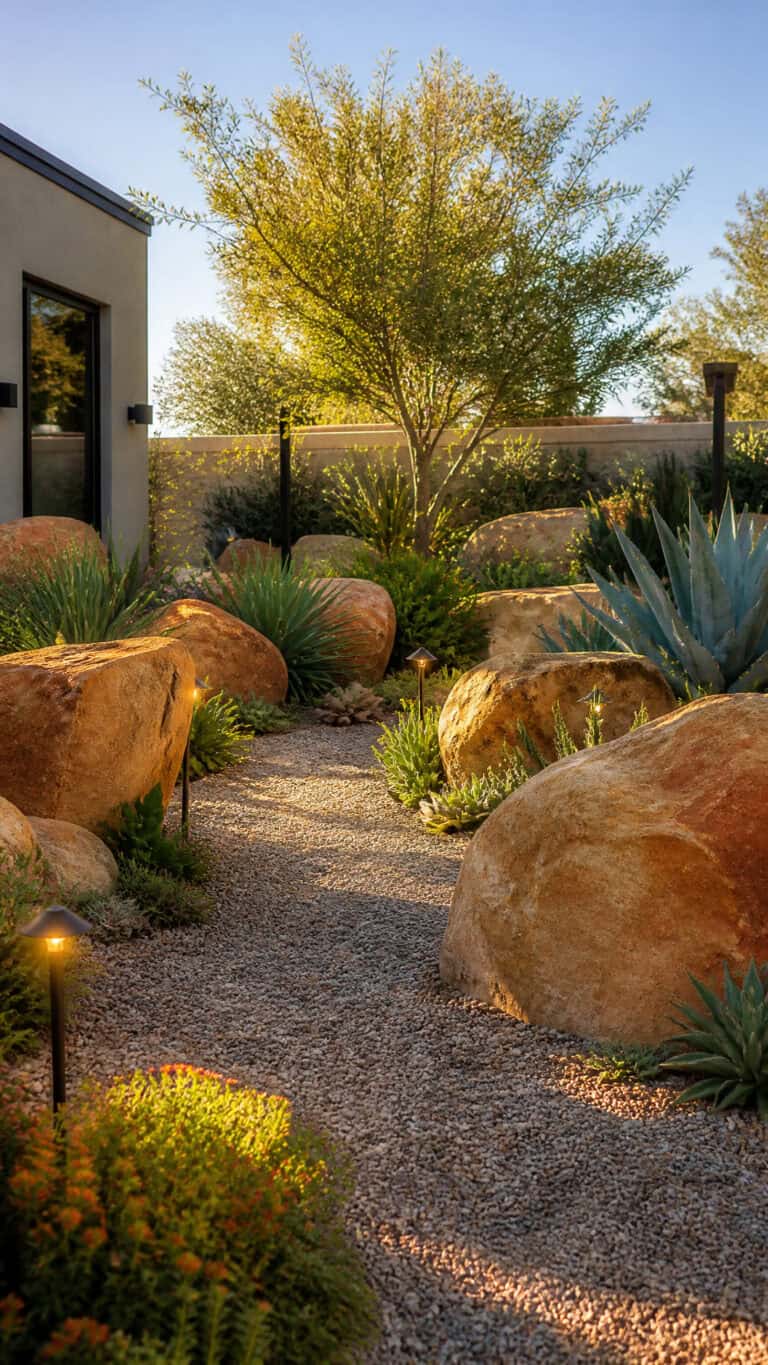
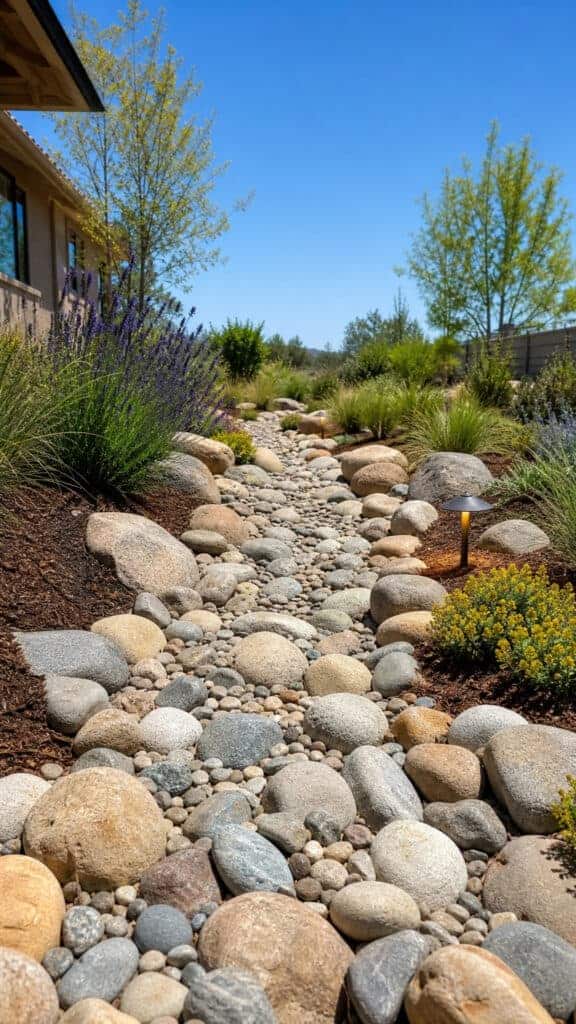
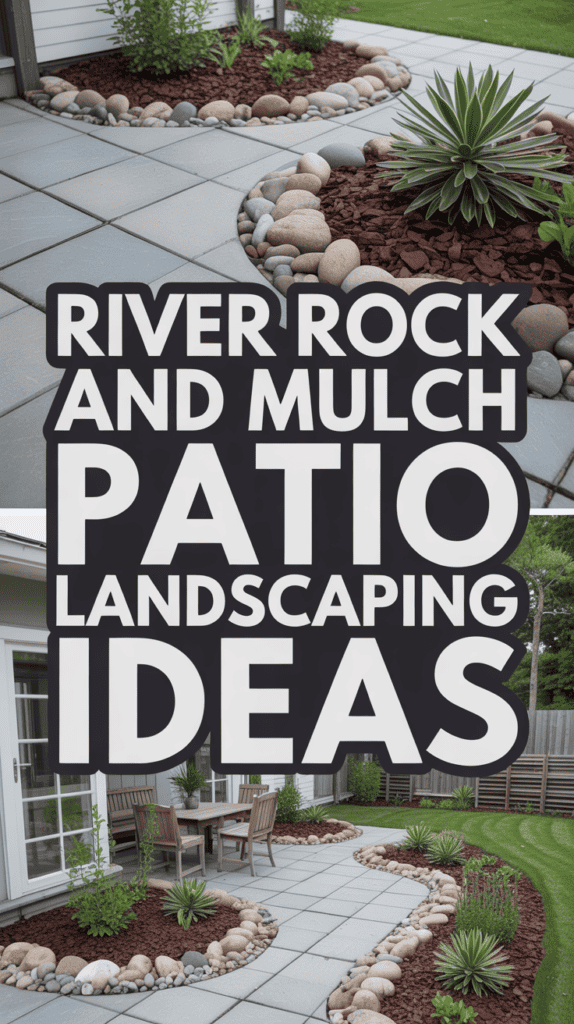
Designing Low-Maintenance Pathways That Mix Both Materials

Pathways are where river rock and mulch landscaping really gets to shine! I created a beautiful winding path through our backyard that the boys love running along, and it’s held up incredibly well even with all their rough-and-tumble play.
The classic approach is using river rock as your main pathway material with mulched beds on either side. River rock is perfect for walkways because it drains beautifully (no muddy puddles!), doesn’t decompose, and provides stable footing. I used 1-2 inch river rock for our main path, which is comfortable to walk on and looks gorgeous.
But here’s a fun twist I discovered: you can also create stepping stone paths using larger flat river rocks set into a mulched area! This works wonderfully in garden spaces where you want to maintain that soft, natural look but still need to access your plants for watering and maintenance. Just place large, flat stones (6-12 inches across) at comfortable walking intervals through your mulch bed, and you’ve got an enchanting garden path that feels like something out of a storybook!
For family-friendly pathways, make sure they’re at least 3 feet wide so you can walk comfortably (or so two kids can run side-by-side without pushing each other into the plants – just me?). Edge your river rock paths with landscape fabric underneath to prevent weeds, and border them with mulched beds filled with low-maintenance perennials or shrubs. The contrast between the smooth stones and soft mulch creates such a lovely visual flow!
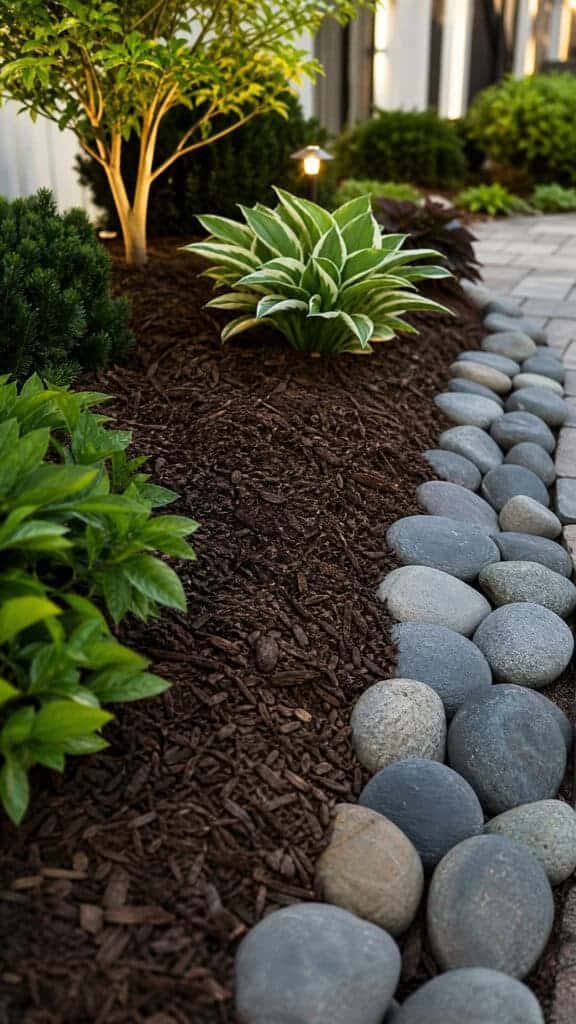
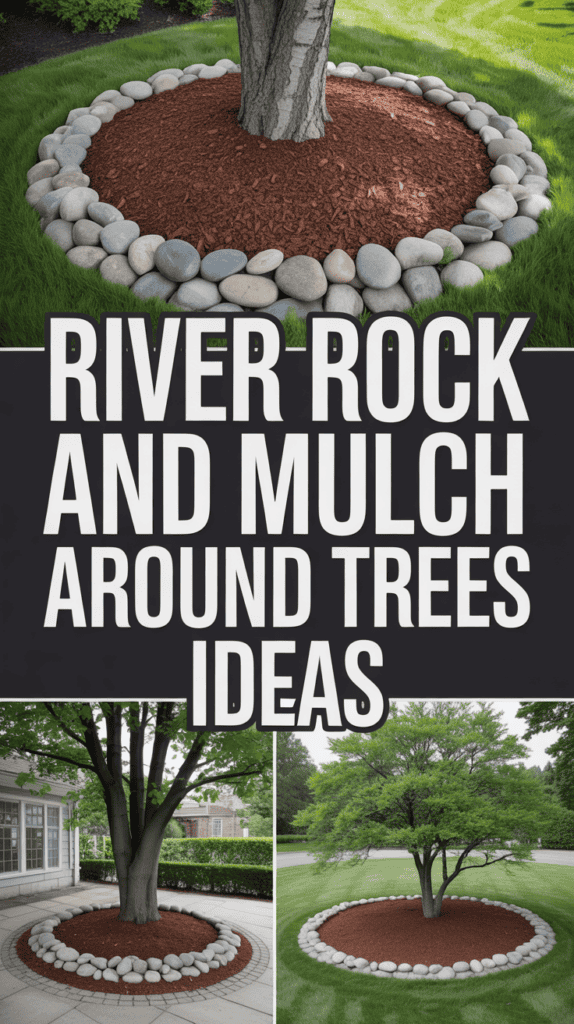
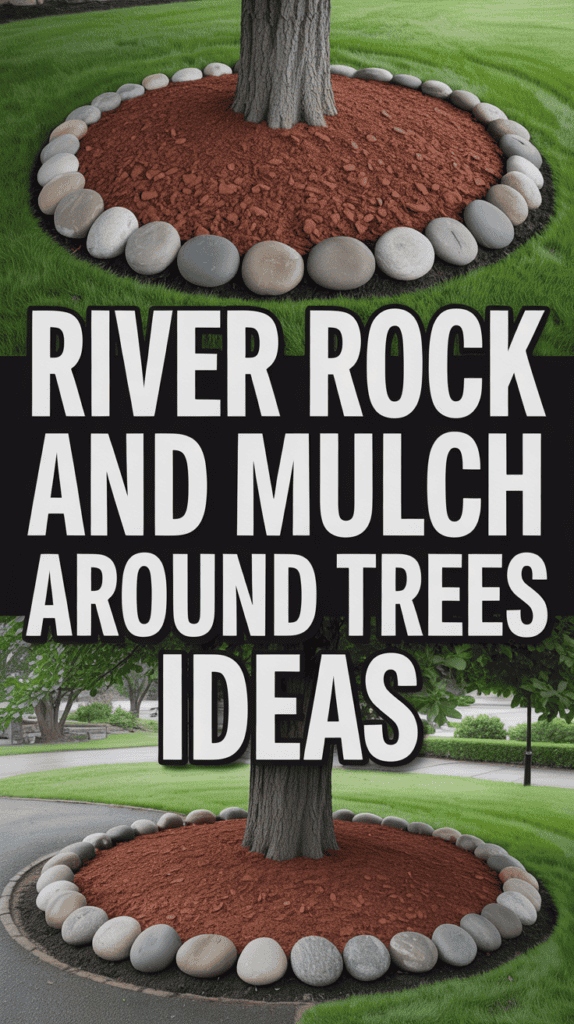
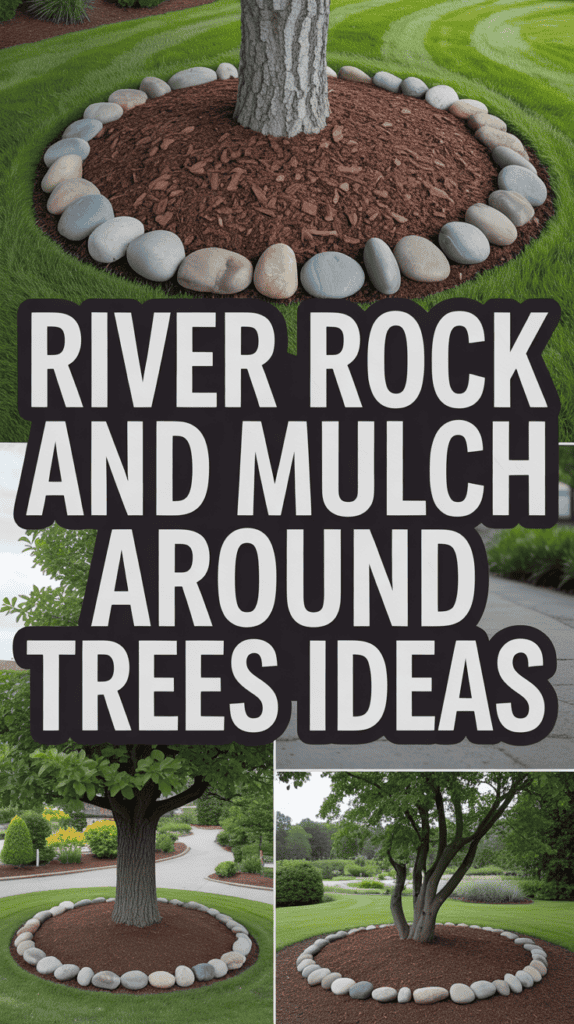
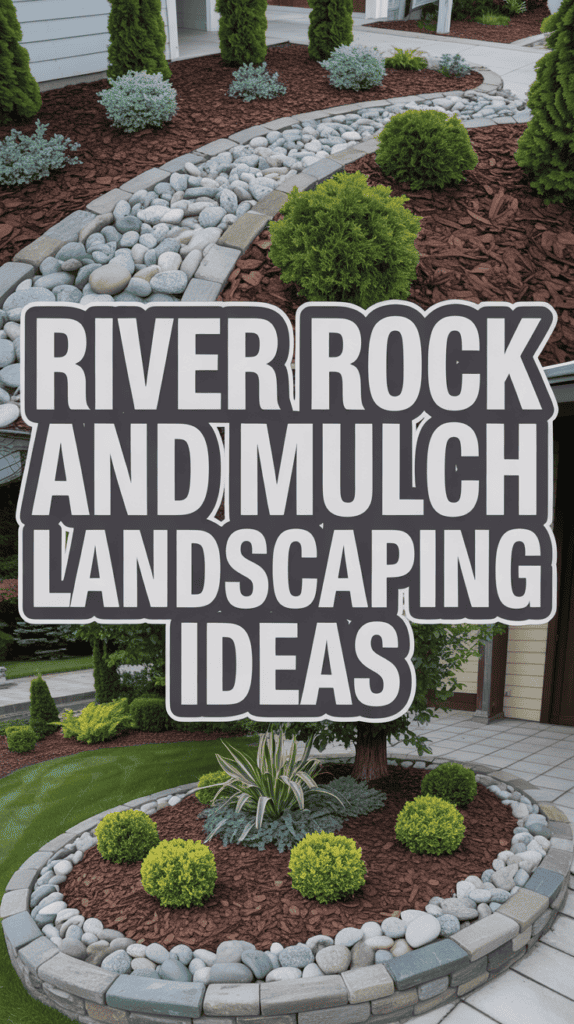
Balancing Textures Around Trees and Shrubs
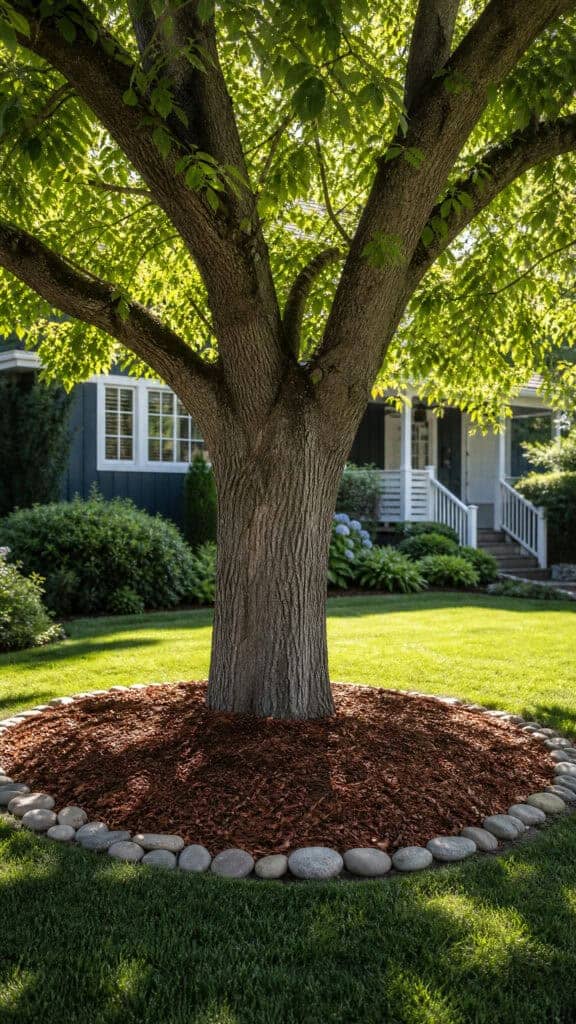
The area around trees and larger shrubs is prime real estate for showcasing the beautiful balance between river rock and mulch! This is actually where I started my river rock and mulch landscaping journey, and it made such a dramatic difference in how our yard looked.
For trees, I love creating mulch rings that extend out to at least the drip line (that’s the outer edge of the tree’s canopy). Fill this area with 2-4 inches of quality mulch to protect the tree roots, retain moisture, and suppress weeds. Then, surround the entire mulch ring with a border of river rock! This creates a defined tree bed that looks intentional and keeps your mulch from migrating into the lawn.
One important tip I learned from my landscaper neighbor: never pile mulch or rocks directly against tree trunks! This can cause rot and invite pests. Always leave a few inches of space around the trunk itself. I usually create a small cleared circle right at the base of the tree, then start my mulch layer a few inches out.
For shrub groupings, try creating larger island beds filled with mulch and bordered with river rock. Plant your shrubs in the mulched area, leaving plenty of space between them for growth. The mulch will help them establish strong root systems while looking neat and tidy. The river rock border ties everything together and makes maintenance so much easier because you can clearly see where to mow and where not to mow!
I also love using river rock as a decorative accent within mulched areas. Scatter some larger river rocks throughout your mulch beds to add visual interest and break up the monotony. It’s like adding jewelry to an outfit – just a little something extra that makes the whole look come together!
Water-Wise Landscaping with Strategic Material Placement
Living in an area where water conservation matters (and let’s be honest, who wants a huge water bill?), I’ve learned that strategic river rock and mulch landscaping can actually help you use water more efficiently! This is especially important when you’re trying to keep plants alive while also managing a household of active kids.
Here’s the secret: use river rock in areas that drain quickly or don’t support plant growth anyway, and reserve your mulch for areas where you’re actually growing plants. For example, I have river rock under our downspouts and in drainage swales where water flows during heavy rains. These areas would just wash away mulch, but river rock stays put and looks great while managing water flow.
In my actual planting beds, I use mulch generously because it’s amazing at retaining soil moisture. A good 3-4 inch layer of mulch can reduce your watering needs by up to 50%! That means I’m not out there every single day with the hose, which is a huge win when I’m trying to get three kids fed, bathed, and in bed at a reasonable hour.
Another water-wise trick is creating dry creek beds using river rock that can handle occasional water flow during storms. Line a shallow depression with landscape fabric, fill it with various sizes of river rock, and border it with mulched beds filled with native, drought-tolerant plants. It looks gorgeous, handles drainage beautifully, and requires minimal maintenance. Plus, my boys think it’s the coolest thing ever and love playing around it (bonus entertainment!).
Color Coordination for Maximum Visual Impact
Okay, let’s talk about making your river rock and mulch landscaping absolutely stunning by paying attention to color! This is where you can really let your personal style shine through, and honestly, it’s the fun part of landscape design!
River rock comes in so many gorgeous colors! You’ve got white and light gray stones that create a clean, modern look. There are warm tan and beige tones that feel natural and earthy. And then there are darker gray and even black river rocks that add drama and sophistication. I chose a mix of gray and tan river rocks for our yard because they complement our house’s exterior and feel neutral enough to work with any plant colors.
For mulch, you’ve typically got options ranging from natural brown and reddish-brown to dark chocolate brown and even black mulch. My personal favorite is a rich, dark brown hardwood mulch because it makes plant colors absolutely pop! The green foliage looks greener, flowers look more vibrant, and it just feels lush and healthy.
Here’s my rule of thumb for color coordination: create contrast but keep it harmonious. If you choose lighter colored river rock (like white or light gray), pair it with darker mulch for definition. If you go with darker river rock, you can use either lighter or darker mulch depending on the look you want. I love the combination of medium gray river rock with dark chocolate mulch – it’s sophisticated without being too stark.
Don’t forget to consider your house color, hardscaping, and existing landscape features! Your river rock and mulch should complement these elements, not fight with them. Take photos of your space and even grab samples of materials to hold up against your house before committing to large quantities. Trust me, it’s worth the extra step!
Maintenance Tips for Long-Lasting Beauty
Let me share the real talk about maintaining river rock and mulch landscaping – because while it’s definitely low-maintenance compared to other options, it’s not NO maintenance! But don’t worry, these tips will keep your yard looking gorgeous without taking up all your precious time.
For your river rock areas, the main task is keeping them clean and weed-free. I use landscape fabric underneath all my river rock, which dramatically reduces weed growth. When weeds do pop up (because they’re determined little things!), I just pull them quickly before they establish roots. A few times a year, I’ll rake through the river rock to redistribute stones and keep everything looking fresh. If your rocks get dirty or develop algae, a quick spray with the hose usually does the trick!
Mulch requires a bit more regular attention because it decomposes over time – but that’s actually a good thing for your soil! Plan to refresh your mulch annually, typically in spring before plants really start growing. I usually add a 1-2 inch layer of new mulch on top of the old stuff. This keeps everything looking fresh and maintains that beneficial layer protecting your plant roots.
One thing I learned the hard way: keep your mulch and river rock separate! Over time, they can start to mix together, especially along borders. When I’m refreshing mulch, I’m careful not to let it spill onto the river rock. And when I’m raking leaves in fall, I try to keep the river rock stones from getting pulled into the mulch beds. A little attention to keeping them distinct goes a long way!
Edge maintenance is also key for that crisp, polished look. I edge along my lawn borders a couple times during the growing season to keep grass from creeping into my beds. It takes maybe 20 minutes and makes such a huge difference! Some people use a string trimmer for this, but I prefer a manual edger for more control (and because I can do it during naptime without waking anyone up!).
Creating Your Own Balanced Landscape
I hope these river rock and mulch landscaping ideas have inspired you to create something beautiful in your own yard! The combination of these two materials really does offer the best of both worlds – durability and structure from the river rock, plus the plant-nourishing benefits and natural beauty of mulch. And the best part? Once it’s installed, it’s so much easier to maintain than a high-maintenance garden!
Start with one project, maybe a simple border around an existing garden bed or a small pathway, and see how you like working with these materials. I promise you’ll be hooked once you see how amazing it looks! Your yard will have that balanced, professionally designed look that makes you proud every time you pull into your driveway. Now if you’ll excuse me, I need to go referee a dispute about whose turn it is on the trampoline – mom life never stops, but at least my yard looks great!

This post may contain affiliate links. Read the full disclosure here.