
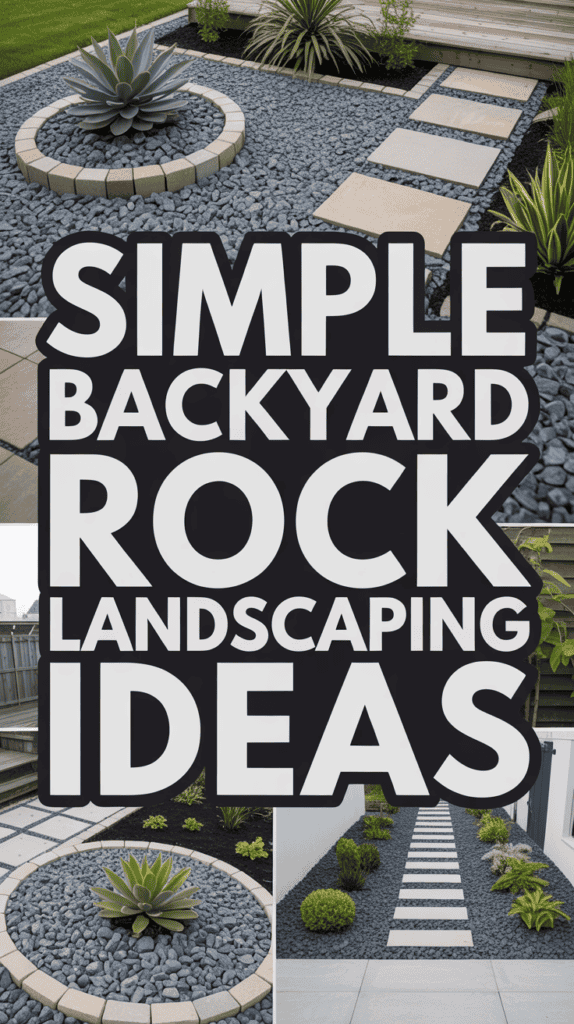
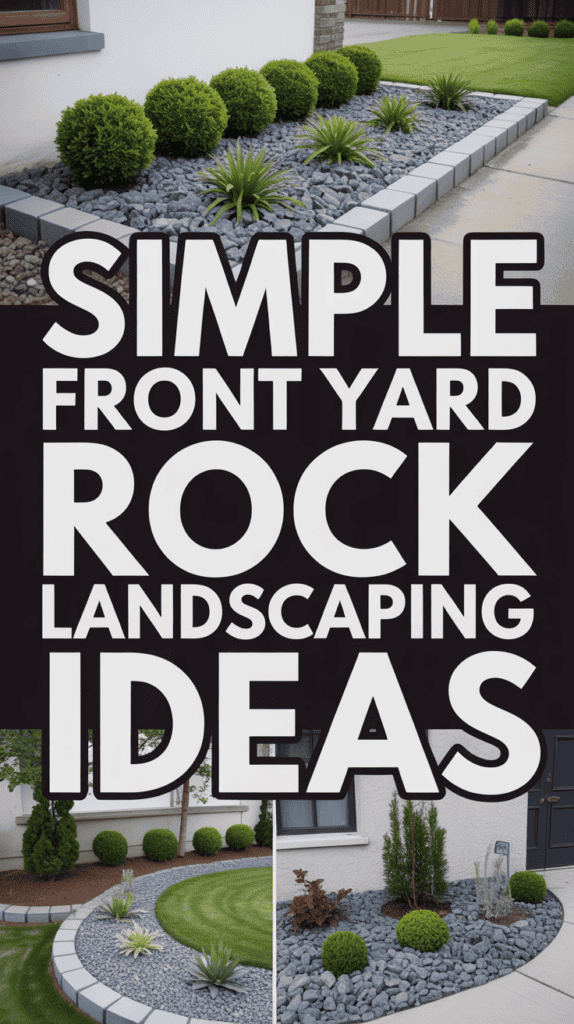
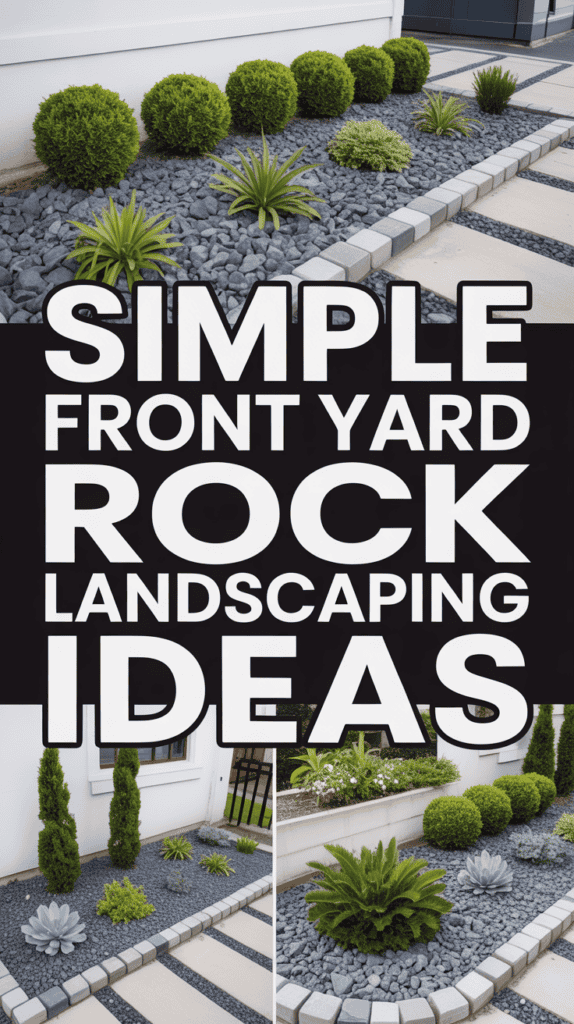
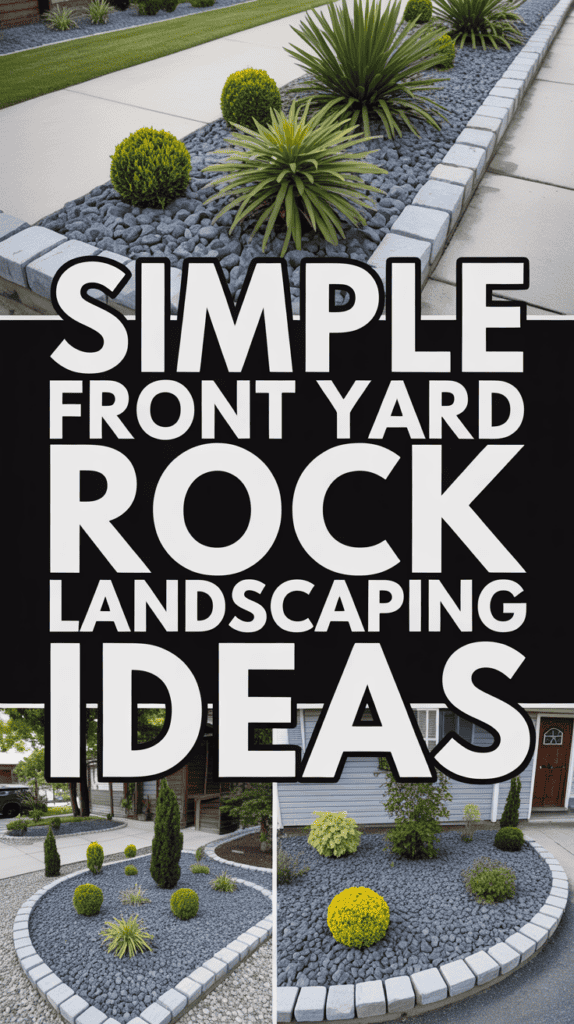
Simple Rock Landscaping Ideas That Feel Clean And Stylish
Let me tell you, as a mama of three energetic boys who love turning our yard into their personal playground, I’ve learned that landscaping needs to be both beautiful AND practical! Between soccer balls flying everywhere and endless games of tag, I needed something that could survive the chaos while still making our home look put-together. That’s when I discovered the magic of simple rock landscaping ideas!
Rock landscaping has honestly been a game-changer for our family! It’s low-maintenance (yes, please!), looks clean and modern, and best of all, it can handle whatever my boys throw at it – literally! Whether you’re dealing with muddy patches, boring flower beds, or areas where grass just won’t grow, rocks might be your new best friend. Let me share some of my favorite ideas that have transformed our yard without requiring a landscaping degree or endless weekends of work!
Create A Stunning Rock Garden Border
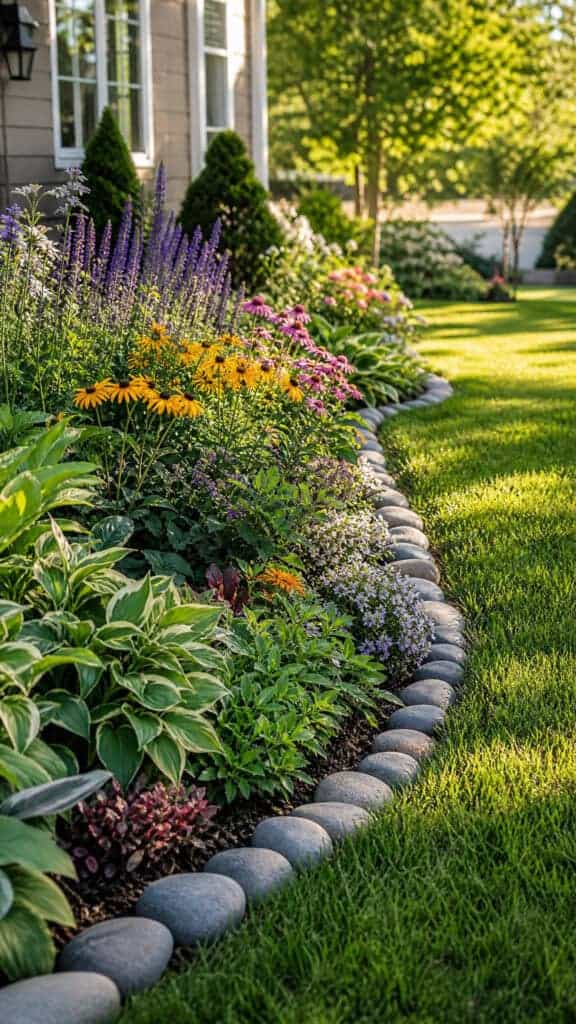
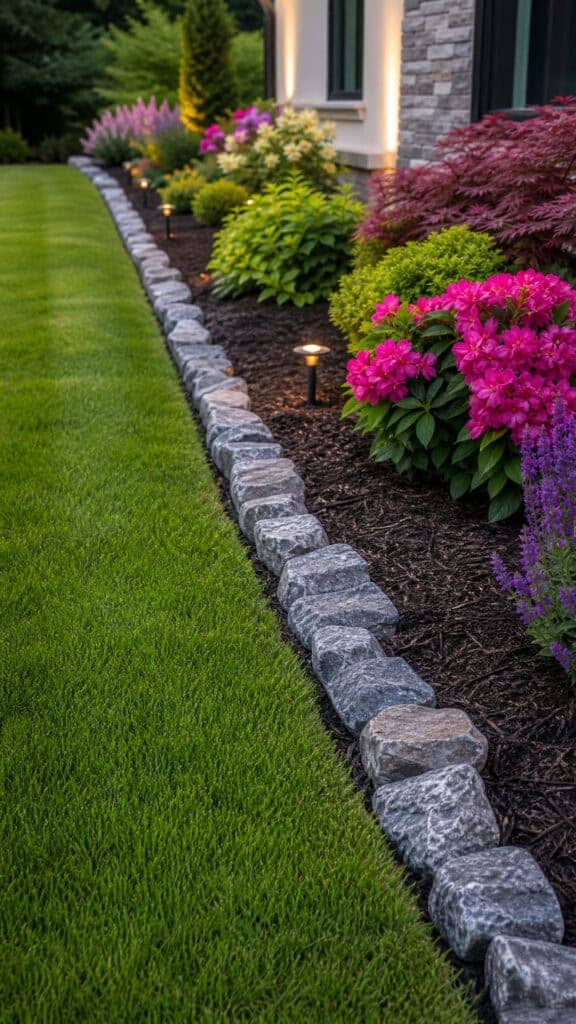
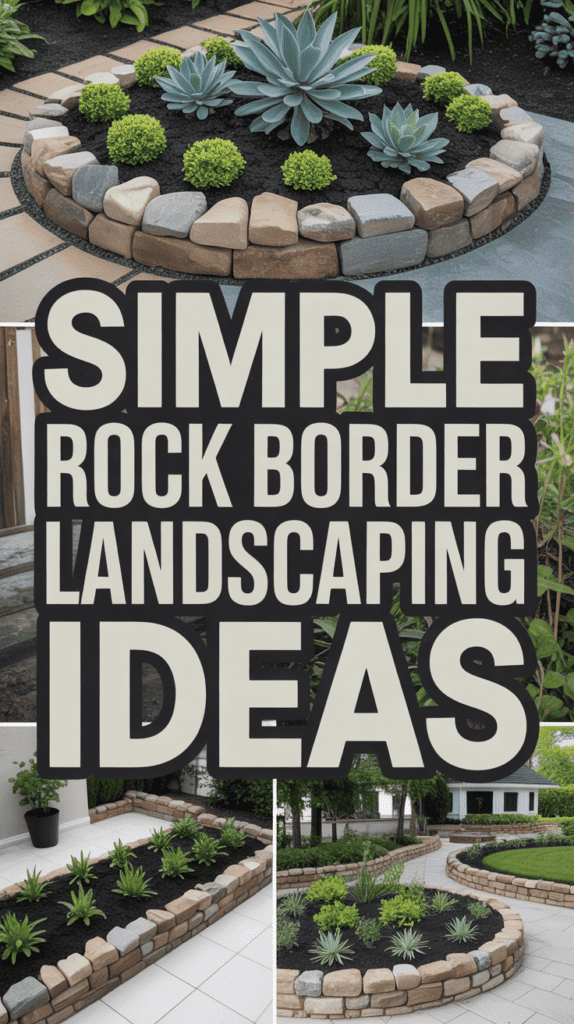
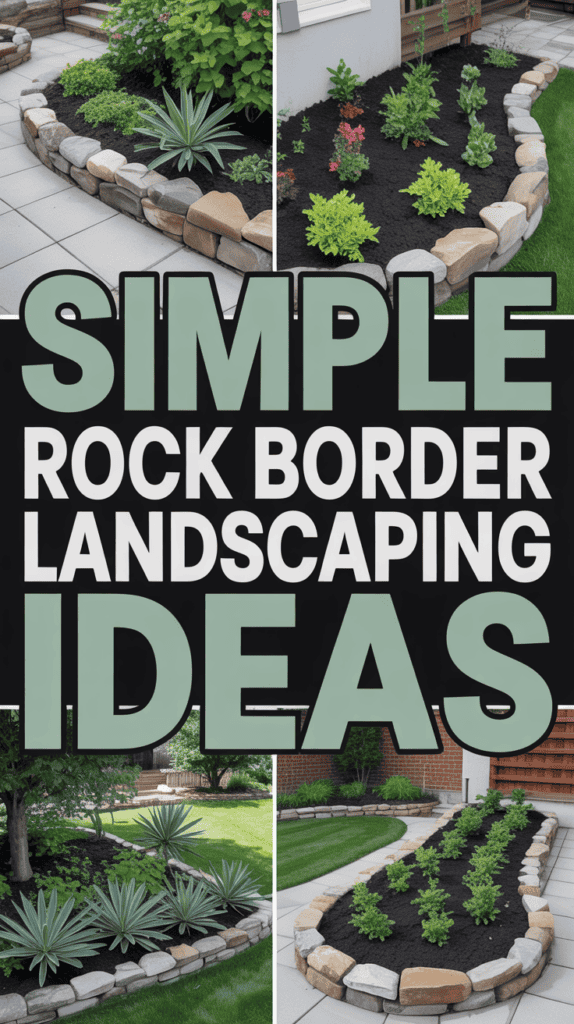
One of the easiest simple rock landscaping ideas I’ve implemented is adding rock borders around our flower beds and garden areas! This project took me just one weekend, and it instantly made our yard look so much more polished and intentional. The best part? My boys can’t accidentally mow over the flowers anymore because the rocks create a clear barrier!
I used medium-sized river rocks in a natural gray color, and they’ve held up beautifully through every season. You can arrange them in a single layer for a minimalist look, or stack them slightly for more dimension. I love how they define the space without looking too formal or fussy!
Here’s what makes rock borders so perfect for busy families:
- They prevent mulch from spilling into your lawn (no more cleanup after the boys run through!)
- Weeds have a much harder time breaking through
- They add instant curb appeal without ongoing maintenance
- You can easily adjust them if you want to change your garden layout later
- They’re durable enough to withstand footballs, baseballs, and whatever else gets thrown around!
Pro tip from one mom to another: buy more rocks than you think you’ll need! I had to make three trips to the garden center because I kept underestimating. Also, laying down landscape fabric underneath will save you so much weeding time later – trust me on this one!
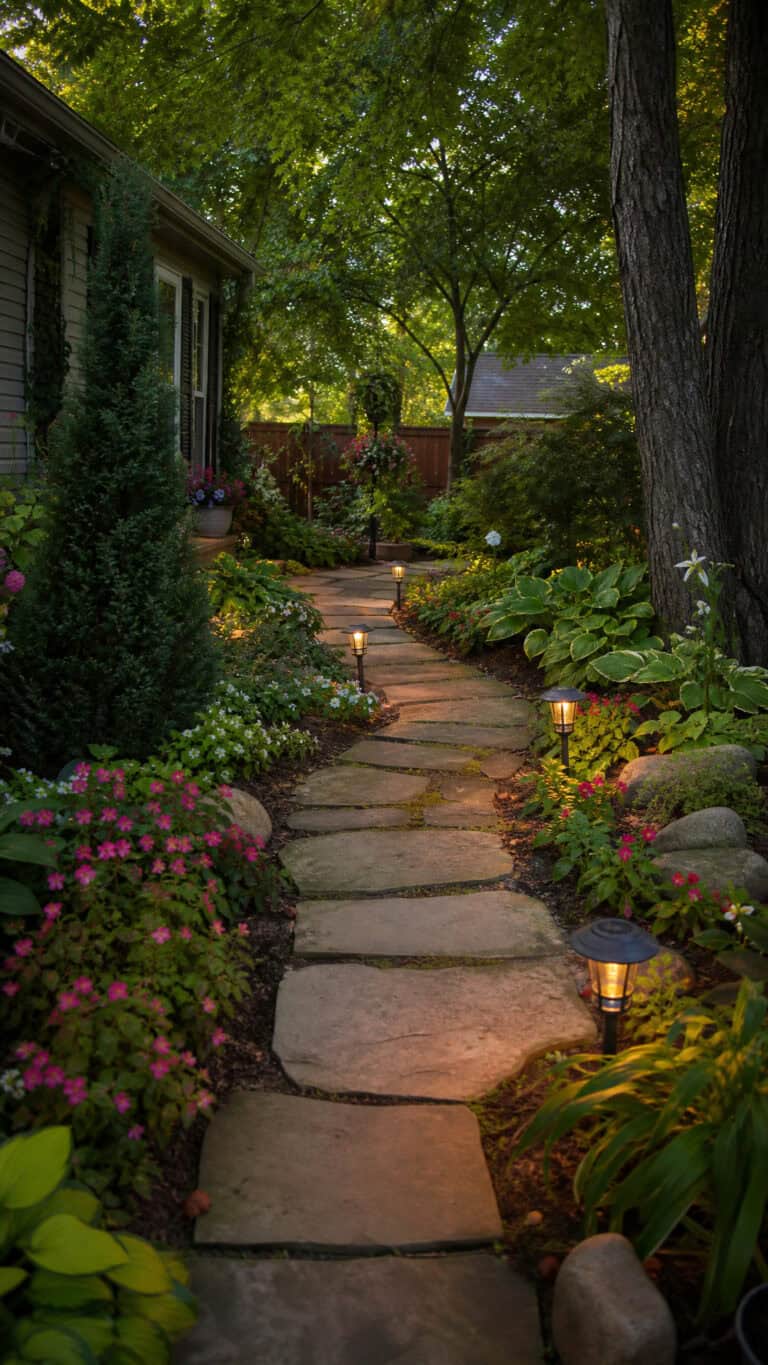
Design A Low-Maintenance Rock Pathway
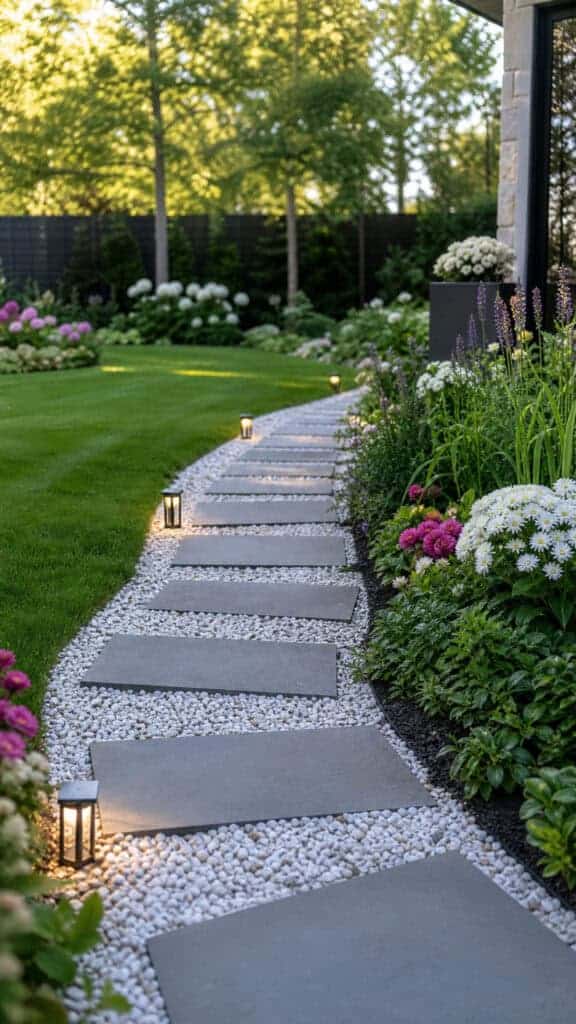
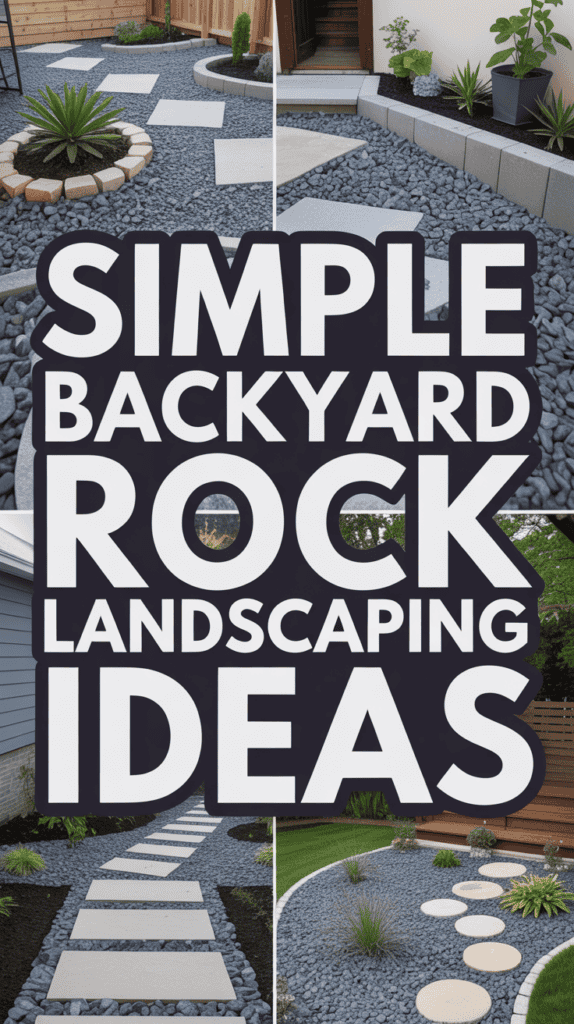
If you’re tired of muddy footprints tracking through your house (story of my life!), a rock pathway is one of those simple rock landscaping ideas that’s both practical and gorgeous! We installed a pathway from our driveway to the backyard, and it’s been absolutely wonderful. No more mud, no more grass stains, and it looks like we hired a professional landscaper!
I went with flat stepping stones surrounded by smaller decorative rocks, and the combination is just perfect. The boys love hopping from stone to stone (turning everything into a game, as usual!), and I love that it directs foot traffic exactly where I want it. Plus, it’s so much easier to keep clean than a traditional mulch path!
When creating your pathway, consider these options:
- Flagstone pieces with pea gravel in between for a natural cottage look
- Uniform pavers surrounded by white decorative rocks for a modern feel
- Large flat rocks placed like stepping stones through a rock garden
- Crushed granite pathways that pack down firmly and look super clean
The key is making sure your pathway is wide enough for comfortable walking – I learned this the hard way when my boys couldn’t walk side-by-side on my first attempt! About 3-4 feet wide is perfect for most yards. And definitely edge your pathway with something to keep the rocks contained, or you’ll be picking them out of your grass forever!
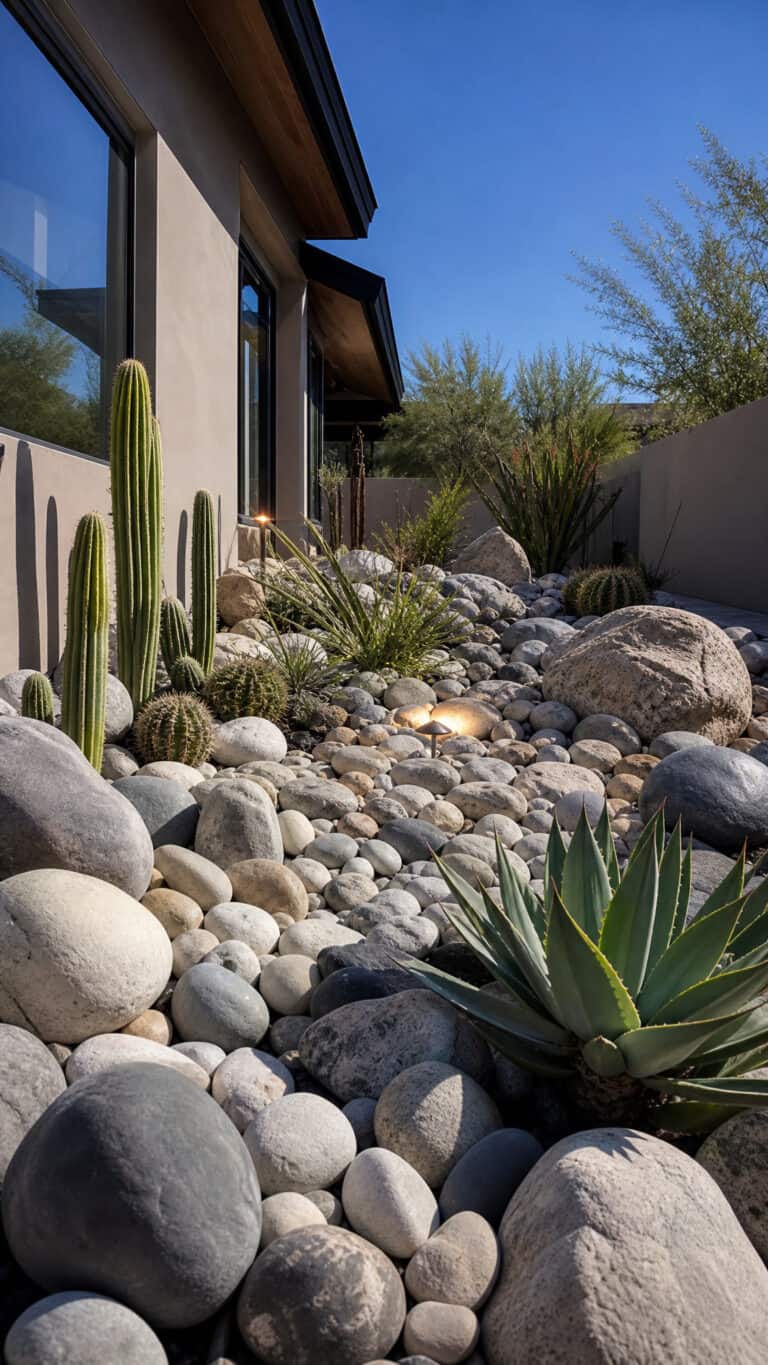
Transform Problem Areas With Rock Mulch
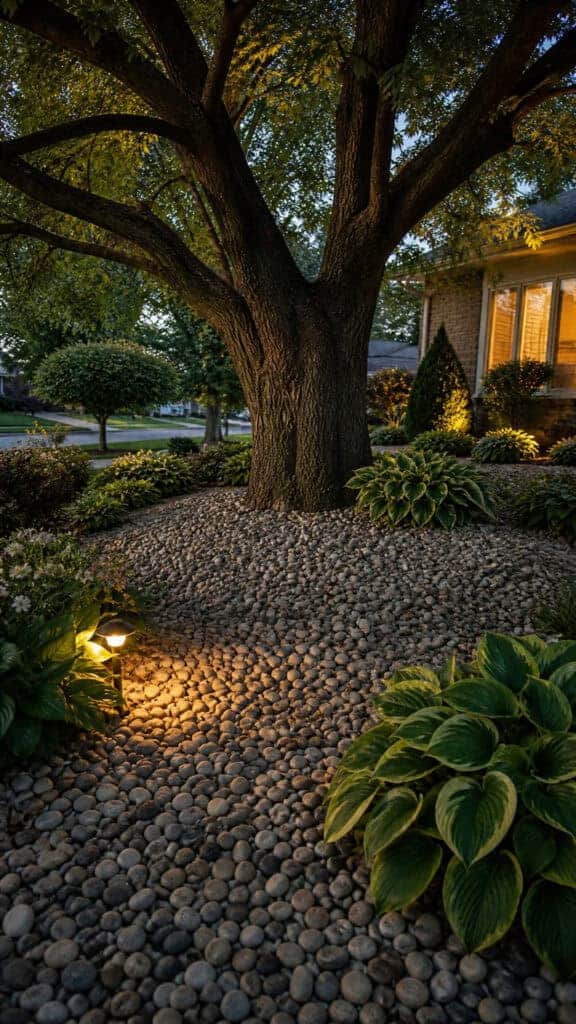
Oh my goodness, can we talk about those areas where grass just refuses to grow? You know the ones – under trees, on slopes, in shady corners! I used to stress about these spots constantly until I discovered that rock mulch is one of the most practical simple rock landscaping ideas out there!
We have this huge tree in our front yard that created a dead grass zone underneath it, and no matter what I tried, nothing would grow there. It looked awful and the boys would track dirt everywhere! I finally replaced it all with beautiful river rock mulch, and wow, what a difference! It looks intentional now, not neglected, and I never have to worry about it again!
Rock mulch works wonderfully in so many situations:
- Around the base of trees where grass struggles
- On slopes where mulch tends to wash away (been there!)
- In shady areas that stay too damp for traditional landscaping
- Around your home’s foundation for a clean, finished look
- In dog runs or play areas that get heavy traffic
The beauty of rock mulch is that it doesn’t decompose like wood mulch, so you’re not replacing it every year! I chose a mix of gray and tan river rocks for a natural look, but you could go with white for a more dramatic modern style, or even darker rocks for contrast. Just make sure to use landscape fabric underneath – this is non-negotiable if you want to avoid weed nightmares later!
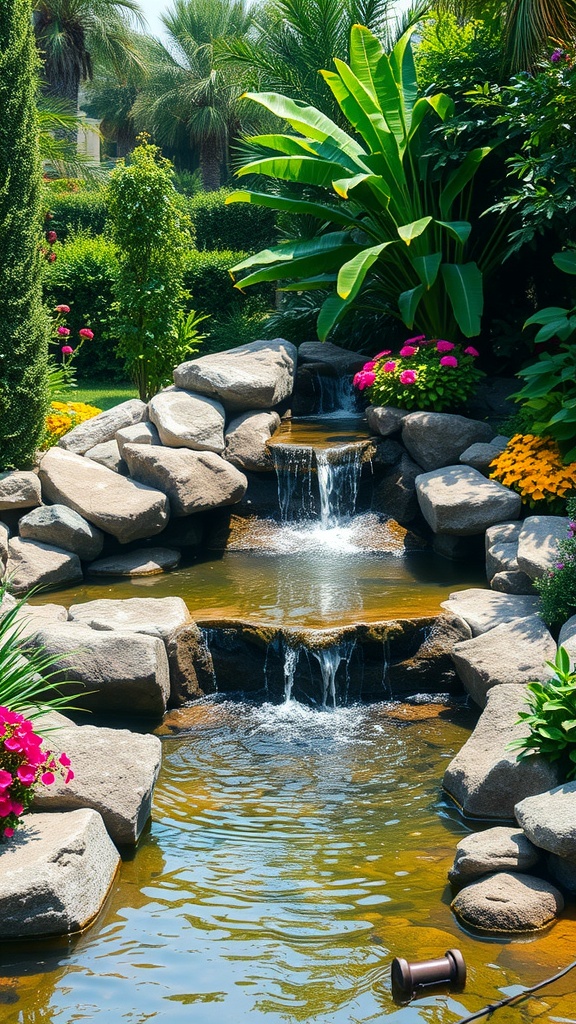
Build A Simple Rock Water Feature
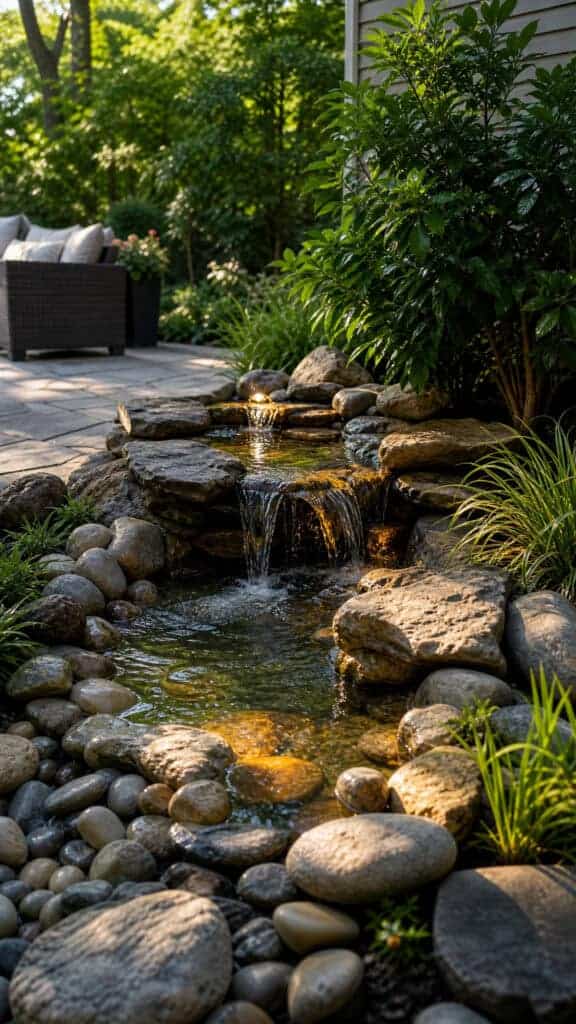
Okay, this one sounds fancy, but hear me out! A rock water feature is actually one of the more achievable simple rock landscaping ideas, and it adds such a beautiful focal point to your yard! I was intimidated at first, but there are so many easy DIY kits available now, and the sound of trickling water is so relaxing (especially after a long day of breaking up boy arguments!).
We created a small bubbling rock fountain in our backyard corner, and it’s become everyone’s favorite spot! The boys love watching the water, and I love that it covers up the noise of neighborhood dogs barking and traffic. Plus, it attracts beautiful birds and butterflies, which has been an unexpected bonus for our little nature lovers!
You don’t need to be a landscaping expert to create something beautiful:
- Start with a simple bubbling rock kit from your local garden center
- Surround it with larger decorative rocks to create a natural-looking setting
- Add some river rocks around the base to catch splashes and create visual interest
- Plant some low-maintenance perennials nearby for color
- Consider solar-powered options to avoid electrical work!
The maintenance is surprisingly minimal – just keep the reservoir filled with water and clean out any debris occasionally. My boys have learned to help with this, and they think it’s the coolest job ever! Even a small water feature can completely transform a boring corner into something special and peaceful!
Create Defined Spaces With Rock Edging
One of my favorite simple rock landscaping ideas for creating structure in your yard is using rocks as edging between different areas! Before I did this, our yard kind of just blended together with no definition – grass meeting garden beds meeting pathways in a messy way. Rock edging changed everything and made our whole yard look so much more intentional!
I used it to separate our patio area from the lawn, edge around our vegetable garden (yes, I’m attempting to grow veggies with three boys – wish me luck!), and define our driveway border. The transformation was immediate and dramatic! Suddenly our yard looked like we actually knew what we were doing!
Rock edging is incredibly versatile and can be used to:
- Separate your lawn from flower beds cleanly
- Define your driveway or walkway edges
- Create borders around trees or shrubs
- Edge around patios or deck areas
- Separate different types of ground cover
You can choose from so many styles! I love the look of larger landscape rocks placed in a row for a bold statement, but you could also trench and set stones vertically for a different look, or even use brick-sized rocks for a more formal appearance. The key is keeping your lines relatively straight (or purposefully curved) and making sure the rocks are secure so they don’t shift when the lawn mower hits them – because it will, trust me!
Design A Modern Rock And Succulent Display
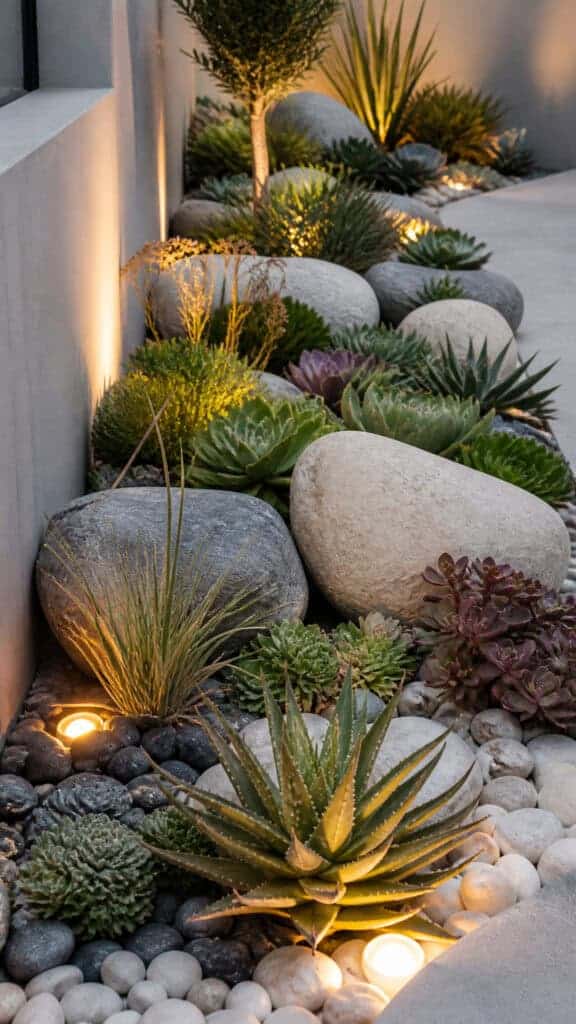
If you want something that looks absolutely stunning with almost zero maintenance, combining rocks with succulents is one of those simple rock landscaping ideas that’s perfect for busy moms! I created a small rock and succulent garden near our front entrance, and I get compliments on it constantly! People think I spend hours on it, but honestly, I water it maybe once a week and that’s it!
Succulents are incredibly forgiving (they survive even when I forget about them!), and they look so modern and intentional paired with rocks. The contrast between the smooth rocks and the interesting succulent textures creates such visual interest! Plus, my boys think the succulents look like alien plants, which they find endlessly fascinating!
Here’s how to create your own low-maintenance rock and succulent display:
- Choose a sunny spot – most succulents love sun!
- Layer different sizes of rocks for depth and interest
- Mix rock colors for contrast (I love white rocks with darker accent stones)
- Select various succulent types with different colors and textures
- Plant in clusters for impact rather than spacing them out evenly
- Make sure you have good drainage – succulents hate wet feet!
I started small with just a few succulent varieties from the garden center, and I’ve gradually added more as I’ve found interesting ones! The beauty is that you can’t really mess this up – it’s so forgiving and looks intentionally artistic even if you’re just winging it like I was! Just avoid placing rocks directly against your house foundation if you live in an area with termites!
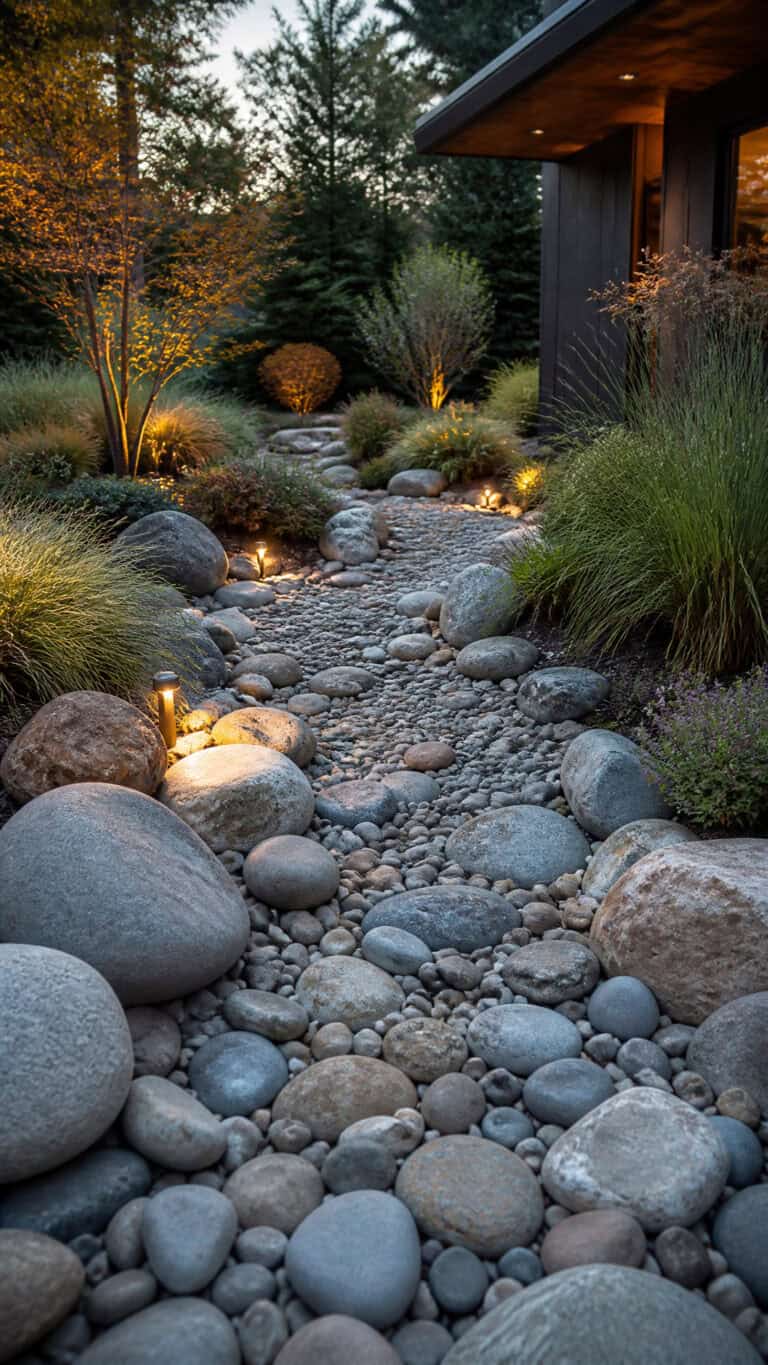
Install A Practical Rock Drainage Solution
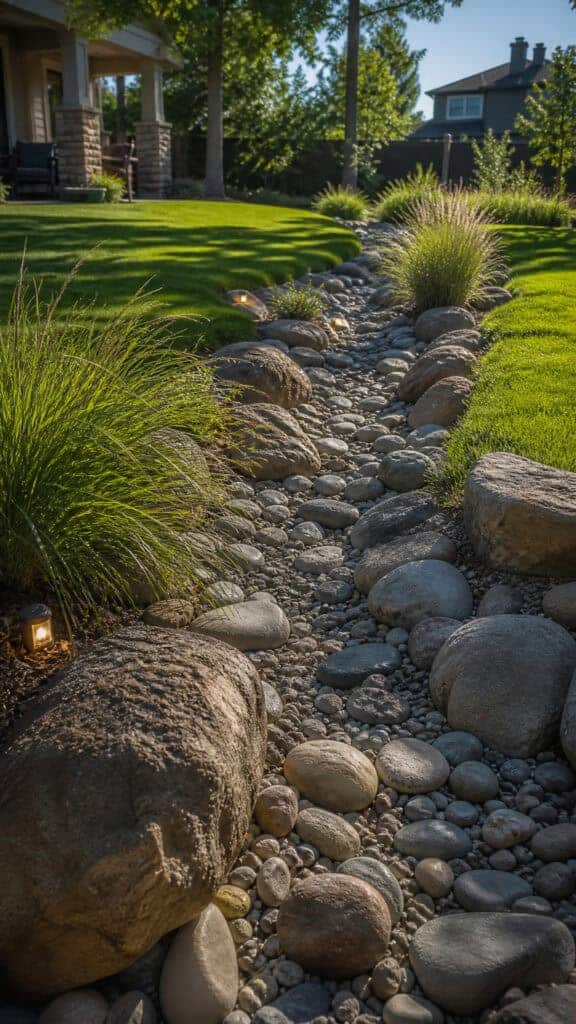
Okay, this might not sound like the most exciting of the simple rock landscaping ideas, but solving drainage issues with rocks has literally saved our yard! We had this awful spot where water would pool every time it rained, creating a muddy mess that the boys would inevitably track into the house. A rock drainage solution fixed it completely and actually looks really nice too!
I’m not talking about complicated French drains here (though those work great too!) – I’m talking about creating a dry creek bed or drainage channel using rocks that directs water away from problem areas. It’s functional AND decorative, which is exactly what us busy moms need!
Rock drainage solutions can include:
- Dry creek beds that channel water naturally during rain
- Rock-filled trenches along slopes to prevent erosion
- Gravel areas in low spots that drain better than grass
- River rock channels that direct downspout water away from your foundation
- Rock basins that collect water and allow it to slowly absorb
The best part about these solutions is that they look intentional even when it’s not raining! Our dry creek bed looks like a natural landscape feature, complete with larger boulders and smaller river rocks. I even planted some ornamental grasses along the edges, and now it’s one of my favorite parts of the yard! When it does rain, watching the water flow through it is actually pretty satisfying – the boys love it too!
If you have any drainage issues in your yard, addressing them with rocks is so much better than dealing with mud and erosion! Plus, it adds character and interest to your landscaping while solving a real problem. Win-win!
Your Beautiful Low-Maintenance Yard Awaits!
I hope these simple rock landscaping ideas have inspired you to tackle your own yard projects! As a mom who’s constantly juggling a million things (snacks, soccer practice, referee duties between brothers!), I can honestly say that rock landscaping has been one of the best decisions I’ve made for our home. It looks beautiful, requires minimal maintenance, and can withstand whatever chaos my boys throw at it!
The best part? You don’t have to do everything at once! Start with one small project – maybe a rock border or a pathway – and see how it transforms your space. I promise you’ll be hooked and ready to tackle the next area! Your yard can be both beautiful and practical, and you don’t need to spend every weekend maintaining it. Now get out there and create something amazing – you’ve got this, mama!

This post may contain affiliate links. Read the full disclosure here.