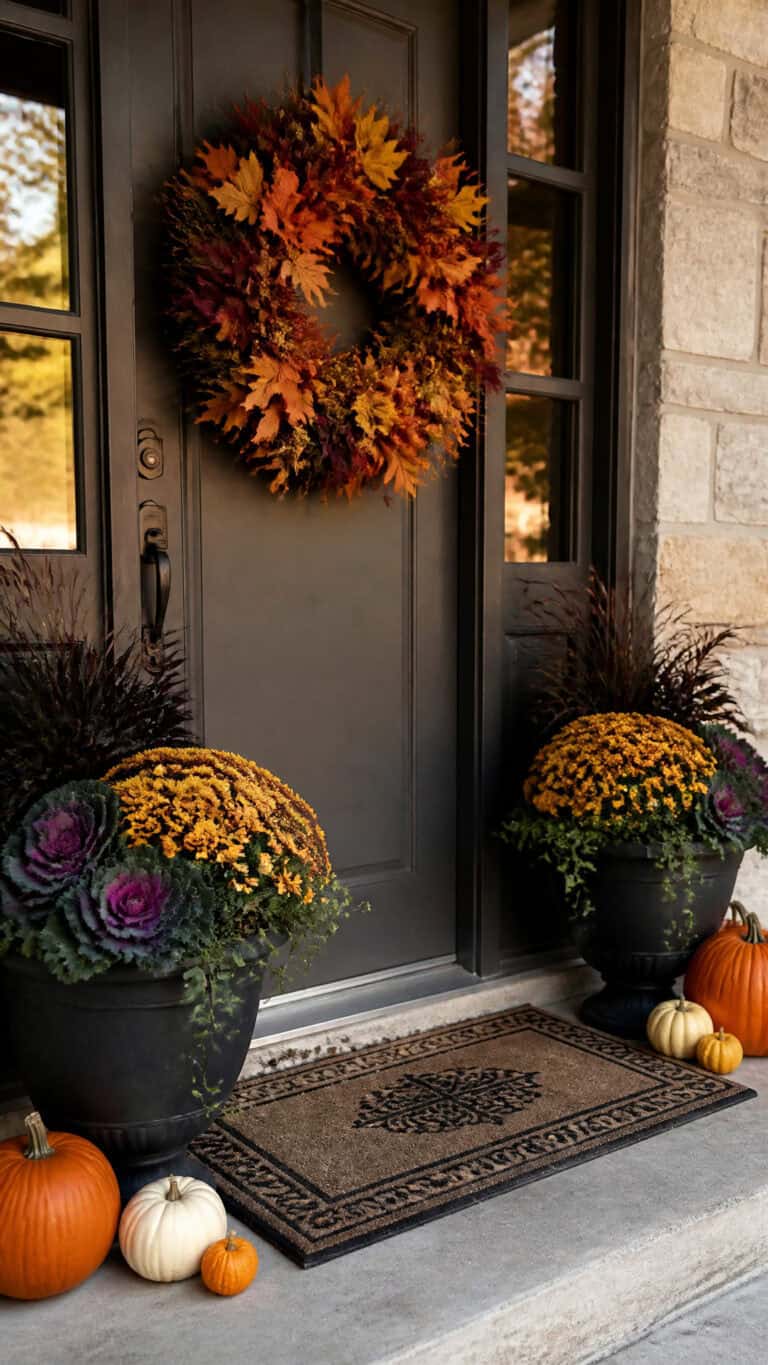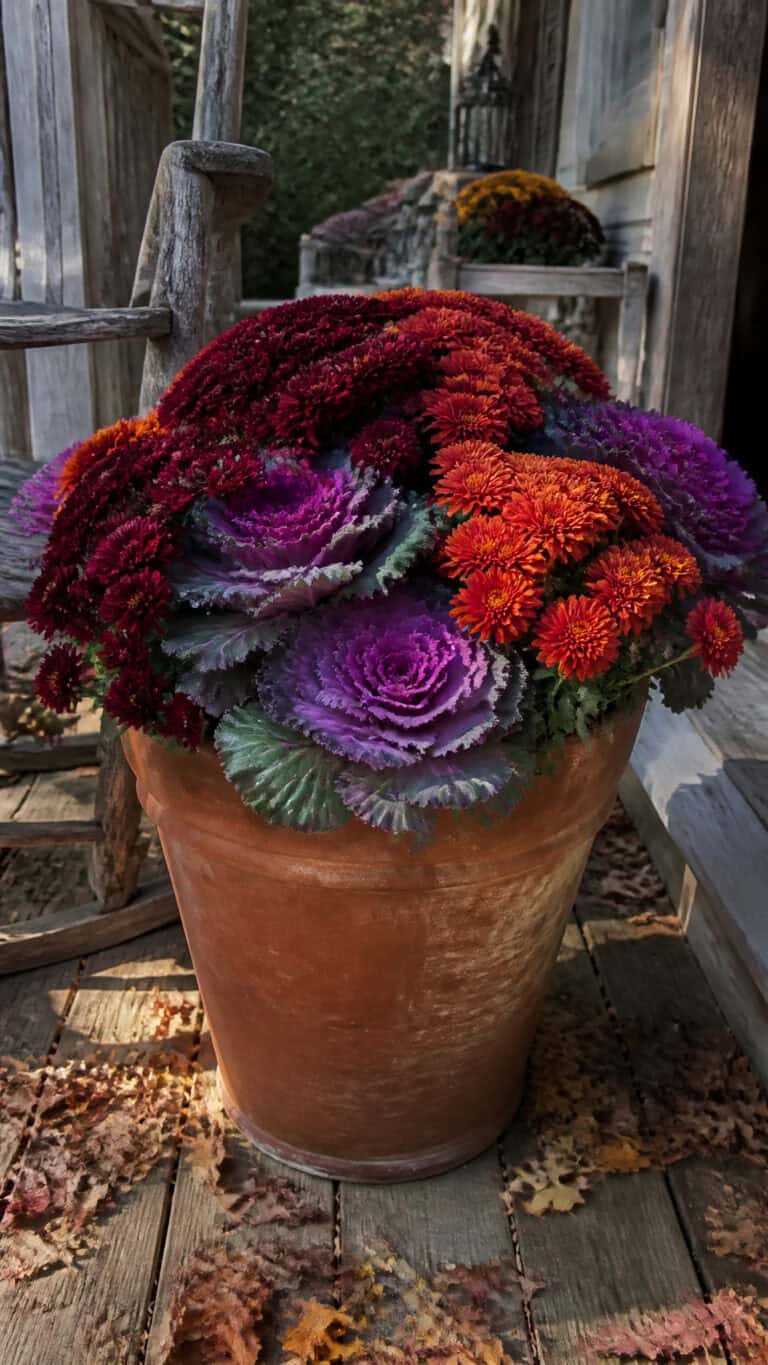
Fall decorating has become one of my absolute favorite activities since becoming a mom of three boys! There’s something magical about transforming our home into a cozy autumn haven, and mini pumpkin painting ideas have become my go-to project when I want maximum impact with minimal chaos. These little gourds are the perfect canvas for creativity, and the best part is that even my youngest can participate without me worrying about paint ending up everywhere!
Mini pumpkins are incredibly versatile, affordable, and so much easier to work with than their full-sized cousins. Whether you’re looking to create an elegant tablescape, add whimsy to your mantel, or simply keep little hands busy on a rainy afternoon, painted mini pumpkins offer endless possibilities. Let me share all my favorite techniques and ideas that have worked beautifully in our busy household!
Gathering Your Mini Pumpkin Painting Supplies
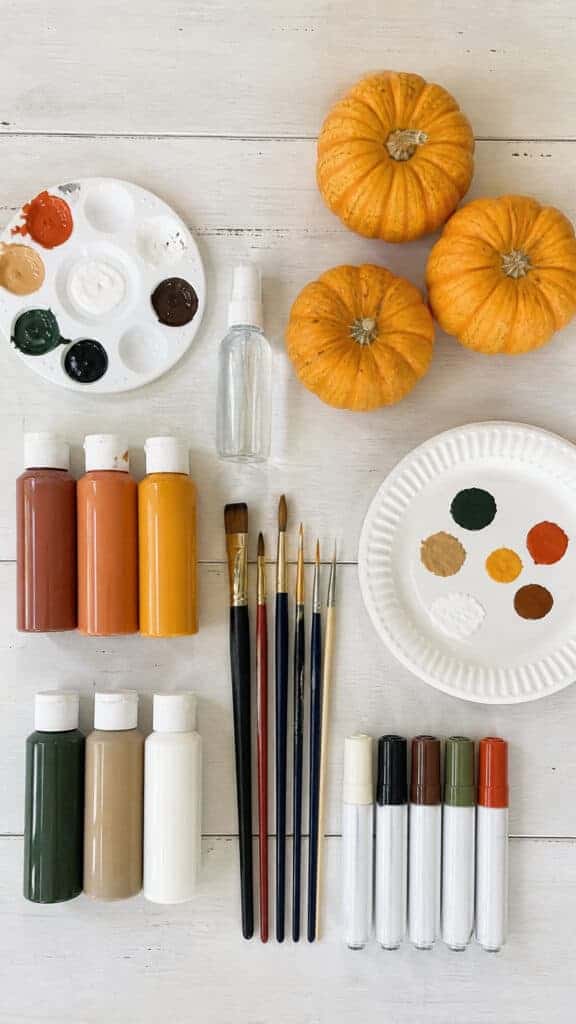
Before diving into your mini pumpkin painting ideas, you’ll want to gather all your supplies in one place. Trust me, once those little hands are eager to start painting, you don’t want to be running around searching for brushes! I’ve learned this lesson the hard way with three boys who have zero patience when creativity strikes.
Here’s what you’ll need to get started:
- Mini pumpkins: Look for smooth, unblemished pumpkins at your local grocery store, farmers market, or craft store. I usually grab a dozen or more because they’re so affordable!
- Acrylic paint: This is my paint of choice because it adheres well to pumpkin surfaces and dries quickly. Stock up on fall colors like white, gold, copper, black, and various shades of orange.
- Paintbrushes: Have a variety of sizes on hand, from fine-tipped brushes for details to wider brushes for base coats.
- Paint pens: These are absolute game-changers for detailed work and perfect for kids who struggle with traditional brushes!
- Sealer: A clear acrylic sealer will help your designs last throughout the season.
- Paper plates and paper towels: Essential for paint mixing and quick cleanups.
- Drop cloth or newspaper: Protect your surfaces because paint will drip!
One tip I swear by is washing your mini pumpkins with a damp cloth before painting to remove any dirt or residue. This simple step makes such a difference in how well the paint adheres! Let them dry completely before you start your masterpiece.
Simple Base Coat Techniques for Beginners
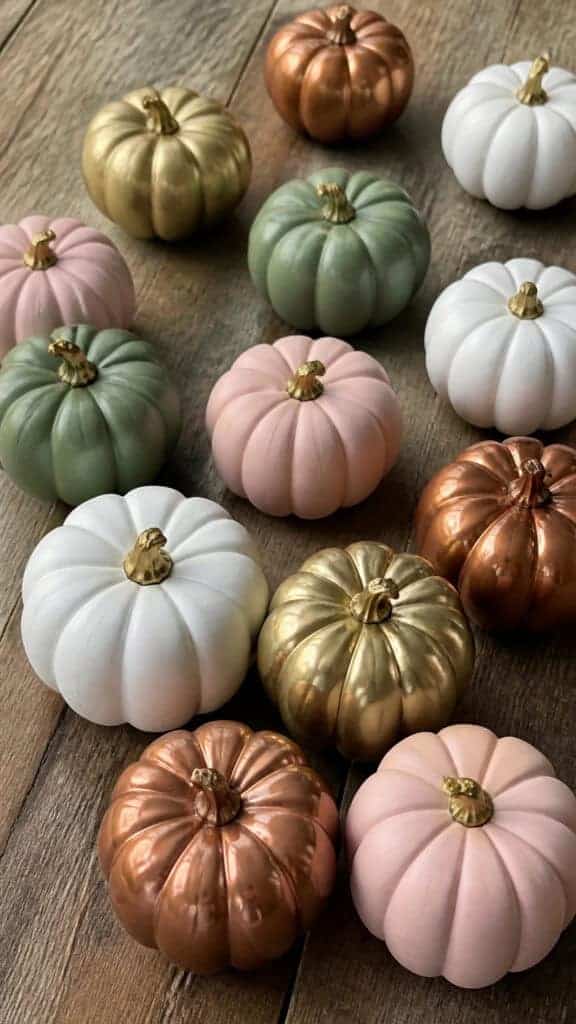
Starting with a solid base coat is one of the easiest mini pumpkin painting ideas, and it’s perfect if you’re new to pumpkin decorating or working with young children. My boys absolutely love this part because they can really see their pumpkins transform with just a few coats of paint!
The key to a beautiful base coat is patience and thin layers. I know it’s tempting to slather on thick paint to get coverage quickly, but trust me, multiple thin coats will give you a much smoother, more professional finish. Apply your first coat and let it dry completely, which usually takes about 30 minutes to an hour depending on your paint thickness and humidity.
White mini pumpkins are incredibly popular and versatile! They create such an elegant, modern look that works with any fall color scheme. I paint at least half of my mini pumpkins white every year because they’re stunning on their own or as a base for additional designs. Metallic colors like gold, copper, and rose gold are also gorgeous and add a touch of sophistication to your
For an ombre effect that looks way more complicated than it actually is, start with your darkest color at the bottom of the pumpkin and gradually blend lighter shades as you work your way up. Use a dry brush to blend where the colors meet, creating that beautiful gradient effect. My middle son surprised me with how well he picked up this technique!
Don’t forget about the stems! I love painting stems gold or copper to add an extra special touch. You can also leave them natural for a more rustic look, or even wrap them with twine or ribbon for added texture.
Fun Pattern and Design Ideas
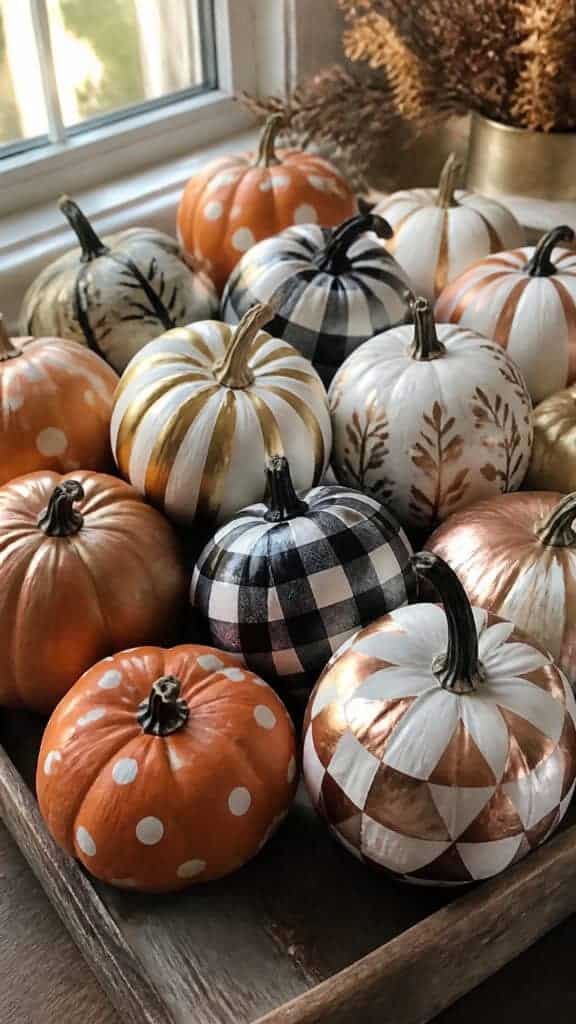
Once you’ve mastered base coats, it’s time to explore pattern-based mini pumpkin painting ideas that add personality and charm! This is where you can really let your creativity shine, and honestly, this is my favorite part of the whole process. The boys and I spend hours coming up with different pattern combinations!
Polka dots are classic and foolproof! Use the eraser end of a pencil, a cotton swab, or the handle of a paintbrush to create perfectly round dots. I love doing white dots on orange pumpkins or gold dots on white pumpkins. For a playful look, vary the sizes of your dots by using different tools. My youngest can handle this technique beautifully, and he’s only four!
Stripes offer endless possibilities! Vertical stripes make pumpkins appear taller and more elegant, while horizontal stripes create a whimsical, modern look. Use painter’s tape to create crisp, clean lines, or go freehand for a more relaxed, artistic vibe. I’ve found that metallic stripes on white pumpkins look absolutely stunning on our dining table.
Geometric patterns like triangles, chevrons, and hexagons add contemporary flair to your
Plaid and buffalo check patterns are so on-trend for fall! While they look complex, they’re actually quite simple once you break them down into steps. Start with your base color, add vertical stripes, then horizontal stripes, and finish with darker lines at the intersections. The farmhouse vibes are unbeatable!
For a nature-inspired look, try painting leaf patterns or branches with berries wrapping around your mini pumpkins. These delicate designs are perfect for creating a cohesive autumn theme throughout your home. I use a fine-tipped brush or paint pen for these detailed designs.
Character and Face Designs Kids Will Love
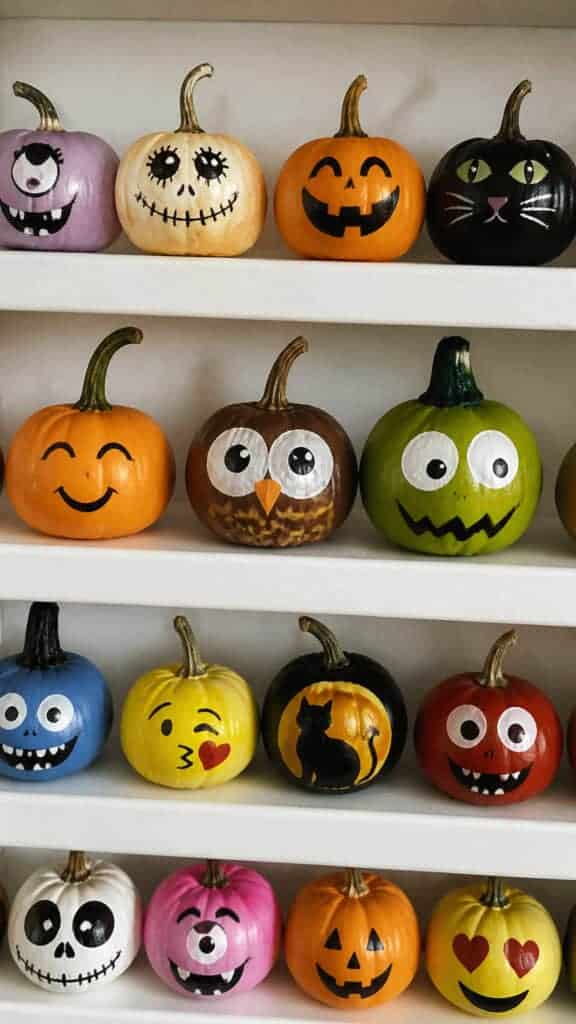
If you have little ones at home, character-based mini pumpkin painting ideas are an absolute must! My three boys go crazy for these, and it’s such a fun way to celebrate Halloween without going too spooky. Plus, these painted pumpkins make adorable bedroom decorations that last well beyond Halloween!
Simple jack-o’-lantern faces are always a hit! Let each child design their own face with different expressions – happy, silly, surprised, or even sleepy. Using black paint or paint pens, create triangle eyes and noses with various mouth shapes. The beauty of mini pumpkins is that you can create an entire family of jack-o’-lanterns with different personalities!
Friendly monsters are perfect for younger children who might find traditional Halloween decorations a bit scary. Paint your pumpkins in bright colors like purple, green, or blue, then add googly eyes (yes, you can hot glue them right on!), silly smiles, and even fuzzy hair using yarn or pipe cleaners. My boys named all of theirs and they’ve become like little fall friends!
For something truly adorable, try painting animals on your mini pumpkins! Owls are particularly popular – paint the pumpkin brown or white, add large circular eyes, a small triangle beak, and wing details on the sides. Black cats, foxes, and hedgehogs also translate beautifully to the round pumpkin shape. These are precious displayed on a bookshelf or windowsill!
Emoji faces are hilariously fun and super easy to paint! The laughing-crying emoji, the heart-eyes emoji, or even the poop emoji (my boys’ personal favorite, of course) make kids giggle every time they see them. These are perfect for a tween’s room or a fun Halloween party activity.
Elegant and Sophisticated Designs for Adult Spaces
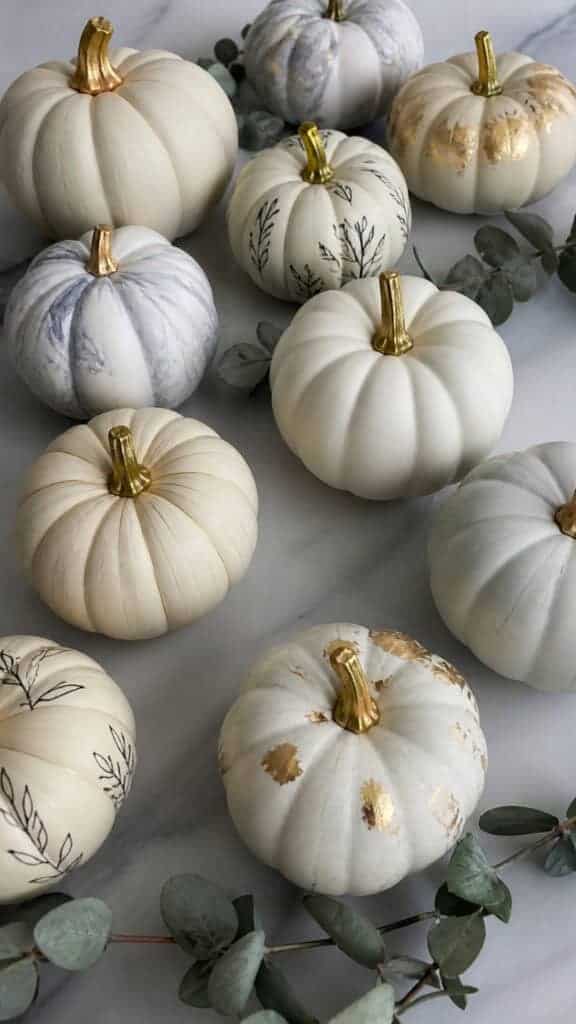
While kid-friendly designs are wonderful, sometimes you want mini pumpkin painting ideas that feel more grown-up and refined for your main living spaces! I love having a beautiful fall display in our living room that feels elegant while still being handmade. It’s all about balance in a house full of boys!
Monochromatic color schemes create instant sophistication! Paint all your mini pumpkins in varying shades of the same color family – think whites, creams, and taupes for a neutral palette, or go bold with navy, dusty blue, and slate. The tonal variation adds depth while maintaining a cohesive, designer look.
Marble effect pumpkins look absolutely luxurious and are easier to create than you might think! Start with a white base coat, then use a feather or crumpled plastic wrap to dab on gray and gold paint in veining patterns. The key is to keep it subtle and irregular, just like real marble. These look stunning mixed with real white pumpkins!
For a touch of glamour, try gold leaf accents! Paint your pumpkins in a solid color, then apply gold leaf in random patches or in a specific pattern like the top third of the pumpkin or around the stem. The combination of matte paint and shiny metallic creates beautiful contrast and texture. I use this technique for our entryway display and get compliments every time!
Minimalist line art is so chic and modern! Using a fine-tipped paint pen, draw simple line drawings on solid-colored pumpkins – think single-line faces, botanical illustrations, or abstract shapes. The simplicity makes a powerful statement, and these pumpkins look like they came straight from a boutique!
Textured techniques add another dimension to your designs! Try sponging, dry brushing, or stippling to create interesting surface effects. You can also add actual texture by applying modeling paste through a stencil before painting, creating raised designs that catch the light beautifully.
Nature-Inspired and Botanical Designs
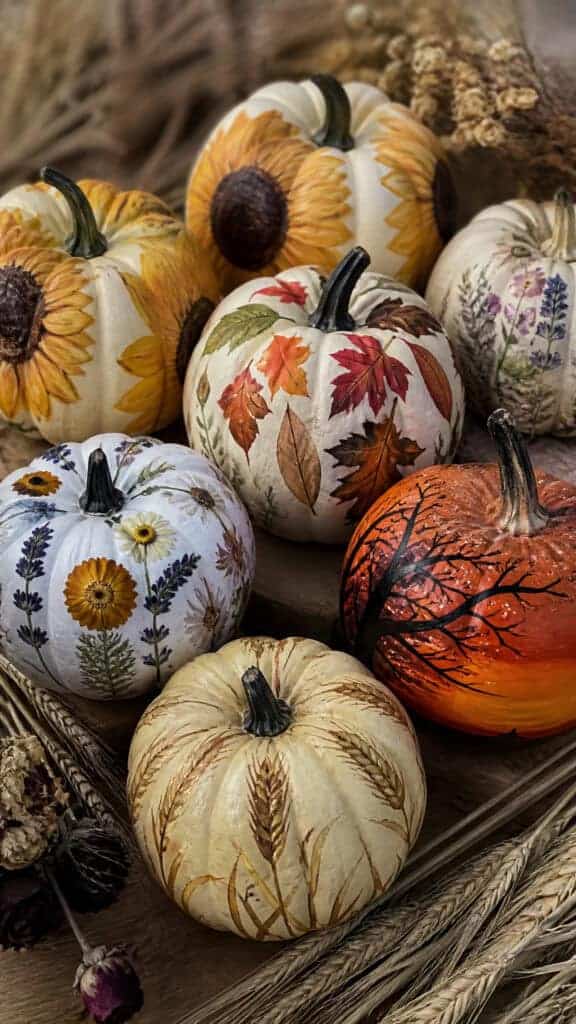
Some of my favorite mini pumpkin painting ideas draw inspiration directly from nature! These designs bring the beauty of the outdoors inside and create a warm, organic feeling that’s perfect for fall. Plus, they’re surprisingly simple to execute, even if you don’t consider yourself particularly artistic!
Sunflower designs are absolutely gorgeous and scream autumn! Paint your mini pumpkin a warm golden yellow, then add darker yellow or orange petals around the top using a flat brush. Add a brown or black center with texture created by dotting, and you’ve got a cheerful sunflower that brightens any space. These look amazing in a group of three or five!
Fall leaves are another beautiful option! Paint your pumpkin in a neutral base color like cream or light gray, then add colorful leaves in reds, oranges, yellows, and browns cascading around the pumpkin. You can paint realistic leaves or go for a more stylized, modern interpretation. I love mixing these in with real fall foliage in a centerpiece!
For something uniquely beautiful, try pressed flower designs! This isn’t technically painting, but it’s too lovely not to mention. Paint your pumpkin white or cream, let it dry completely, then use Mod Podge to adhere pressed flowers and leaves to the surface. Seal with additional Mod Podge or clear sealer. The result is absolutely stunning and preserves the delicate beauty of real flowers!
Tree silhouettes create dramatic, artistic pumpkins! Paint your base in a sunset gradient (orange to pink to purple) or a solid color, then use black paint to add a bare tree silhouette. These look particularly striking displayed with candles for a moody, atmospheric fall vibe.
Wheat and grain designs give a harvest festival feel! Paint simple wheat stalks, barley, or other grains in gold or bronze on neutral pumpkins. These pair beautifully with farmhouse decor and create a rustic, countryside aesthetic that I absolutely adore.
Creative Display Ideas for Your Painted Pumpkins
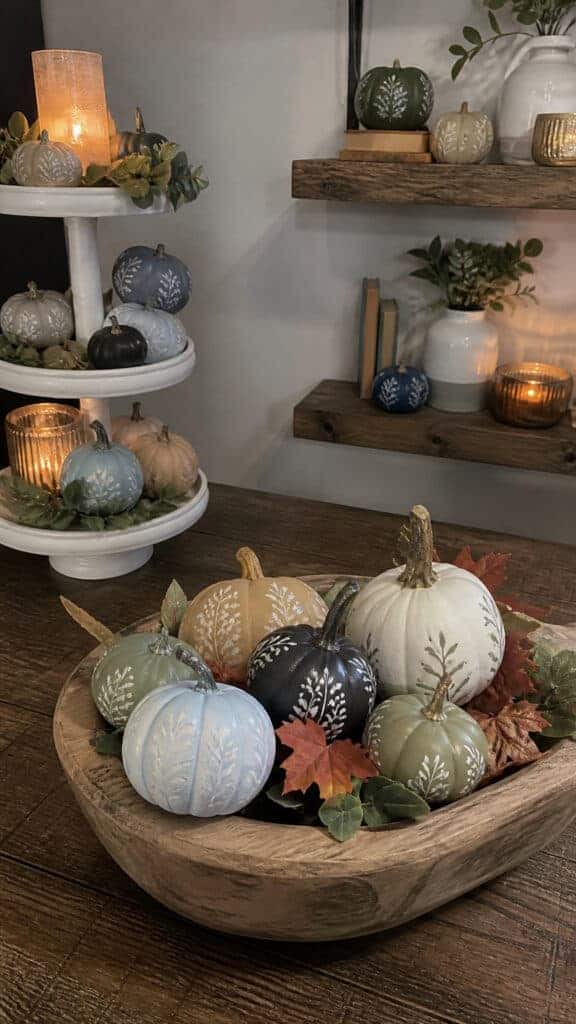
Once you’ve created your beautiful mini pumpkin painting ideas, it’s time to show them off! How you display your painted pumpkins can make all the difference in creating that cohesive, intentional fall look throughout your home. I’ve tried so many different arrangements over the years, and I’m excited to share what works best!
Tiered tray displays are perfect for painted mini pumpkins! Arrange pumpkins of different sizes, colors, and designs on a three-tiered stand, mixing in other fall elements like pine cones, small signs, and seasonal greenery. This creates height and visual interest while keeping everything contained in one stunning focal point. I keep one on our kitchen counter all season long!
Centerpiece arrangements make everyday meals feel special! Create a long centerpiece down your dining table using a mix of painted pumpkins, candles, and natural elements like leaves or eucalyptus. Vary the heights and colors for the most impact. I love using a wooden dough bowl as a base and filling it with our painted creations!
For a simple but effective display, try clustering pumpkins by color! Group all your white pumpkins together, all your metallics together, or create an ombre effect by arranging pumpkins from light to dark. This creates a cohesive, designer look that’s so easy to achieve. Place these clusters on mantels, side tables, or entryway consoles.
Floating shelves are ideal for displaying your mini pumpkin collection! Style them with books, small vases, and your painted pumpkins for a curated, personal look. I love switching out the pumpkins throughout the season to keep things fresh and interesting.
Don’t forget about outdoor spaces! Painted mini pumpkins look adorable on front porch steps, tucked into planters, or arranged on an outdoor dining table. Just be aware that weather can affect the paint, so you might want to bring them in if heavy rain is expected or seal them extra well.
Gift giving is another wonderful use for painted mini pumpkins! They make thoughtful hostess gifts, teacher appreciation presents, or sweet surprises for neighbors. Tie a ribbon around the stem with a little tag, and you’ve got an adorable handmade gift that shows you care!
Bringing Your Fall Vision to Life
Creating mini pumpkin painting ideas for your fall decorating doesn’t have to be complicated or time-consuming! With just a few supplies and a little creativity, you can transform simple mini pumpkins into stunning seasonal decor that reflects your personal style. Whether you’re going for elegant and sophisticated or fun and whimsical, these little pumpkins are the perfect canvas for your autumn creativity!
The best part about this project is that it’s something the whole family can enjoy together! My boys and I have created so many wonderful memories painting pumpkins at our kitchen table, and our home is filled with handmade decorations that mean so much more than anything store-bought. So grab some mini pumpkins, gather your paints, and let your imagination run wild this fall season. Your home will be transformed into a cozy autumn haven in no time!
This post may contain affiliate links. Read the full disclosure here.