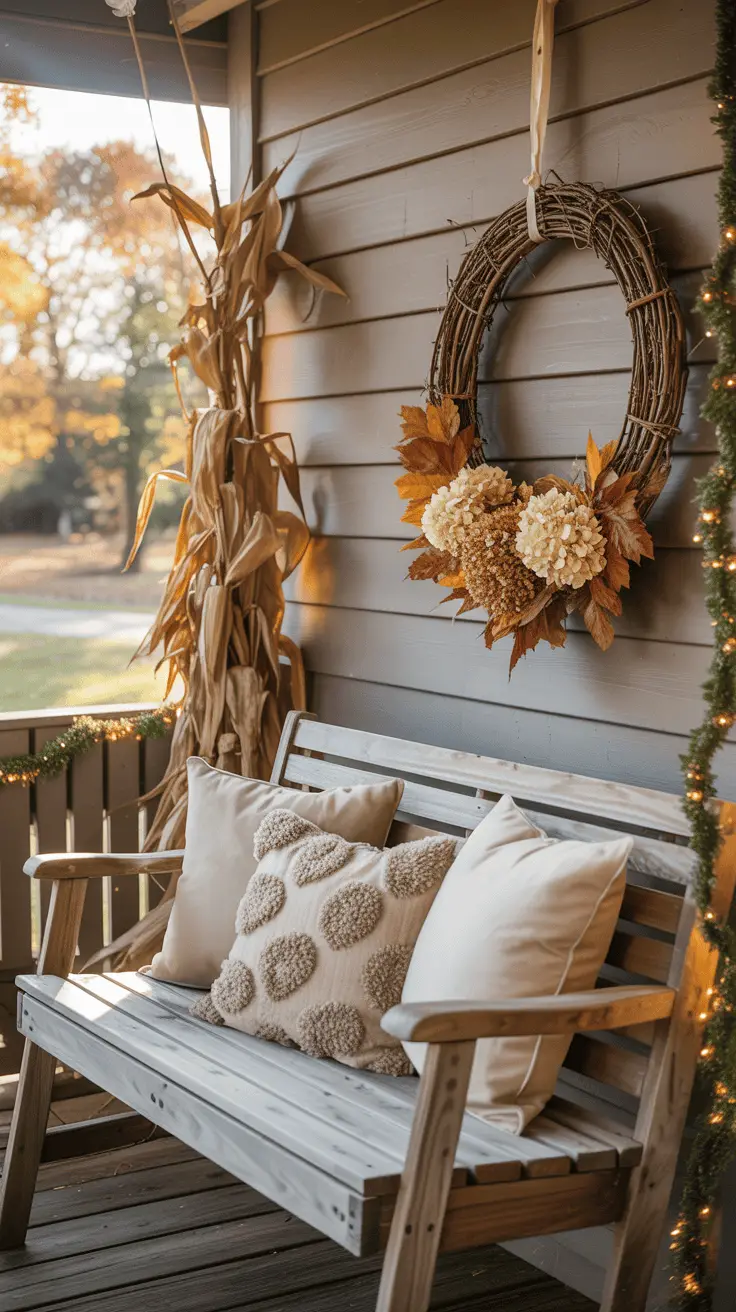
Fall is officially here, and you know what that means – pumpkin everything! As a mom of three energetic boys, I’ve learned that carving pumpkins with little ones can be a recipe for disaster (and a trip to the emergency room if I’m being honest!). That’s why I’ve fallen head over heels for pumpkin painting instead! It’s so much safer, way less messy, and honestly just as fun!
These cute pumpkin painting ideas have saved my sanity during multiple fall seasons, and I’m so excited to share them with you! Whether you’ve got toddlers who love to smear paint everywhere or older kids who want to create something special, these ideas work for all ages and skill levels. Plus, painted pumpkins last so much longer than carved ones, which means your porch will look festive all season long!
Rainbow Pumpkins That Brighten Everyone’s Day
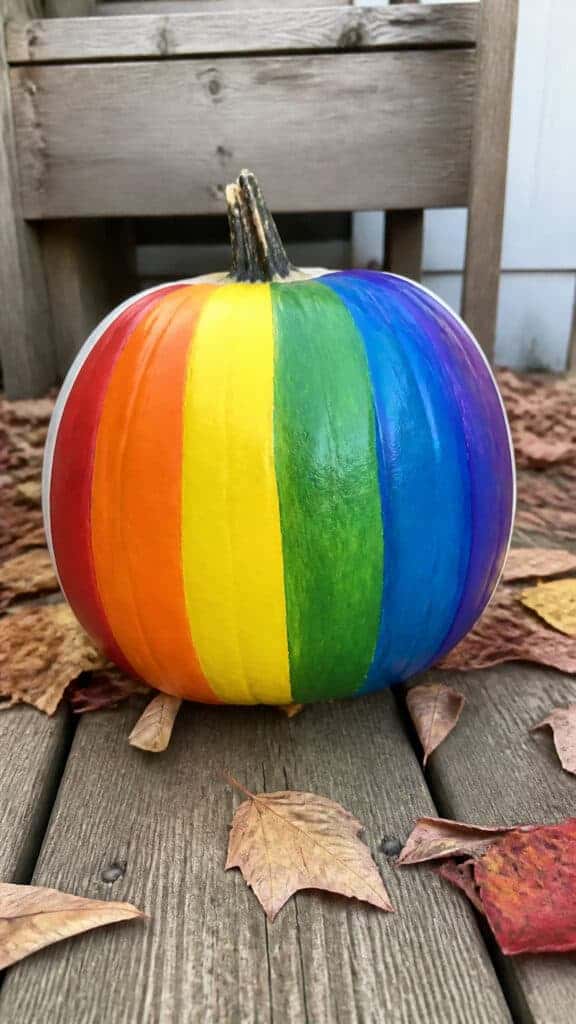
Oh my goodness, rainbow pumpkins are absolutely the happiest thing you can put on your porch! My middle son went through a phase where everything had to be rainbow-colored, and these pumpkins were a total hit. The best part? There’s really no wrong way to do them, which makes them perfect for younger kids who are still developing their fine motor skills!
To create these cheerful beauties, you’ll want to start with white or light-colored pumpkins as your base. You can either paint the entire pumpkin white first or buy those naturally pale pumpkins from the store. Then, grab your acrylic paints in all the rainbow colors – red, orange, yellow, green, blue, and purple. I always keep extra paint on hand because, let’s be real, more paint ends up on hands and clothes than on the pumpkins sometimes!
There are so many ways to arrange your rainbow! You can paint horizontal stripes around the pumpkin, vertical stripes from top to bottom, or even do a gradient effect where the colors blend into each other. My boys loved using sponges to dab the colors on, creating a softer, watercolor-like effect. For a fun twist, try painting each ridge of the pumpkin a different color – it creates this amazing dimensional look that catches the light beautifully!
One tip I learned the hard way: let each color dry before moving to the next if you want crisp, clean lines. Otherwise, you’ll get a muddy brown mess (which happened to us, and we just called it a “chocolate pumpkin” and moved on!). Seal everything with a clear acrylic sealer when you’re done, and these rainbow pumpkins will last for weeks!
Adorable Animal Face Pumpkins
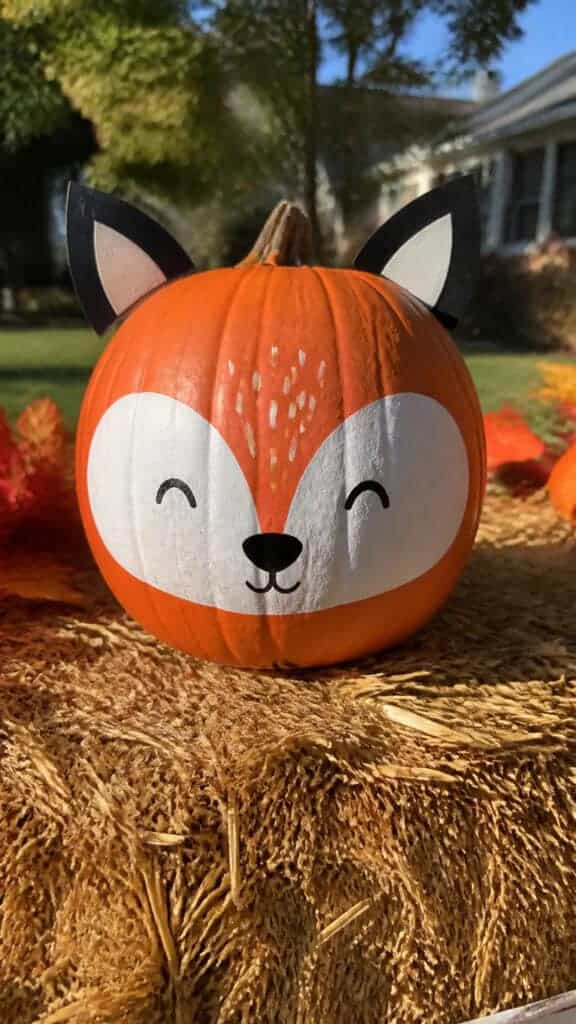
Animal pumpkins are hands-down one of the most adorable cute pumpkin painting ideas I’ve ever tried! My youngest absolutely loves animals, so turning pumpkins into his favorite creatures was a no-brainer. These are surprisingly easy to create, even if you’re not particularly artistic (trust me, I’m definitely not!).
Start by deciding which animal you want to create. Cats, owls, foxes, and hedgehogs are super popular and pretty straightforward. Paint the entire pumpkin in your base color first – orange for a fox, black for a cat, brown for an owl, or tan for a hedgehog. Let that dry completely before adding details.
For the facial features, I highly recommend using a pencil to sketch them out first! This has saved me so many times from wonky eyes and crooked mouths. Once you’re happy with the sketch, paint over it with contrasting colors. White paint works great for eyes, and black paint is perfect for pupils, noses, and mouths. You can also use felt or foam sheets to create ears and attach them with hot glue – just make sure you’re the one handling the glue gun while the kids focus on painting!
My favorite trick for making animal faces look extra cute is to give them big, round eyes. Everything looks adorable with big eyes! For an owl, add a painted branch beneath it for the owl to “sit” on. For a cat, paint on some whiskers using a thin brush. For a fox, those pointy ears and a white-tipped “tail” painted on the side make it instantly recognizable. The kids can even add their own creative touches – my son once gave his cat pumpkin a superhero cape, and it was the best thing ever!
Galaxy and Starry Night Pumpkins
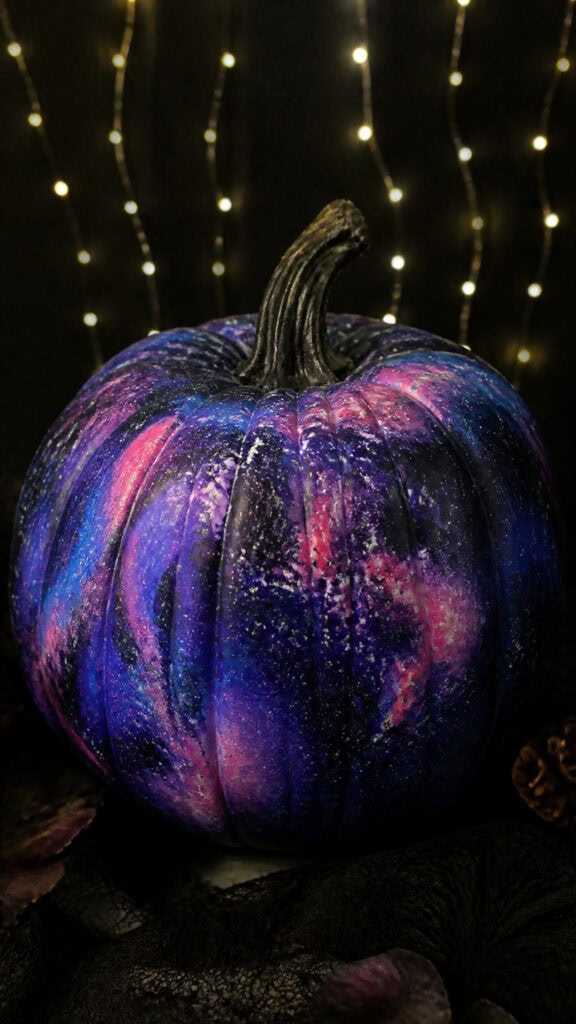
If you want to try something a little more magical and mesmerizing, galaxy pumpkins are absolutely stunning! These look way more complicated than they actually are, which makes them perfect for impressing your neighbors while still being totally doable with kids. My oldest son is obsessed with space, so these were a huge hit at our house!
Start with a pumpkin painted in a deep base color – black or dark blue works perfectly. Once that’s dry, the fun really begins! Grab purple, pink, blue, and white acrylic paints. Using a sponge (those cheap foam brushes from the craft store are perfect), dab on swirls of color in a random pattern. Don’t overthink it – the beauty of galaxy pumpkins is that they’re supposed to look organic and unpredictable!
Blend the colors together while they’re still wet by gently dabbing with a clean sponge. You want them to fade into each other like you’re looking at actual nebulas in space. Then comes the most satisfying part – the stars! Dip an old toothbrush in white paint, hold it over your pumpkin, and run your finger along the bristles to create a splatter effect. The kids absolutely LOVE this part, though I definitely recommend doing it outside or over a drop cloth!
For extra sparkle, you can add some larger stars by dipping the end of a paintbrush in white paint and dotting it on the pumpkin. Some people even add glitter or glow-in-the-dark paint for an extra magical effect. These pumpkins look incredible both during the day and at night, especially if you put an LED candle inside them. They’re definitely one of the most impressive-looking cute pumpkin painting ideas that’s still totally kid-friendly!
Polka Dot Pumpkins for Simple Sweetness
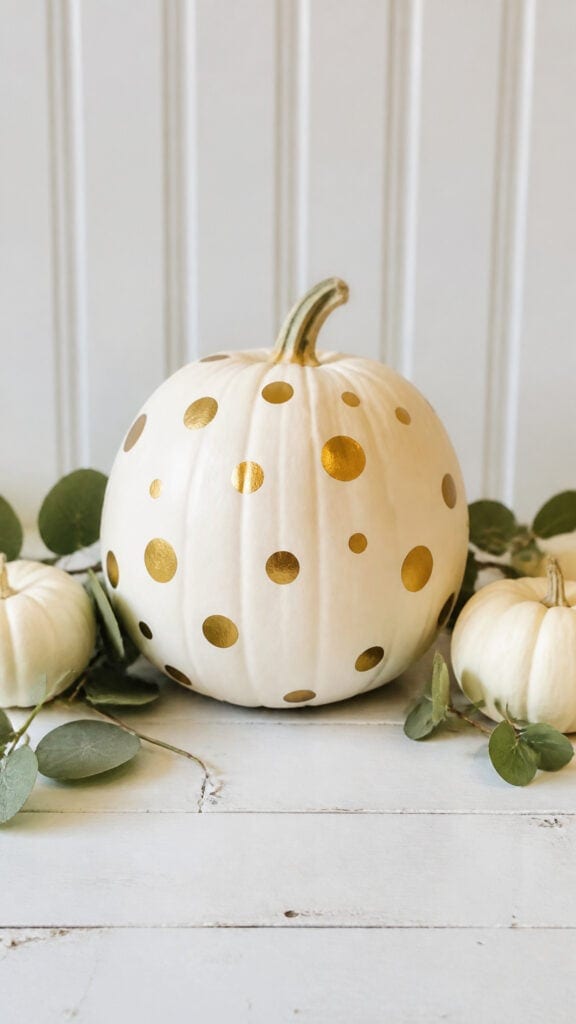
Sometimes the simplest ideas are the absolute best, and polka dot pumpkins prove that every single time! When you’ve got three kids pulling you in different directions and approximately seventeen things on your to-do list, you need crafts that are quick, easy, and still look adorable. Polka dot pumpkins check all those boxes!
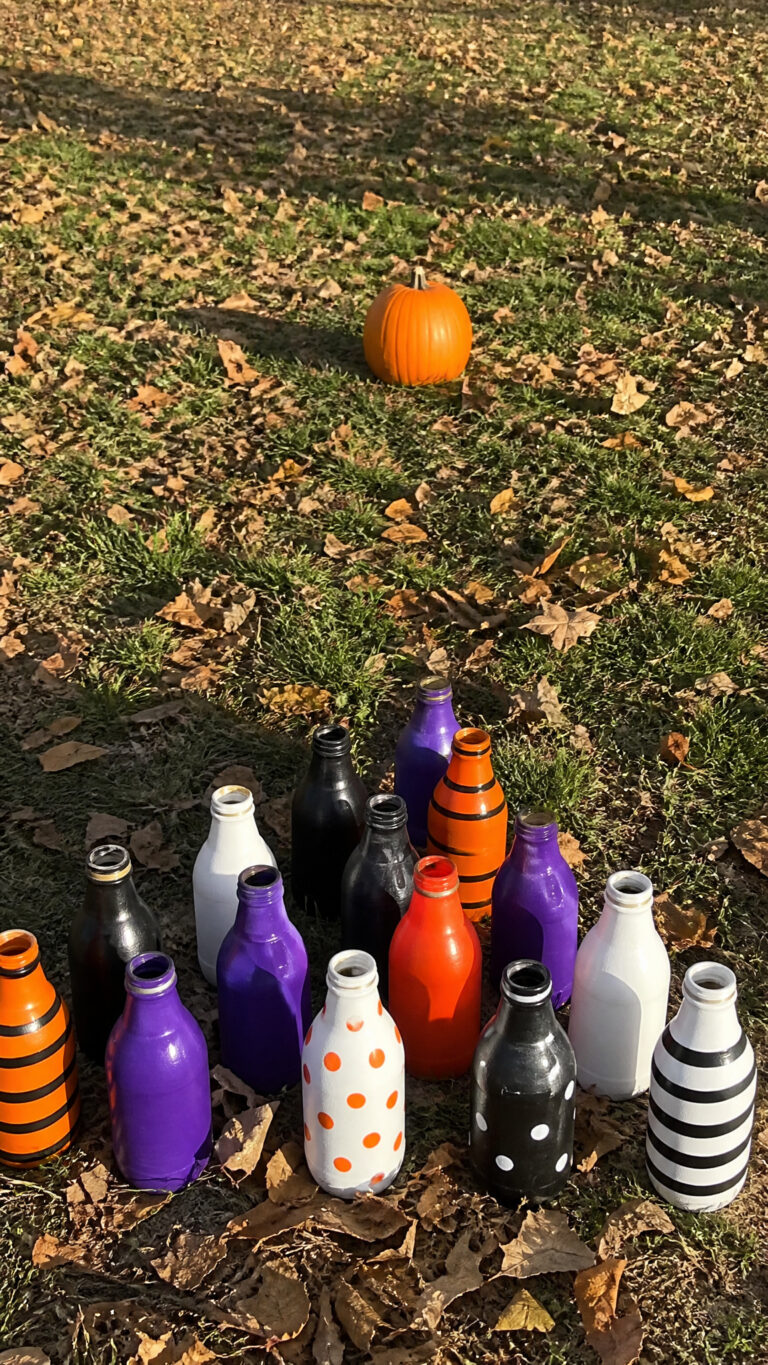
The beauty of this design is that you can customize it in about a million different ways. Paint your pumpkin a solid base color – white, black, gold, or even keep it natural orange. Once it’s dry, add dots in contrasting colors. You can use the end of a paintbrush, a pencil eraser, or even those dot markers that kids use (which are seriously a game-changer for this project!).
My boys love making polka dots because there’s something so satisfying about stamping them on. We’ve done all-white pumpkins with gold dots, black pumpkins with white dots, and even multicolored dots on orange pumpkins. For a fun variation, try making the dots different sizes – larger dots mixed with smaller ones create a really playful, dynamic look!
You can also get creative with the arrangement. Random scattered dots are classic and easy, but you can also do rows of dots, dots that get progressively smaller, or even dots arranged in a pattern or shape. One year we made a pumpkin with dots arranged in a spiral pattern, and it looked so cool! This is definitely one of those cute pumpkin painting ideas that gives you a lot of bang for your buck with minimal effort and maximum cuteness!
Drip Paint Pumpkins for Artsy Fun
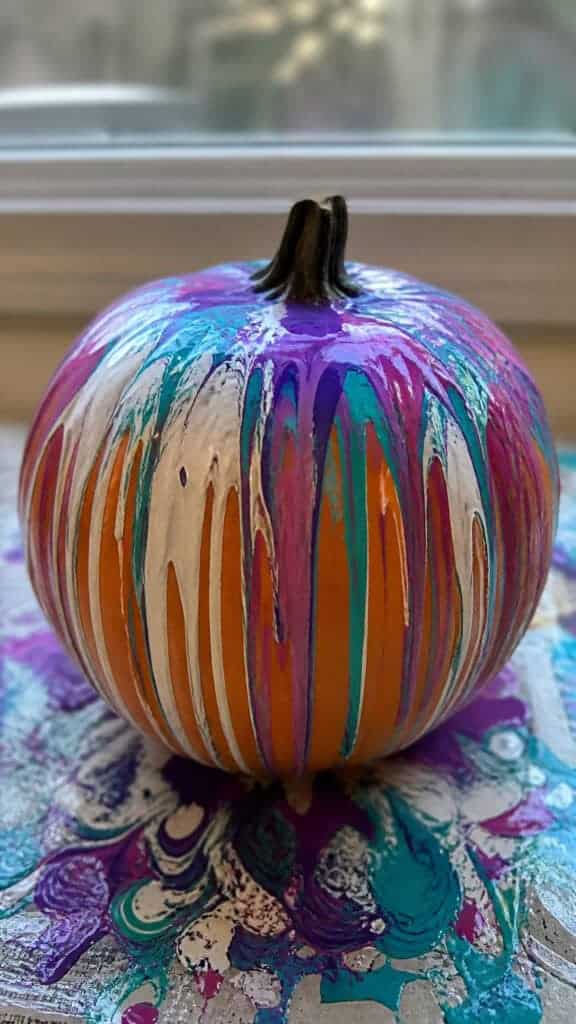
Want to know a secret? Drip paint pumpkins are basically a free pass to let your kids make a mess and call it art! This technique is so forgiving and creates such cool results that everyone feels like a successful artist. Plus, it’s incredibly therapeutic – even I find myself getting into it while the kids are working on theirs!
Here’s how it works: Set your pumpkin on a protected surface (seriously, use lots of newspaper or a plastic tablecloth because this gets messy!). Water down your acrylic paints just a little bit so they’re thinner and will drip more easily. Start at the top of the pumpkin and pour or squeeze the paint on, letting it naturally drip down the sides. You can use one color or multiple colors – both look amazing!
My kids love using squeeze bottles for this project because they feel like they have more control. You can find cheap squeeze bottles at the dollar store or use old condiment bottles. Let the first color drip down, then add another color. The colors will mix where they meet, creating these beautiful, unexpected combinations. Sometimes we rotate the pumpkin as we add colors to get drips going in different directions!
For an extra fun variation, try the spin art technique! Put your pumpkin on a lazy Susan or cake turntable, pour paint on top, and spin it! The centrifugal force sends the paint flying in all directions, creating this wild, abstract pattern. It’s messy, it’s chaotic, and the kids think it’s absolutely hilarious! These pumpkins always turn out looking so unique and artistic, and they’re genuinely one of my favorite cute pumpkin painting ideas for when we want to get a little wild with our crafting!
Elegant Metallic Pumpkins
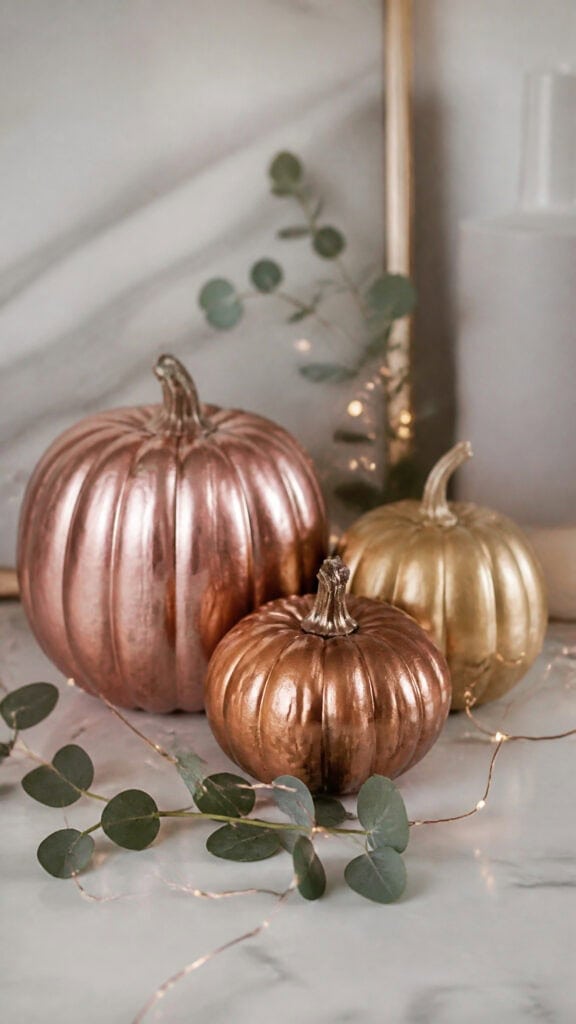
Okay, so this one is maybe more for you than for the kids, but hear me out! Metallic pumpkins are absolutely gorgeous and surprisingly easy to make, even with little helpers. I love making a few of these to mix in with the kids’ more colorful creations because they add such a sophisticated touch to our
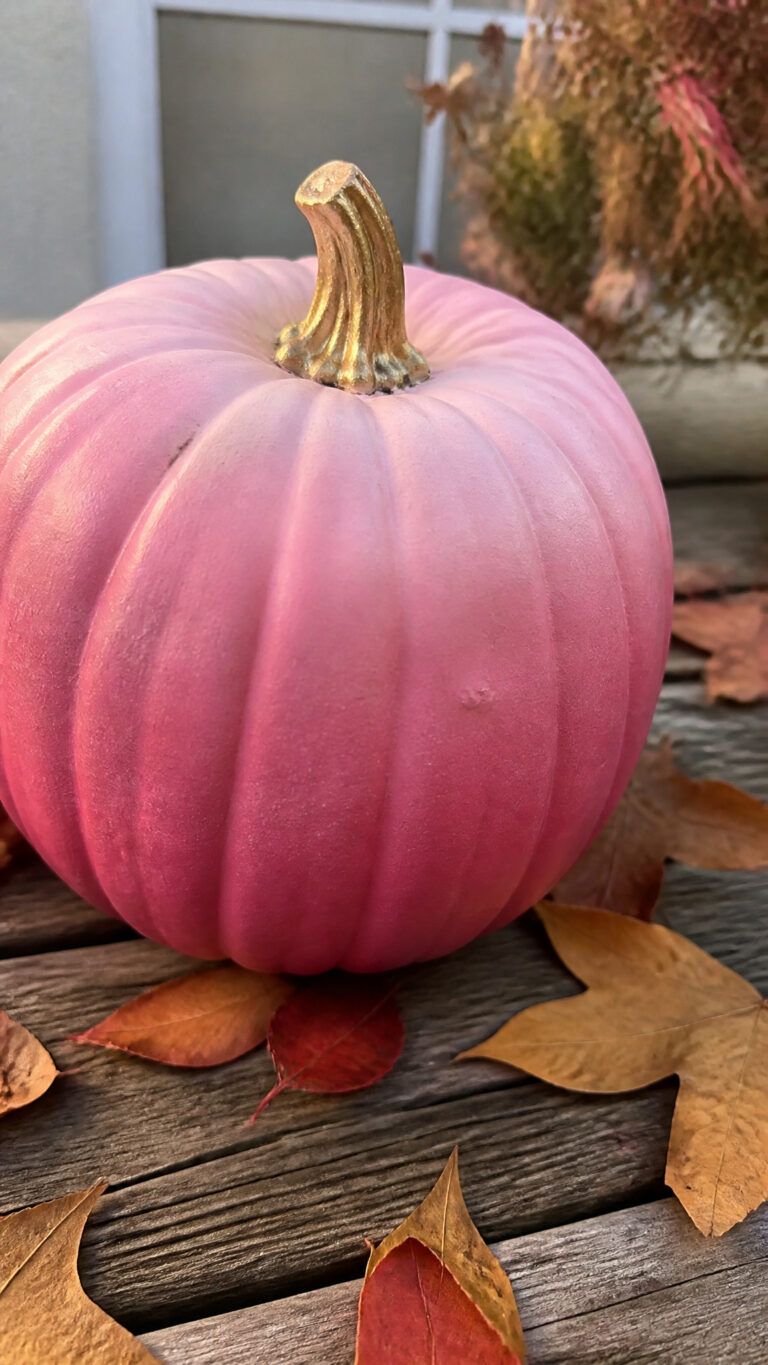
Gold, silver, rose gold, and copper metallic paints are your best friends here. You can paint the entire pumpkin in one metallic shade for a sleek, modern look, or get creative with patterns. I’ve done metallic stripes, metallic polka dots on white pumpkins, and even ombre effects blending two metallic colors together. They all look absolutely stunning!
One of my favorite techniques is to paint the pumpkin white first, let it dry, then dry-brush metallic paint over it. Dry-brushing means you use very little paint on your brush and lightly sweep it over the surface, which creates this beautiful, slightly distressed look that’s super trendy right now. The white peeks through in places, and it just looks so elegant and intentional!
For a fun project the kids can help with, try metallic leaf pumpkins! Paint your pumpkin in a metallic base color, then use real fall leaves as stencils. Hold a leaf against the pumpkin and have the kids paint over it with a contrasting metallic color, then carefully remove the leaf to reveal the silhouette. It’s like magic, and the kids are always so amazed by how it turns out! These metallic pumpkins prove that cute pumpkin painting ideas can be both fun for kids and stylish enough for your grown-up fall aesthetic!
Character and Emoji Pumpkins
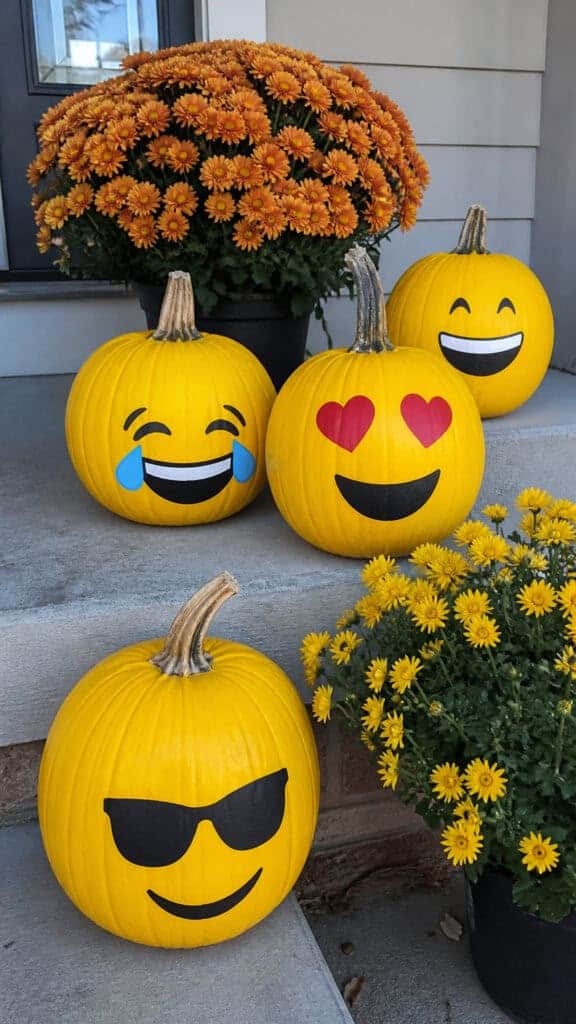
This is where you really let your kids’ personalities shine through! Character and emoji pumpkins are some of the most fun cute pumpkin painting ideas because every child can create something that reflects what they love. My boys have made everything from their favorite video game characters to silly emoji faces, and these pumpkins always make everyone smile!
Emoji pumpkins are especially great for younger kids because the faces are simple and recognizable. Paint your pumpkin yellow (or keep it orange if you’re going for a pumpkin-emoji hybrid!), and then add the emoji face of choice. The laughing-crying emoji, the heart-eyes emoji, and the sunglasses emoji are always big hits. Use black paint for outlines and details, and don’t worry about making them perfect – the slightly wonky ones are often the cutest!
For character pumpkins, think about what your kids are into right now. Superheroes are always popular – you can paint the pumpkin in the character’s main color and add their logo or mask. My kids have made Spider-Man pumpkins (red with black web details), Batman pumpkins (black with the yellow bat symbol), and even Among Us character pumpkins (which were surprisingly easy and looked so cute!).
Don’t forget about classic characters too! Minions are perfect for pumpkin painting – just paint the pumpkin yellow, add goggles and overalls, and you’re done! We’ve also done monsters (paint the pumpkin any bright color and add googly eyes – yes, you can hot glue googly eyes to pumpkins and it’s amazing!), and even attempted some cartoon characters. The key is to keep it simple and focus on the most recognizable features. These pumpkins are always conversation starters, and kids are so proud to show off their favorite characters on display!
Get Painting and Make Memories!
There you have it – seven absolutely adorable cute pumpkin painting ideas that will keep your kids entertained and your porch looking festive all season long! The best part about pumpkin painting is that there’s truly no wrong way to do it. Every pumpkin becomes a unique work of art, and the memories you make while creating them together are priceless. Trust me, years from now you’ll look back at photos of your kids covered in paint with their wonky, wonderful pumpkins and smile!
So grab some pumpkins, break out the paints, and don’t stress about perfection! Put down those drop cloths (or don’t – we’re all friends here!), dress the kids in clothes that can get messy, and just have fun with it. Whether you try one of these ideas or all seven, your family is going to have such a blast. And when your neighbors compliment your gorgeous painted pumpkins, you can proudly say your kids made them! Happy painting, mama – you’ve got this!
This post may contain affiliate links. Read the full disclosure here.