
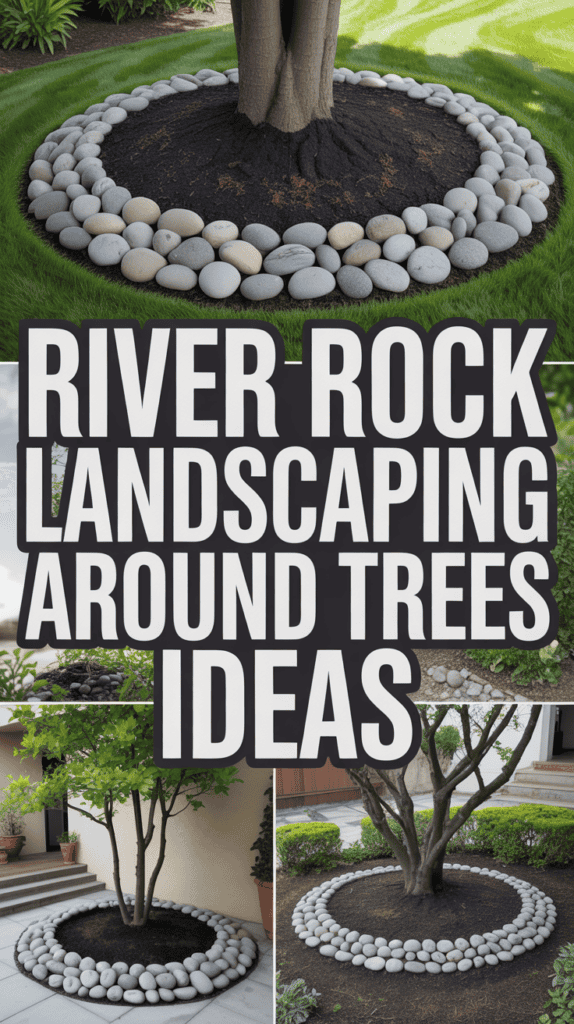
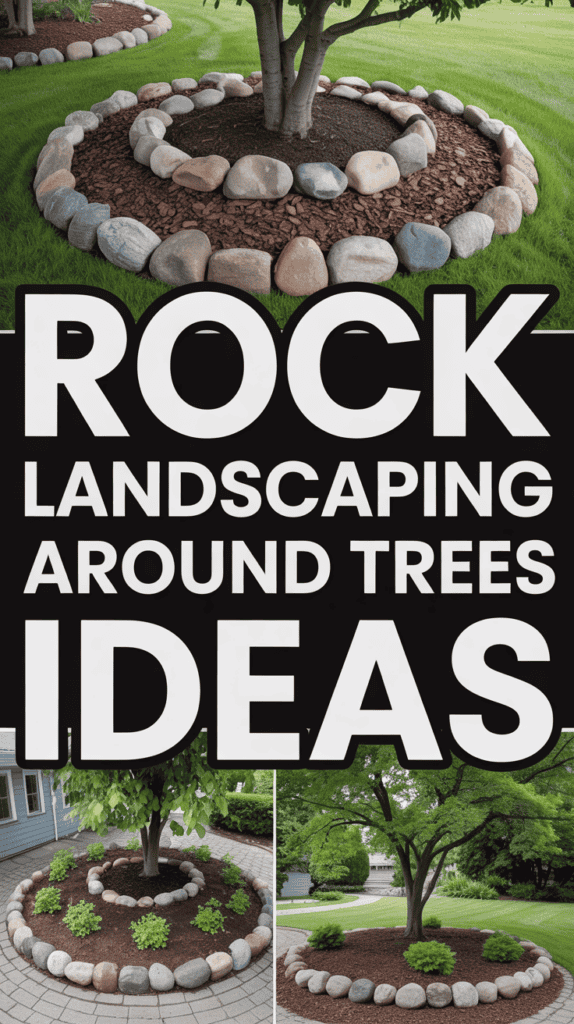
Rock Landscaping Around Trees Inspiration For A Polished Yard
Keeping the area around trees looking neat and tidy can feel like a never-ending battle, especially when you’ve got three little boys who love to dig, play, and generally turn your yard into their personal adventure zone! I’ve spent countless hours trying to maintain grass around our trees, only to end up with patchy brown spots and constant maintenance headaches.
That’s when I discovered the magic of rock landscaping around trees! It’s been an absolute game-changer for our yard. Not only does it look incredibly polished and put-together, but it also cuts down on weeding, protects the tree roots, and gives our outdoor space that designer look without the designer price tag. Let me share all the inspiration and tips I’ve gathered along the way!
Why Rock Landscaping Around Trees Is A Total Game-Changer
When I first considered adding rocks around our trees, I honestly thought it was just about aesthetics. But wow, was I pleasantly surprised by all the practical benefits that came along with the beautiful look!
Rock landscaping around trees creates a protective barrier that helps retain moisture in the soil, which means less watering for you during those hot summer months. Trust me, when you’re already filling up splash pools and running through sprinklers with the kids, anything that reduces your watering duties is a win! The rocks also help regulate soil temperature, keeping roots cooler in summer and warmer in winter.
Another huge benefit? Say goodbye to that constant battle with grass and weeds! I used to spend my precious weekend time (you know, those rare moments when all three boys were occupied) pulling weeds and trying to edge around tree trunks. Now, with our rock landscaping, maintenance is minimal. A quick rake every few weeks and we’re good to go!
Plus, rocks protect your tree trunks from lawn mower and weed trimmer damage. Before we added rocks, I can’t tell you how many times my husband accidentally nicked the bark while mowing. Those wounds can actually harm your trees over time, so creating that rock buffer zone is like giving your trees their own little safety zone!
Choosing The Perfect Rocks For Your Tree Landscaping
Not all rocks are created equal, and picking the right type can make or break your landscaping project! I learned this the hard way when I initially chose rocks that were way too small and ended up scattered all over the yard thanks to enthusiastic little feet kicking them around during backyard soccer games.
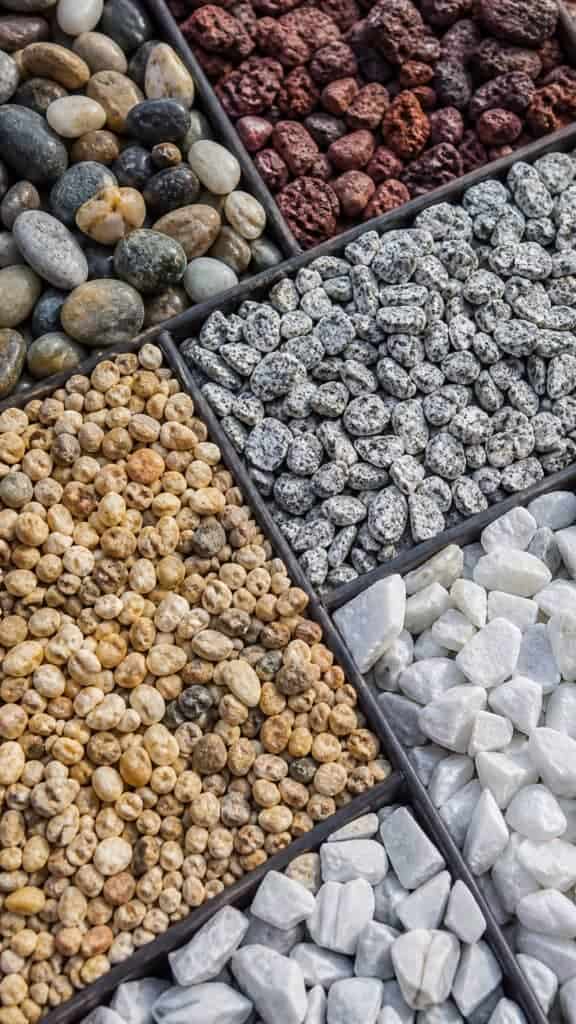
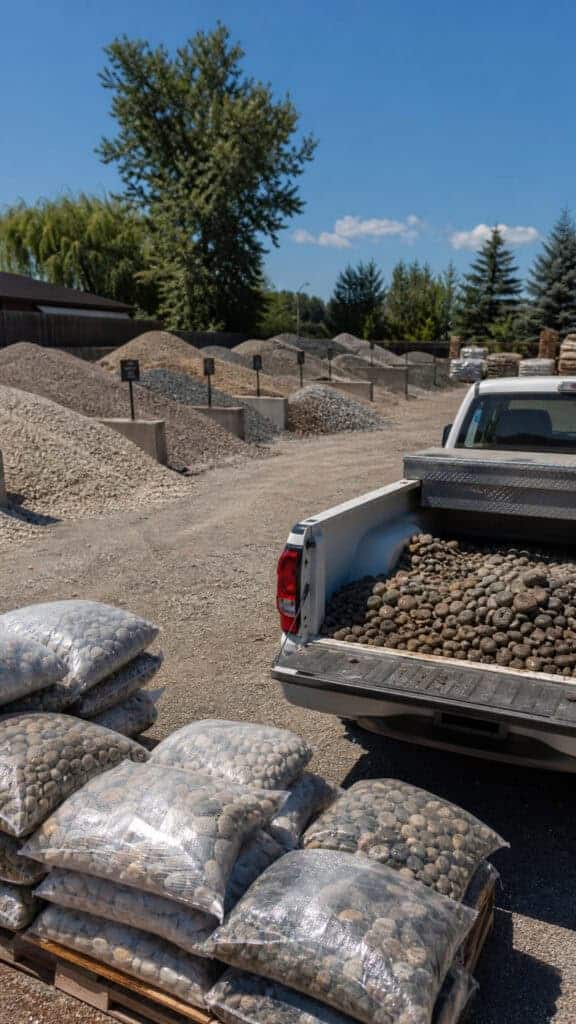
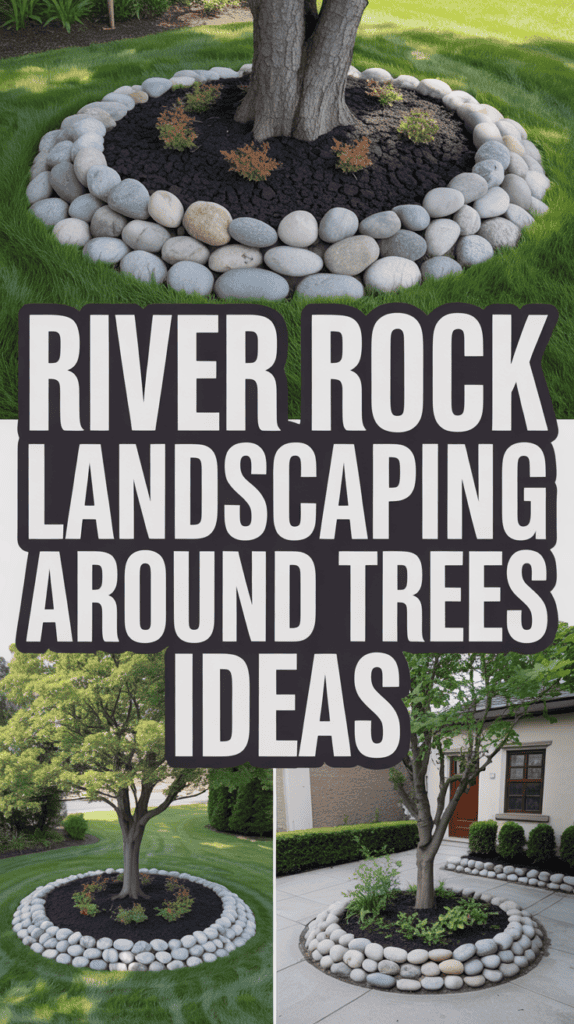
River rocks are absolutely gorgeous and one of the most popular choices for tree landscaping. They come in various sizes, from small pebbles to larger stones, and their smooth, rounded edges give a natural, polished look. I personally love using medium to large river rocks (about 2-4 inches) because they stay put better and create a substantial visual impact!
Lava rock is another fantastic option that I’ve used in some of our sunnier spots. It’s lightweight, comes in beautiful reddish-brown tones, and actually helps with drainage. The porous nature of lava rock is perfect for areas that tend to get waterlogged. Plus, the color contrast against green grass is absolutely stunning!
For a more budget-friendly option, consider crushed granite or decomposed granite. These create a more compact, formal look and come in various colors from tan to gray to reddish hues. They’re also easier on bare feet, which is definitely a consideration when you have kids who refuse to wear shoes outside!
- River rocks: Classic, smooth, available in multiple sizes and colors
- Lava rock: Lightweight, great drainage, beautiful reddish tones
- Crushed granite: Budget-friendly, compact, formal appearance
- Pea gravel: Small, rounded, great for pathways around trees
- Mexican beach pebbles: Sleek, dark, sophisticated look
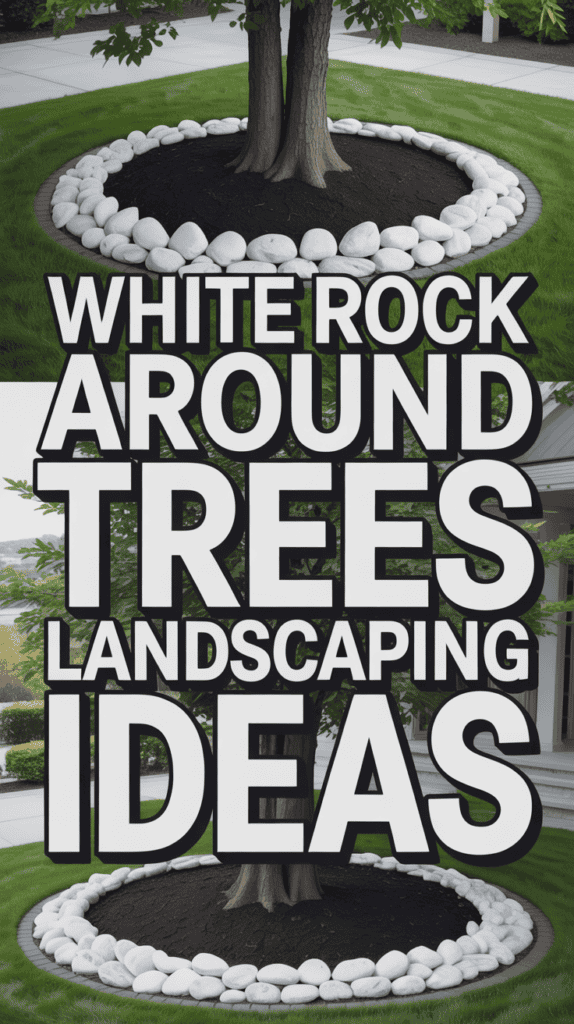
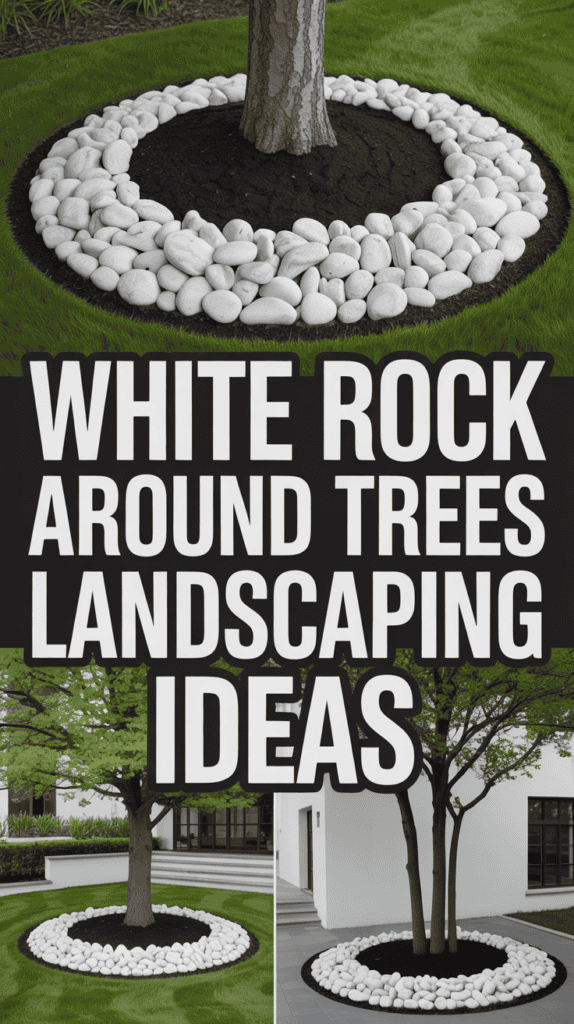
- Marble chips: Bright white, reflects light, modern aesthetic
Preparing The Area Around Your Trees Like A Pro
Okay, so this is where the actual work comes in, but I promise it’s totally worth it! Proper preparation is absolutely crucial for making sure your rock landscaping around trees looks amazing and lasts for years. Skip these steps and you might end up redoing everything in a season or two (ask me how I know!).
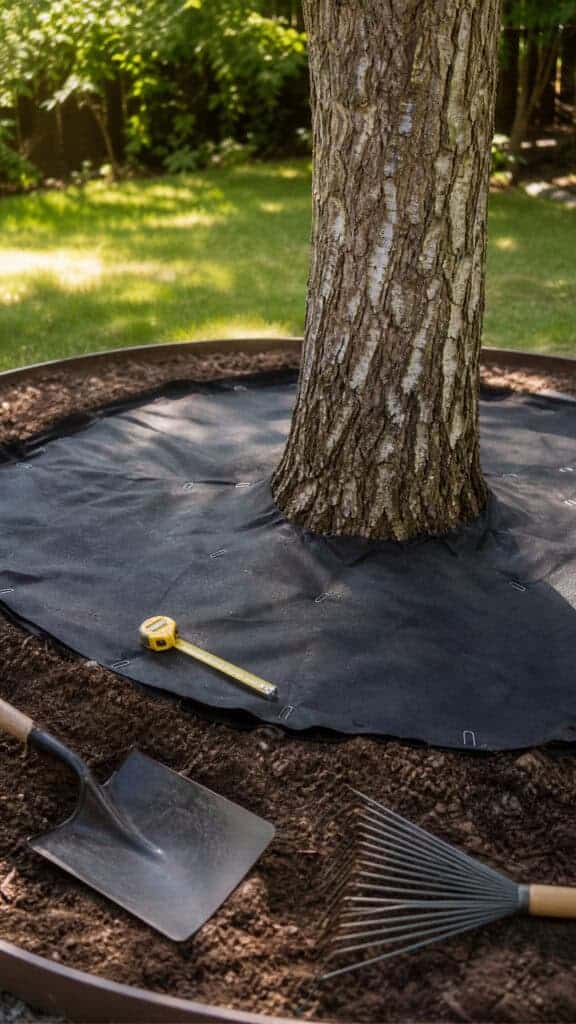
First things first: determine how large you want your rock circle or area to be. I typically recommend extending at least 2-3 feet out from the trunk in all directions, but you can go larger depending on the size of your tree and the look you’re going for. Just remember to leave a small gap (about 2-3 inches) between the rocks and the actual trunk to prevent moisture buildup and potential rot!
Next, you’ll need to remove all the grass and weeds from the area. I know, I know, this part isn’t fun! But grab a sharp spade and start cutting out sections of sod. My boys actually thought this was hilarious and wanted to help, which was cute for about five minutes before they got distracted by a butterfly. If you’re dealing with a larger area, you might want to rent a sod cutter to save your back!
After clearing the area, level out the soil and remove any roots or debris. Then comes the secret weapon: landscape fabric! This stuff is absolutely essential. It prevents weeds from pushing through while still allowing water to drain properly. I use a high-quality, commercial-grade fabric because the cheap stuff tends to tear easily. Lay it down, cut an X around the tree trunk, and secure it with landscape staples every few feet.
Before adding your rocks, I highly recommend putting down a layer of mulch or compost first. This adds nutrients to the soil and creates an extra barrier against weeds. Plus, it looks more natural when you see it peeking through the rocks. I usually add about 2-3 inches of mulch before topping with rocks!
Design Ideas That’ll Make Your Neighbors Jealous
This is where the fun really begins! There are so many creative ways to arrange rock landscaping around trees, and I’ve tried quite a few in our yard. Each tree has become its own little design statement, and it’s been such a fun project to work on!
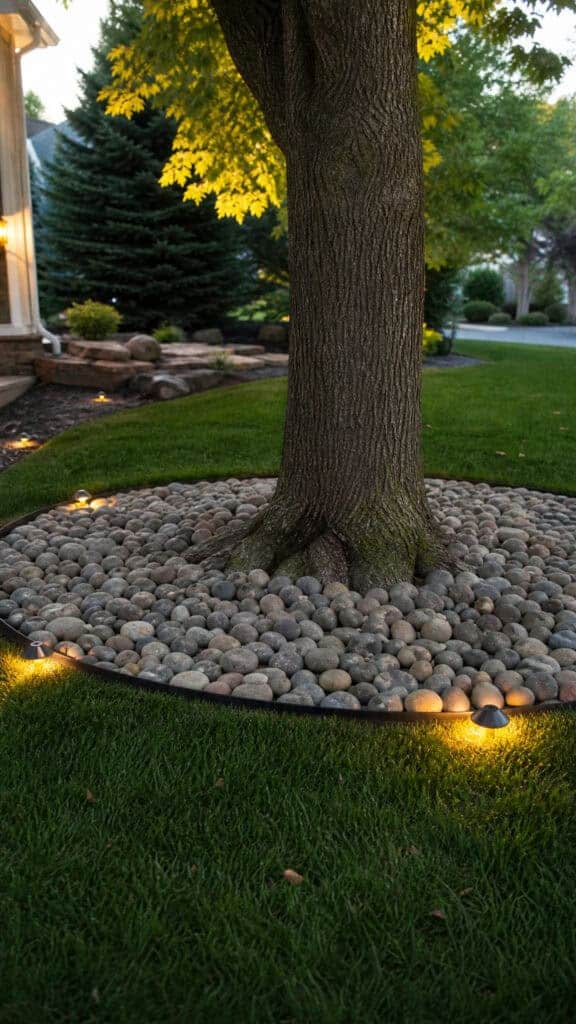
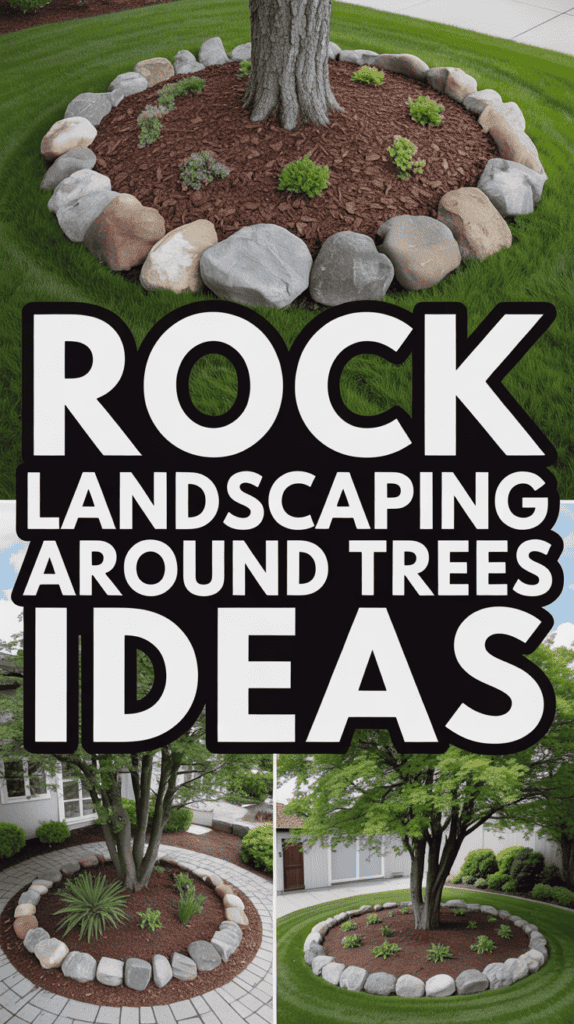
The classic circular ring is timeless and works beautifully with any yard style. I love creating a neat circle of larger river rocks around the tree, keeping it simple and elegant. This look is perfect if you’re going for a clean, minimalist aesthetic. You can vary the width of the ring depending on the tree size – I usually make them wider for larger, more established trees.
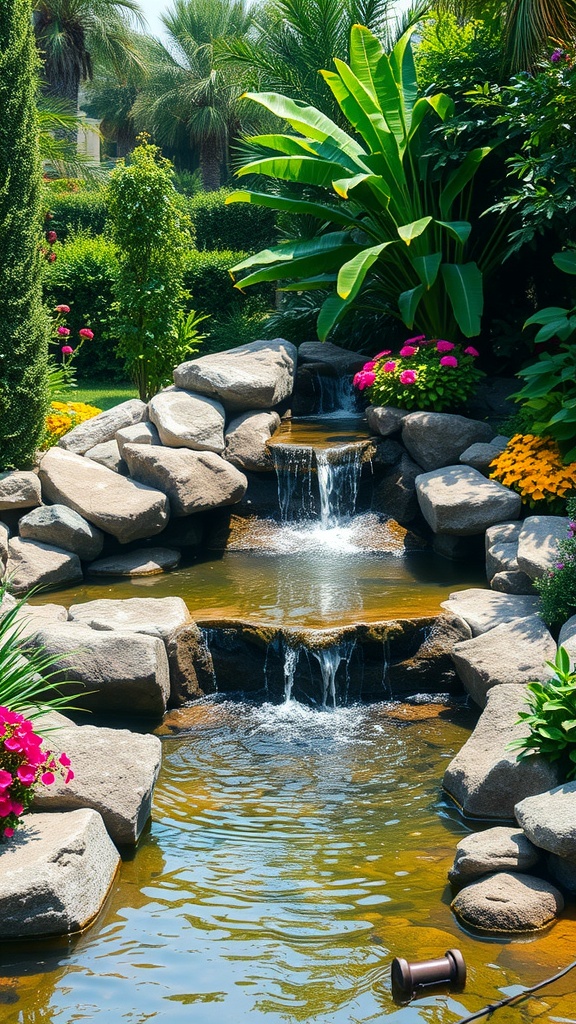
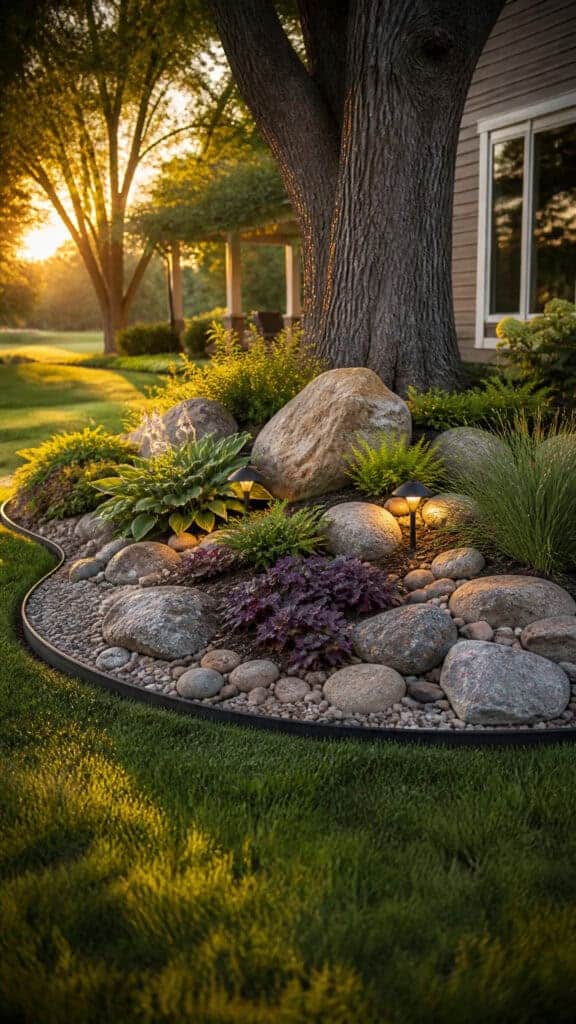
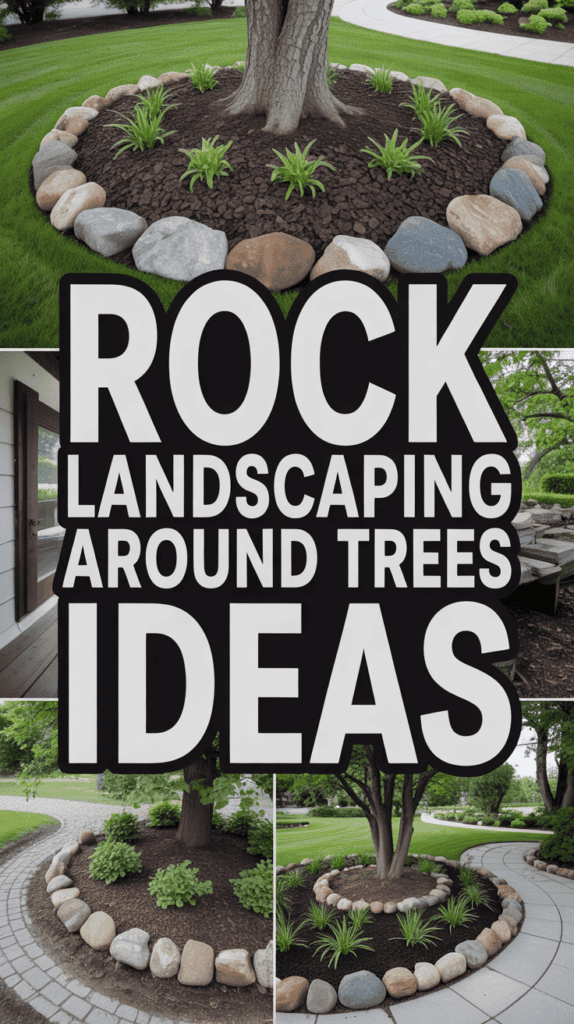
For a more natural, organic look, try creating an irregular, free-form shape around your tree. Instead of a perfect circle, let the rock border flow naturally, almost like a small garden bed. This works especially well if you’re incorporating plants or flowers around the base too! I’ve done this with a few of our trees, adding hostas and shade-loving perennials within the rock border, and it looks like something straight out of a magazine!
Layering different types and sizes of rocks creates amazing visual depth and texture. Start with larger rocks as a border, then fill in with medium-sized stones, and finish with smaller pebbles or gravel. The variation in size and color adds so much interest! I did this around our front yard maple tree, using large limestone boulders as anchors, medium river rocks for the main area, and pea gravel to fill gaps, and I get compliments on it constantly.
Don’t forget about incorporating edging! Metal, stone, or plastic edging can give your rock landscaping a super polished, professional look. It keeps the rocks contained (especially important with active kids!) and creates a clear boundary between your landscaped area and the lawn. I’ve used both metal and stone edging, and both look fantastic!
Adding Plants And Accents For Extra Wow Factor
While rocks alone create a gorgeous, clean look, adding some plants and decorative accents takes your tree landscaping from nice to absolutely spectacular! This is where you can really let your personality shine through and create something unique to your family’s style.
Shade-loving plants are your best friends when landscaping around trees. I’ve had amazing success with hostas, which come in so many gorgeous varieties with different leaf colors and patterns. They thrive in the shade, require minimal maintenance (perfect for busy moms!), and fill in beautifully around rocks. Ferns are another fantastic option that add a lush, woodland feel to your tree landscaping.
For pops of color, consider shade-tolerant flowers like impatiens, begonias, or astilbe. I plant these in strategic spots among the rocks, and they provide beautiful blooms throughout the growing season. Just make sure you’re not planting too close to the tree trunk, as this can compete with the tree’s roots for water and nutrients!
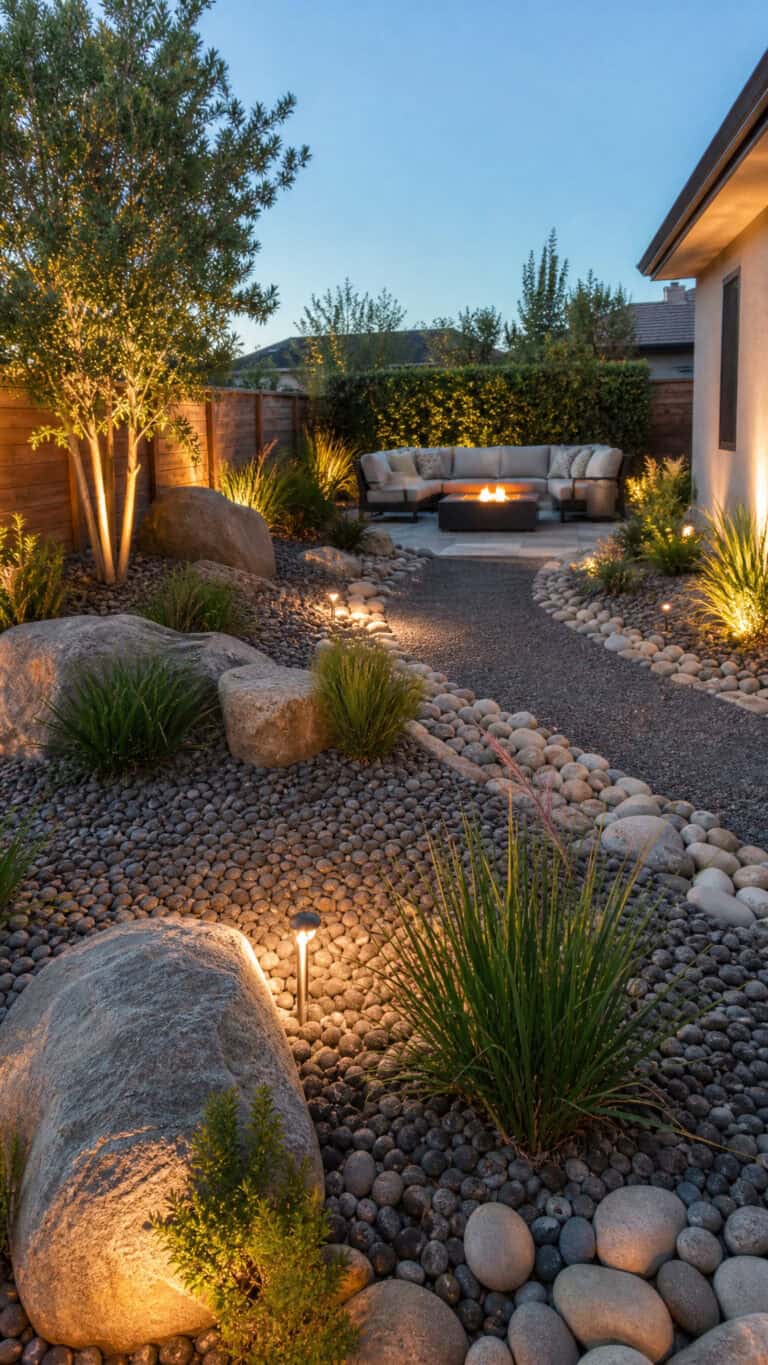
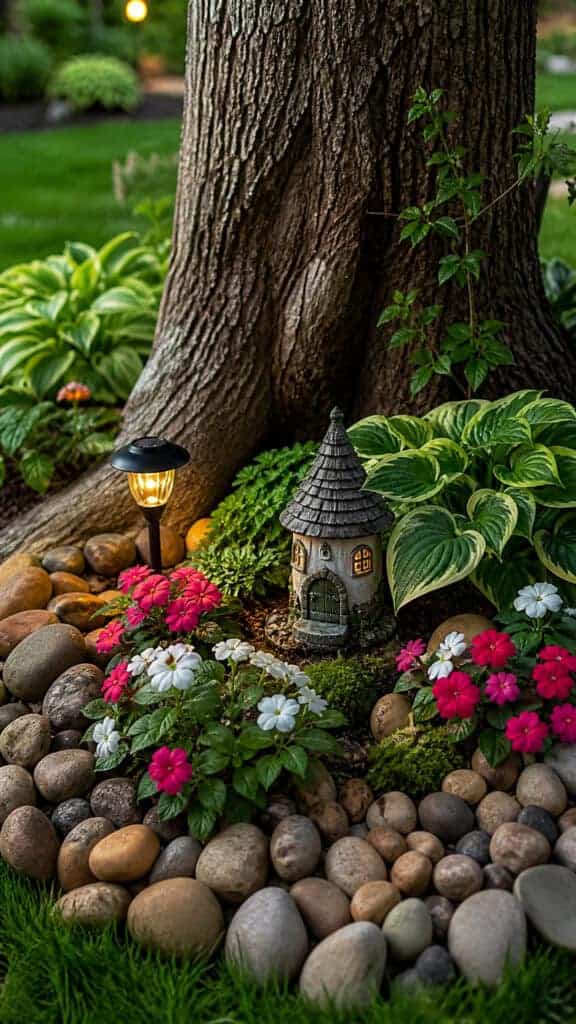
Decorative accents can add personality and charm to your rock landscaping. I’ve placed a few special elements around our trees that make them feel extra special. A small solar light nestled among the rocks provides beautiful ambient lighting in the evening (and helps me keep track of where the boys are when they’re playing outside at dusk!). Garden statues, decorative stones with painted designs, or even a small bird bath can become focal points.
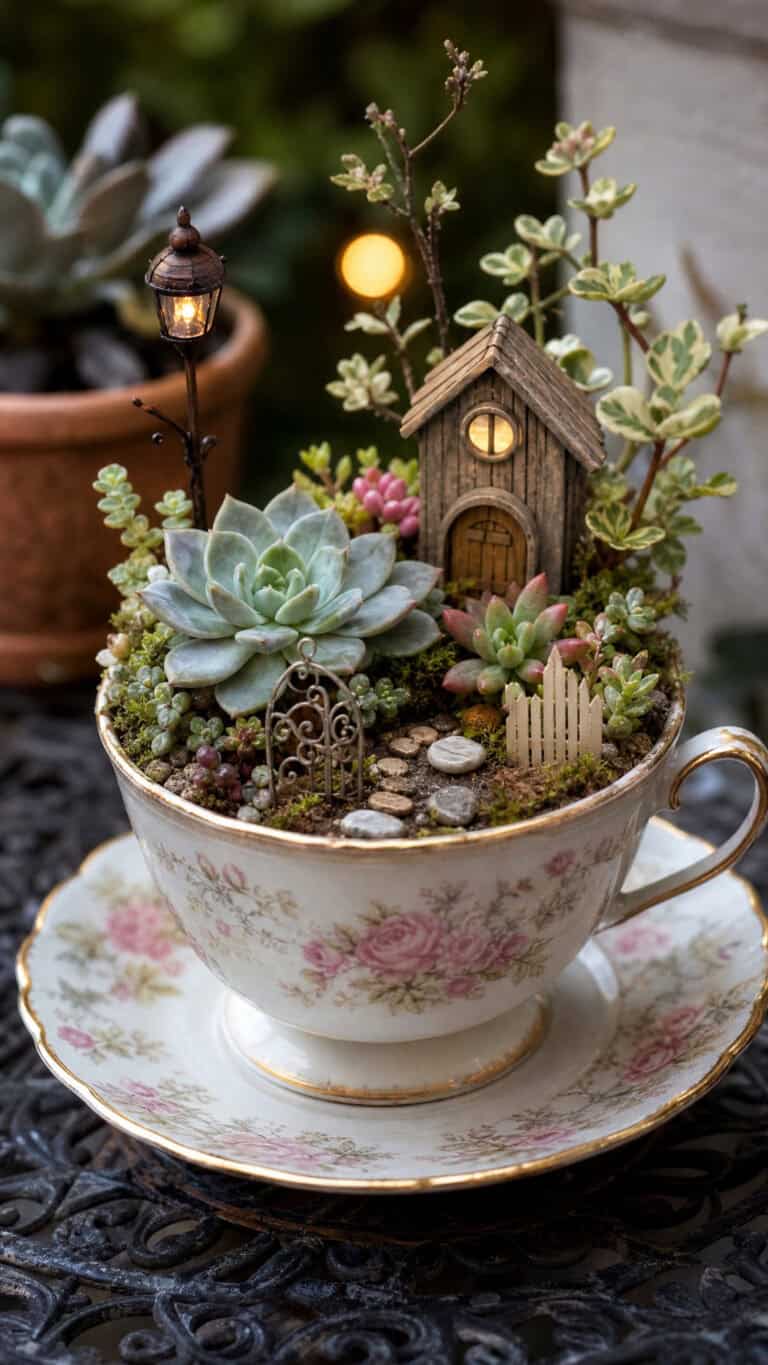
One of my favorite additions has been creating little fairy gardens within the rock landscaping for the boys. We’ve added tiny houses, miniature furniture, and small figurines among the rocks and plants. The kids absolutely love it, and it’s become a sweet way to make our yard feel magical and special to them!
Maintenance Tips To Keep Everything Looking Perfect
One of the best things about rock landscaping around trees is how low-maintenance it is compared to traditional grass or mulch-only areas! But it’s not completely maintenance-free (I wish!), so let me share the simple routine that keeps our tree landscaping looking fresh and polished year-round.
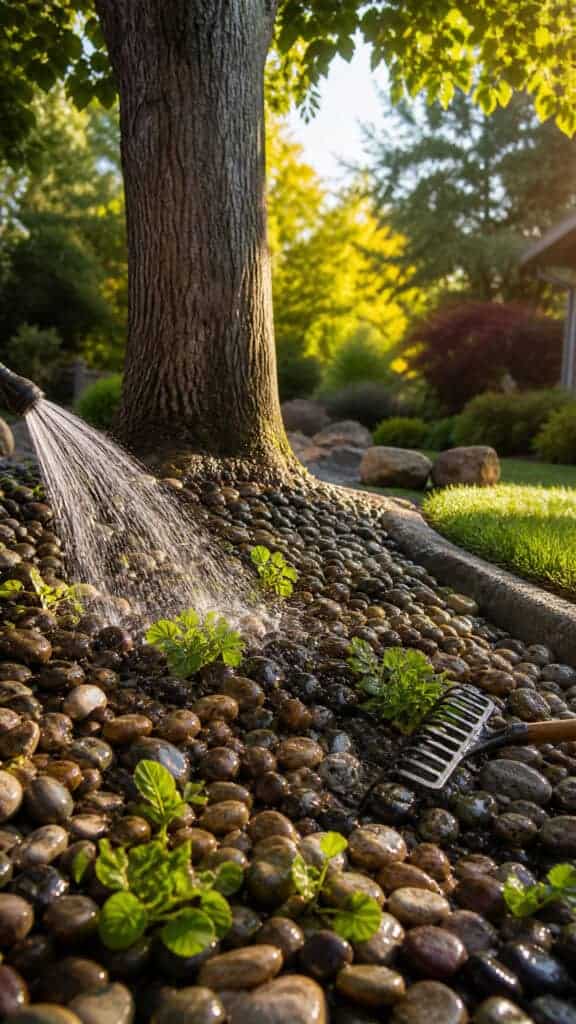
Every few weeks during the growing season, I spend about 15 minutes per tree area doing a quick tidy-up. I pull any weeds that have managed to pop through (there are always a few stubborn ones!), rake the rocks to redistribute them evenly, and remove any fallen leaves or debris. This is actually kind of therapeutic – it’s like a mini meditation session while the boys are occupied with their toys!
Once or twice a year, usually in spring and fall, I do a more thorough maintenance session. I pull back some of the rocks to check the landscape fabric underneath and make sure it’s still intact. If I spot any tears or gaps, I patch them with new fabric. I also replenish the mulch layer if needed, adding a fresh inch or two to keep things looking neat and to continue feeding the soil.
Rocks can get dusty and dirty over time, especially after heavy rain or if they’re near high-traffic areas. A couple of times during the summer, I’ll spray down the rocks with the garden hose to rinse off dirt and debris. It’s amazing how much brighter and cleaner they look after a good rinse! The boys think this is hilarious and usually end up getting sprayed themselves, which turns into an impromptu water play session.
Keep an eye out for rocks that have migrated out of their designated area. With three active boys, soccer balls, and general outdoor chaos, rocks tend to wander! I keep a small bucket handy and toss any escapee rocks back where they belong whenever I spot them. It’s become such a habit that I don’t even think about it anymore!
Budget-Friendly Ways To Rock Your Tree Landscaping
Let’s talk money, because I know that’s on every mom’s mind when planning any home project! Rock landscaping around trees can be done on virtually any budget, and I’ve learned so many tricks for keeping costs down while still achieving that high-end look.
First, shop around for your rocks! Prices can vary wildly between big box stores, local landscape supply companies, and stone yards. I’ve found that buying in bulk from a landscape supply company is almost always cheaper than buying bags at the hardware store. Yes, you’ll need to arrange for delivery or haul it yourself, but the savings are totally worth it! For our yard, I saved almost 40% by going the bulk route.
Consider mixing expensive and budget-friendly materials. Use pricier decorative rocks as a border or accent, then fill in the majority of the area with less expensive options like crushed granite or pea gravel. Nobody will know the difference, and you’ll get that designer look for a fraction of the cost! I did this around our largest tree, using beautiful Mexican beach pebbles as an outer ring and filling the interior with much cheaper lava rock, and it looks absolutely intentional and gorgeous.
DIY as much as possible! While it’s tempting to hire professionals (especially when you’re exhausted from chasing kids all day), this is actually a very doable project for most homeowners. Rope in your partner for a weekend project, or break it down into smaller chunks that you tackle over several weeks. I did one tree at a time, which made it feel less overwhelming and allowed me to spread out the costs.
Look for free or cheap materials to supplement your design. Check Craigslist, Facebook Marketplace, or local buy-nothing groups for people giving away or selling rocks cheaply. I’ve scored some amazing deals this way! Also, if you live near a river or creek (and it’s legal to collect), you can gather your own river rocks. Just make sure you’re following local regulations!
- Buy rocks in bulk from landscape supply companies instead of bagged
- Mix high-end and budget materials strategically
- DIY the installation to save on labor costs
- Check online marketplaces for discounted or free materials
- Do one tree at a time to spread out expenses
- Use edging you already have or find affordable alternatives
Creating Your Dream Yard One Tree At A Time
Rock landscaping around trees has honestly transformed our yard from a patchy, high-maintenance mess into a polished outdoor space that I’m genuinely proud to show off! It’s been such a rewarding project, and every time I look out the window and see those beautifully landscaped trees, I feel like I’ve accomplished something really special for our family’s home.
The best part? This is a project that grows with you! Start with one tree, see how you like it, and then expand from there. There’s no pressure to do everything at once (thank goodness, because who has that kind of time with three boys running around!). Take your inspiration from these ideas, make them your own, and create a yard that’s both beautiful and functional for your family. You’ve got this, mama!


This post may contain affiliate links. Read the full disclosure here.