Fall decorating is my absolute favorite time of year, but let me tell you—with three energetic boys constantly needing new shoes, sports equipment, and everything in between, my decorating budget is pretty tight! The good news is that you don’t need to spend a fortune to create a gorgeous autumn porch that looks like it came straight out of a magazine.
I’ve discovered so many cheap fall porch decor ideas over the years that have completely transformed our front entrance without emptying my wallet. These budget-friendly projects are not only affordable but also totally doable even when you’re juggling soccer practice, homework help, and all the other chaos that comes with mom life! Let me share my favorite tricks for creating an expensive-looking fall porch on a shoestring budget.
Layer Different Sizes of Pumpkins and Gourds
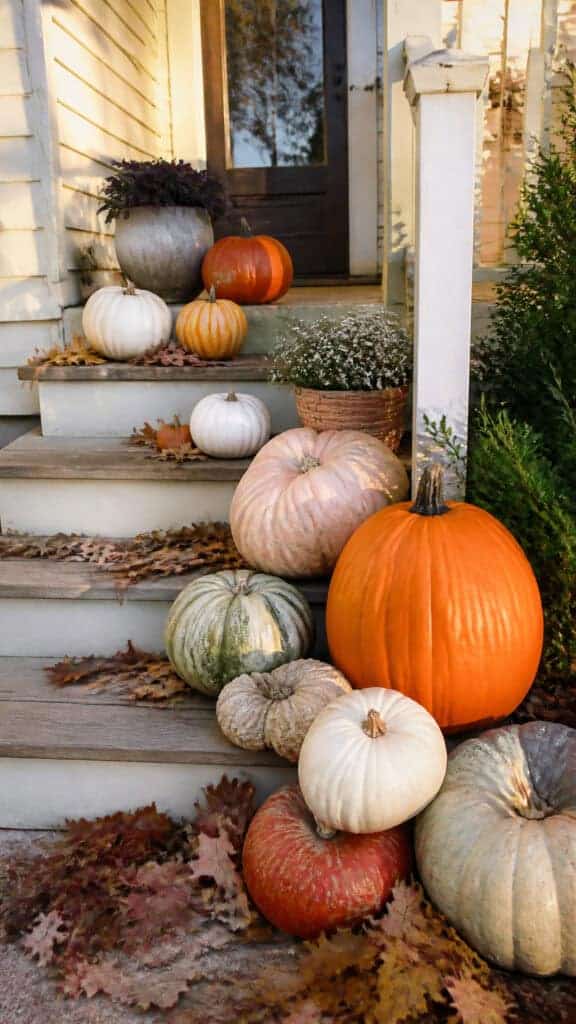
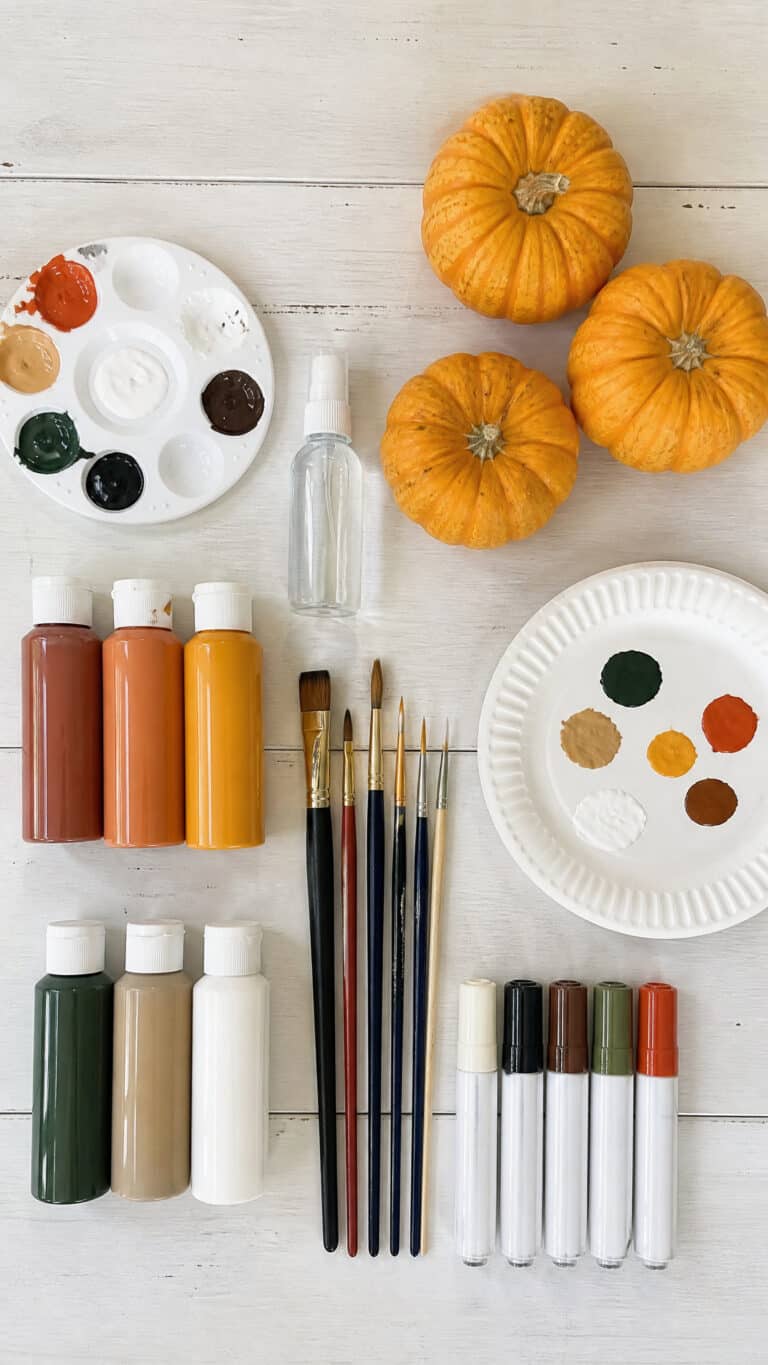
This is hands down my go-to trick for creating an abundant, harvest-inspired look without spending much at all! The secret is mixing real pumpkins from the grocery store or farmer’s market with a few foam or plastic ones from the dollar store. Nobody can tell the difference once they’re all arranged together, I promise!
I love starting with one or two large pumpkins as anchor pieces—these are usually pretty affordable at your local grocery store, especially if you shop early in the season. Then I fill in around them with medium and small pumpkins, mini gourds, and even some decorative squash. The variety in sizes and colors creates so much visual interest!
Here’s my favorite arrangement strategy that makes everything look intentional and expensive:
- Place your largest pumpkins at different heights using overturned crates or plant stands
- Cluster smaller pumpkins and gourds in groups of three or five (odd numbers always look better!)
- Mix in different colors—white pumpkins, traditional orange, those gorgeous blue-green ones, and even the warty decorative varieties
- Tuck some on the steps, some by the door, and create little vignettes in corners
- Add some trailing vines or leaves from your yard between the pumpkins for a natural, organic feel
The best part about this approach is that you can start with just a few pumpkins and add more as your budget allows throughout the season! I usually grab a couple extra each time I’m at the grocery store, and before I know it, I’ve got an amazing display. My boys also love helping arrange and rearrange them—it keeps them busy for at least twenty minutes, which is a win in my book!
Create a Stunning Wreath from Foraged Materials
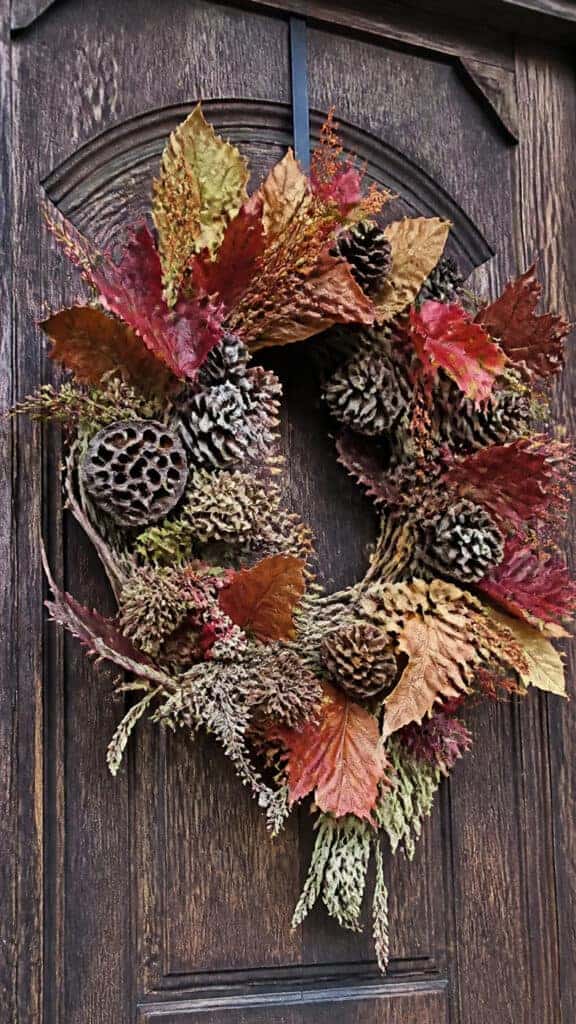
Okay, this one is seriously my favorite because it costs almost nothing and looks SO expensive! Every time someone compliments my fall wreath, they’re shocked when I tell them I made it from stuff I found in my yard and neighborhood. It’s become a fun tradition where the boys and I go on “treasure hunts” to collect materials!
You’ll need a basic wreath form—I get mine at the dollar store or use a wire hanger bent into a circle (seriously, it works!). Then we head outside to collect beautiful fall foliage. I’m talking branches with colorful leaves, pine cones, seed pods, interesting twigs, dried flowers from the garden, and even pretty weeds that have gone to seed!
The key to making it look expensive rather than like you just stuck random sticks together is in the layering and arrangement:
- Start with a base layer of greenery or leafy branches, securing them with floral wire or hot glue
- Add your focal points—maybe some gorgeous red leaves, big pine cones, or dried hydrangeas
- Fill in gaps with smaller elements and create depth by layering items at different angles
- Add a simple burlap or ribbon bow if you want, but honestly, the natural materials speak for themselves
- Spray the finished wreath with a clear acrylic sealer to help preserve it longer
I make a new one every year because it’s such a fun activity, and honestly, the materials are free! Even if you want to add a few stems of faux fall flowers from the dollar store to fill it out, you’re still looking at spending less than five dollars total. My middle son loves finding the “coolest” pine cones, and it’s become such a special way to kick off the season together!
Pro tip: Make two or three smaller wreaths instead of one large one and hang them in a cluster on your door or on your porch wall. It creates such a unique, designer look that nobody else in the neighborhood will have!
Style Vintage or Thrifted Containers with Mums
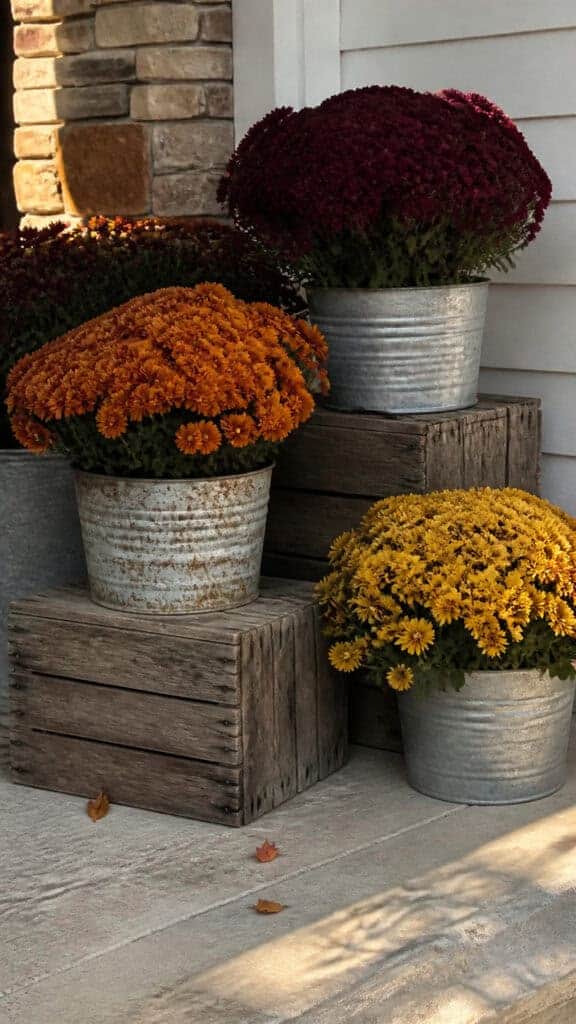
Listen, I could spend a fortune on fancy planters, but why would I when thrift stores and garage sales are overflowing with amazing containers for just a couple dollars? This is one of those cheap fall porch decor ideas that seriously elevates your entire look! I’m always on the hunt for old metal buckets, wooden crates, vintage watering cans, or even old toolboxes.
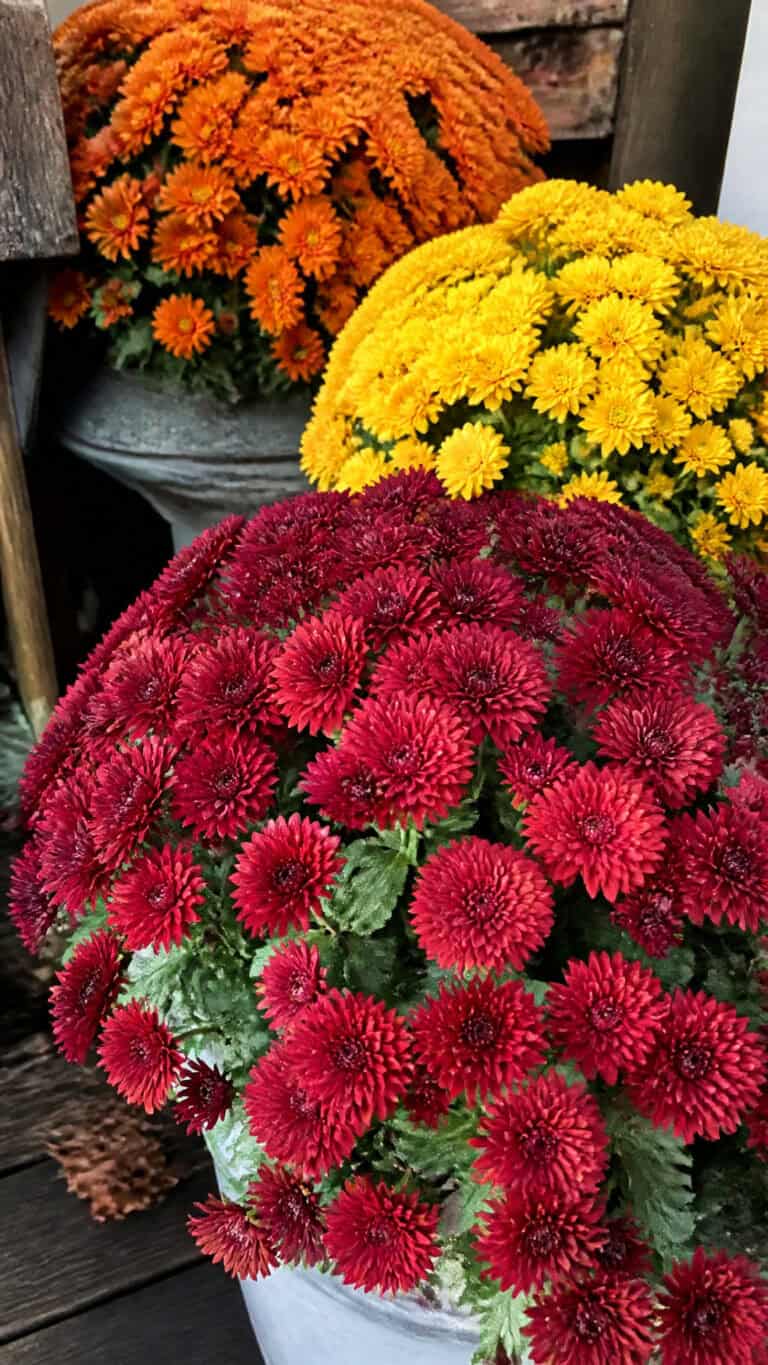
The magic happens when you pop some gorgeous fall mums into these containers! Mums are incredibly affordable in the fall—I can usually find them for three to five dollars each at grocery stores or garden centers. But when you put them in interesting vintage containers instead of leaving them in those plastic nursery pots, they instantly look like a high-end design choice!
Here are my favorite containers to watch for and how I style them:
- Galvanized metal buckets or washtubs—perfect for grouping multiple mum plants together
- Old wooden crates or boxes—I sometimes leave the mums in their plastic pots and just nestle them inside the crate with some moss covering the tops
- Vintage enamelware or metal pitchers—these work great for single mum plants and look so charming
- Weathered wooden wheelbarrows or wagons—if you find one at a garage sale, grab it! Fill it with several mums for a stunning statement piece
- Old metal milk cans or cream separators—these tall containers add great height variation to your porch display
I love mixing different colors of mums too—deep burgundy, burnt orange, sunny yellow, and even white ones all together create such a rich, abundant feeling! And here’s a money-saving secret: mums are perennials, so if you plant them in your garden after the season ends, they’ll come back next year! I’ve been doing this for three years now, and I barely have to buy any new mums anymore.
The vintage container approach also works beautifully with other fall plants like ornamental kale, pansies, or even just branches and cornstalks. My boys think it’s hilarious when I get excited about finding an old rusty bucket at a garage sale, but they don’t complain when our porch looks amazing!
Make a Statement with Corn Stalks and Hay Bales
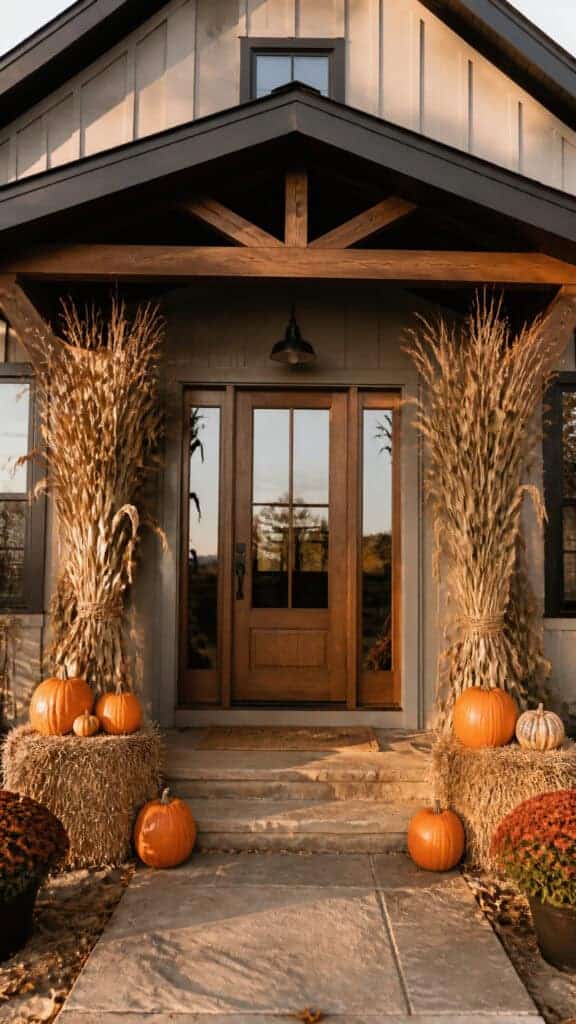
Nothing says fall quite like corn stalks and hay bales, and these are actually way more affordable than you might think! Most garden centers and farm stands sell corn stalks in bundles for just a few dollars, and hay bales are usually under ten dollars each. The impact they create is absolutely worth every penny!
What I love about this approach is that corn stalks and hay bales work as both decor AND functional pieces. The hay bales become instant seating (my boys are always sitting on them while they take off their muddy shoes!), and they’re perfect for creating different levels in your display. Stack them, use them as platforms for pumpkins, or just lean corn stalks against them for that classic autumn look.
Here’s how I maximize the impact of these simple materials:
- Flank your front door with matching bundles of corn stalks tied with twine or burlap ribbon
- Place a hay bale on each side of your steps and top them with pumpkins and mums
- Create a cozy corner vignette with a hay bale, some corn stalks, and a vintage lantern
- Use corn stalks to add height to any flat arrangement—just stick them behind pumpkins or in containers
- Tie small bundles of corn stalks together and attach them to porch posts or railings
One of my favorite tricks is to pick up corn stalks after they’ve been out for a week or two and the price has dropped even more! They still look great, maybe just a little more dried out and rustic, which honestly fits the aesthetic perfectly. Some farms will even let you cut your own corn stalks from their fields for free or super cheap after harvest season!
These materials last the entire fall season if you keep them relatively dry, so you’re getting months of enjoyment for very little money. And at the end of the season, the corn stalks and hay can go right into your compost or garden beds—nothing goes to waste! My boys love building forts with the hay bales before we finally break them down, so they definitely get their money’s worth of fun out of them!
Illuminate with Mason Jar Lanterns
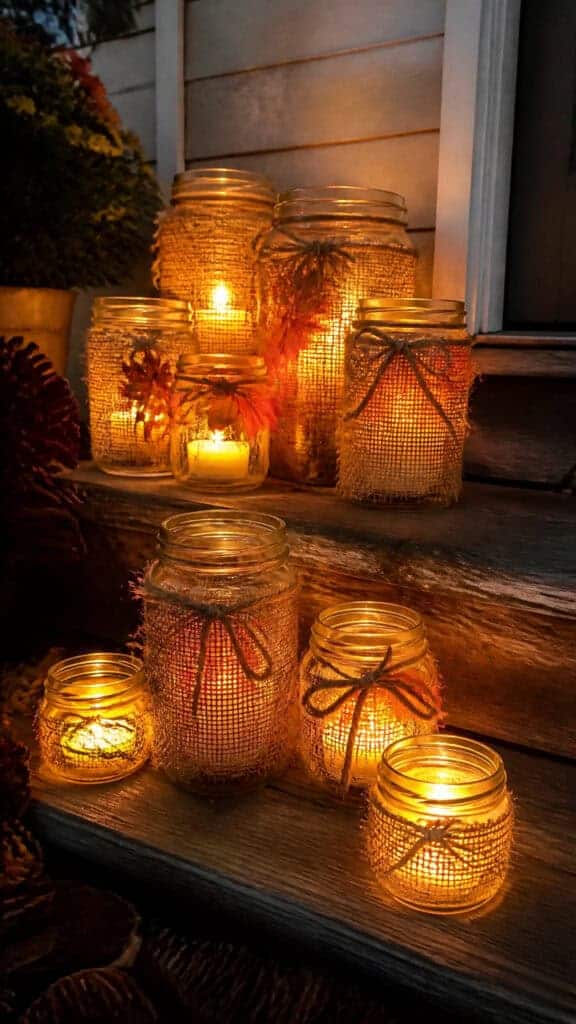
Oh my goodness, this is probably the cheapest project on this list, and it creates the most magical ambiance! Mason jar lanterns are so easy to make, and they add such a warm, inviting glow to your porch in the evenings. I’m obsessed with how cozy they make everything feel when the sun starts setting earlier!
You can often find mason jars at thrift stores for fifty cents to a dollar each, or just save your spaghetti sauce and pickle jars (wash them really well!). Then it’s just a matter of adding some simple fall touches and a light source. I use battery-operated tea lights because they’re safe, last forever, and I don’t have to worry about my boys accidentally knocking them over!
Here are my favorite ways to transform simple jars into expensive-looking fall lanterns:
- Wrap the jars with burlap or lace and tie with twine—so simple but looks so intentional!
- Paint the outside of the jars with chalk paint in fall colors like cream, rust, or sage green
- Fill the bottom with dried corn kernels, small acorns, or coffee beans before adding the candle for texture
- Tie small fall leaves, mini pine cones, or cinnamon sticks to the outside with twine
- Create an ombre effect by painting jars in gradually lighter shades of orange or brown
I like to make a whole collection of them in different sizes and arrange them on the steps, hang them from shepherd’s hooks, or cluster them on a side table. When they’re all glowing in the evening, it looks absolutely enchanting! Guests always comment on them, and I love telling them the whole project cost me maybe five dollars total.
This is also such a fun craft project to do with kids! My boys love helping paint the jars and choosing what to put inside them. Sure, their painting isn’t always perfect, but that just adds to the handmade, rustic charm! We make it an afternoon activity, and then they’re so proud to see their creations displayed on our porch all season long.
Design a Fall Doormat Display
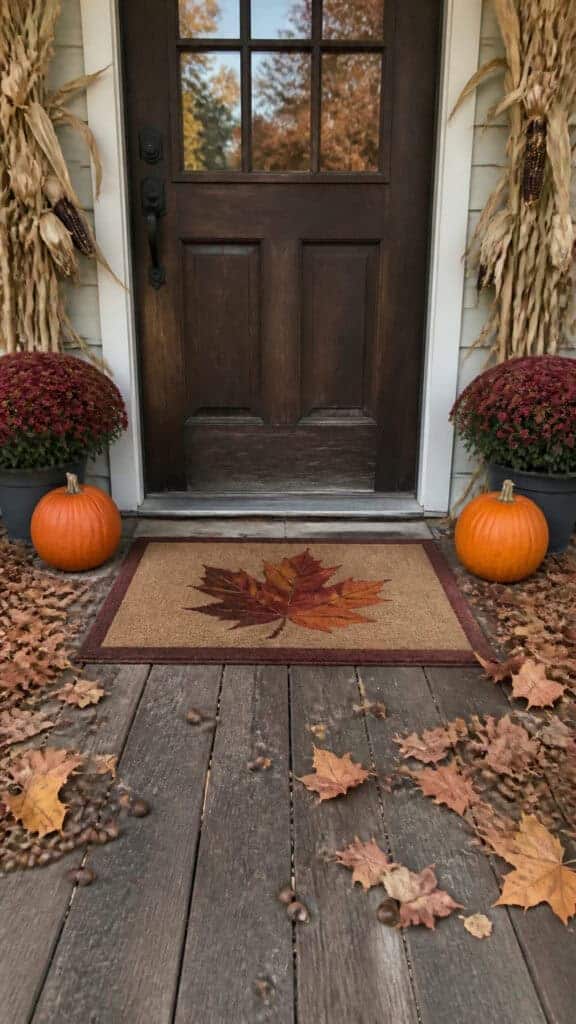
Your doormat area is prime real estate for making a big impact, and this is one of those cheap fall porch decor ideas that people notice immediately when they walk up! Instead of just laying down a mat and calling it done, I love creating a whole little scene around the doormat that draws the eye and sets the tone for the entire porch.
You can find affordable fall-themed doormats at discount stores like TJ Maxx, HomeGoods, or even Walmart for around ten to fifteen dollars. But honestly, even a plain coir mat works great if you style it right! The key is building a complete vignette around it that makes the entrance feel intentional and welcoming.
Here’s how I create an expensive-looking doormat display on a budget:
- Center your doormat in front of the door (obviously!), but then build around it
- Place matching pumpkins or lanterns on either side of the mat for symmetry
- Add a tall element like a corn stalk bundle or a decorative ladder leaning against the wall behind the mat
- Layer in some smaller items like gourds, pine cones, or potted mums tucked beside the mat
- Include a boot tray or basket nearby filled with fall elements—this looks decorative but is also functional!
One trick I learned is to create a “frame” around your doormat using items from your yard. I’ll arrange pretty leaves, acorns, or small branches in a border around the mat’s edges. It sounds simple, but it makes such a difference in making the space feel designed rather than just decorated!
I also love switching out what’s around the doormat throughout the season to keep things fresh. Early fall might feature sunflowers and bright orange pumpkins, while late fall transitions to more burgundy and brown tones with wheat bundles. It’s an easy way to update your look without spending any additional money—just rearrange what you already have!
The doormat area is also perfect for adding a chalkboard sign with a fall greeting or a wooden sign you’ve made yourself. My boys love helping me come up with funny messages to write on our chalkboard—last year we had “Gourd-geous Day!” and they thought it was hilarious! These personal touches make your porch feel special and unique.
Repurpose Old Ladders and Crates as Display Shelving
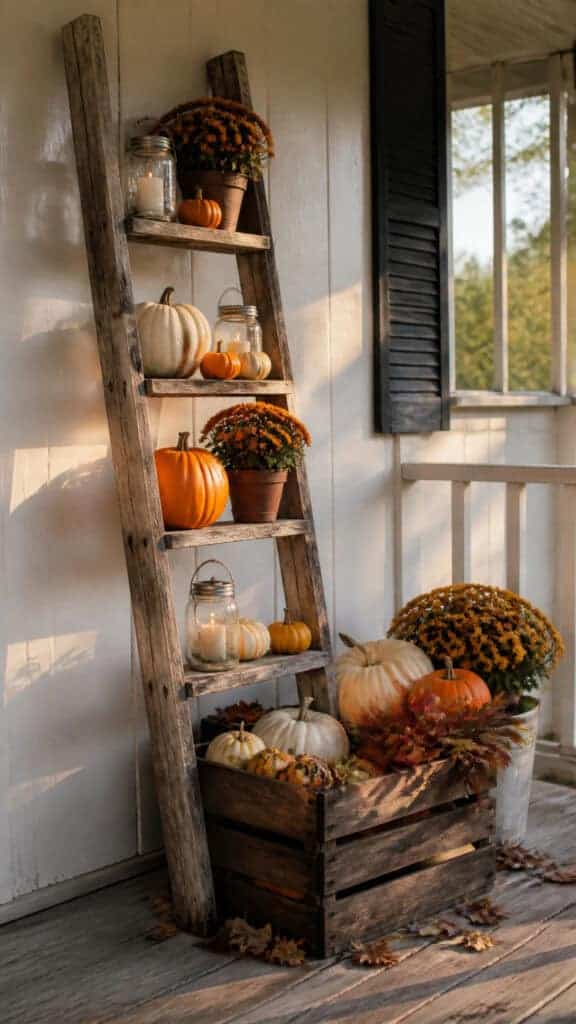
This is my absolute favorite way to add vertical interest and create more display space without spending hardly anything! Old wooden ladders and crates are everywhere at garage sales, flea markets, and thrift stores, usually for just a few dollars. I’ve even found them for free on the side of the road with “free” signs—people don’t always realize what treasures they’re getting rid of!
An old ladder leaned against your porch wall becomes instant rustic shelving that you can style with all your
Here are my favorite ways to style ladders and crates for maximum impact:
- Lean a tall ladder against the wall and place pumpkins, lanterns, or potted plants on each rung
- Stack wooden crates in a pyramid formation and fill each cubby with different fall elements
- Use a shorter ladder as a side table next to your seating area and style it with a fall vignette
- Turn crates on their sides and use them as shelving for displaying collections of mini pumpkins or mason jars
- Combine both—lean a ladder and place crates at its base for a layered, abundant look
What I love about this approach is that it makes even a small collection of decor items look like a big, impressive display because you’re using vertical space! Instead of everything sitting flat on the ground, you’ve got items at different heights which creates so much more visual interest. It’s the same trick interior designers use, but we’re doing it for practically nothing!
I also appreciate that these pieces are functional beyond just fall. I use my ladder year-round for different seasonal displays, and the crates work for storage in my garage during the off-season. It’s not like those single-use decorations that sit in your attic eleven months of the year—these are versatile pieces that earn their keep!
My boys think the ladder is the coolest thing ever and are always wanting to climb it (which I obviously don’t let them do when it’s decorated!). But it does make for cute photo opportunities with them sitting on the bottom rung surrounded by pumpkins. Those pictures are some of my favorites from each fall season!
Your Budget-Friendly Fall Porch Awaits!
See? Creating a gorgeous fall porch doesn’t require a huge budget or fancy design skills! These cheap fall porch decor ideas prove that with a little creativity, some smart shopping, and a willingness to DIY, you can absolutely achieve that expensive, magazine-worthy look without breaking the bank. The best part is that many of these ideas use natural or repurposed materials, so you’re being budget-conscious AND environmentally friendly!
I hope these ideas inspire you to get out there and create a fall porch that makes you smile every time you come home! Remember, it doesn’t have to be perfect or look exactly like anyone else’s—the most beautiful porches are the ones that reflect your own personality and style. Now if you’ll excuse me, I need to go stop my youngest from trying to juggle the mini pumpkins again! Happy decorating, and enjoy this beautiful season!
This post may contain affiliate links. Read the full disclosure here.